You can transfer Windows to a new SSD by cloning the old drive or performing a clean Windows installation.
Learning how to transfer Windows to a new SSD can save hours of setup time. A proper transfer keeps your operating system, files, apps, settings, and boot data intact. This guide explains both safe methods, shows how to avoid common boot errors, and helps you choose the best approach for your computer.
Before You Transfer Windows to a New SSD
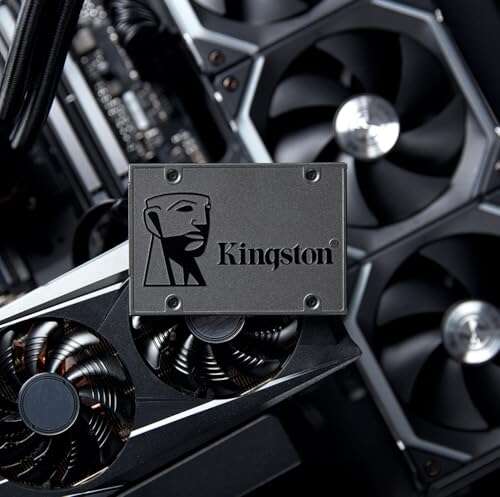
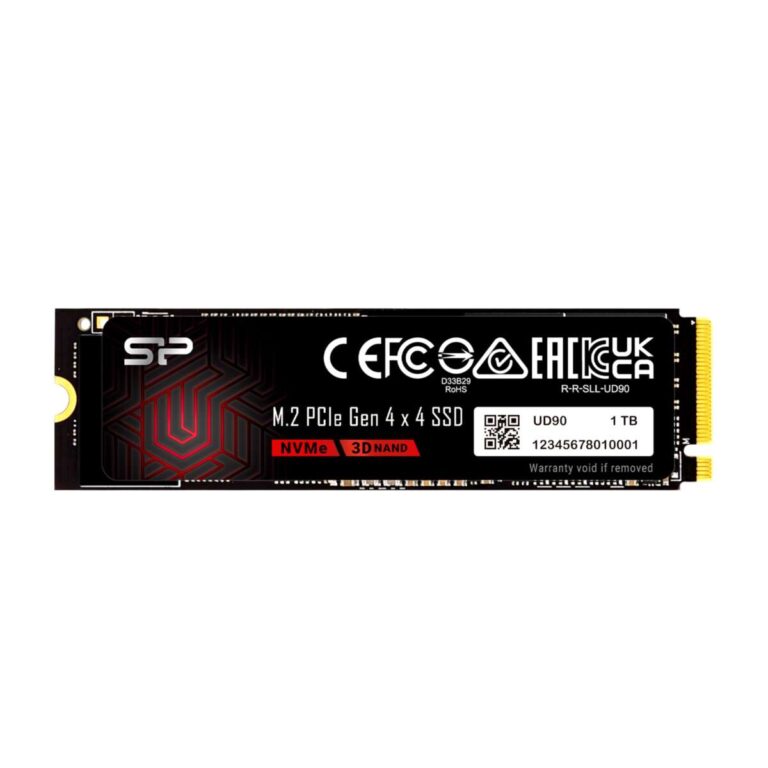
Before you transfer Windows to a new SSD, check that the new drive is compatible with your computer and has enough space. A 500 GB SSD is often enough for Windows and basic apps, while a 1 TB SSD gives you more room for games, photos, and work files.
An SSD may use a 2.5-inch SATA connection or an M.2 slot. M.2 drives can use either SATA or NVMe technology, so check your computer’s manual before buying one. An NVMe SSD will not work in every M.2 slot.
You should also confirm how Windows starts on your current drive:
• Press Windows + R, type msinfo32, and press Enter.
• Find BIOS Mode in the System Information window.
• Look for UEFI or Legacy.
Modern Windows 10 and Windows 11 computers usually use UEFI with a GPT disk. Older systems may use Legacy BIOS with an MBR disk. Matching these settings helps prevent a “no boot device” error after cloning.
Before starting, prepare the following:
• The new SSD
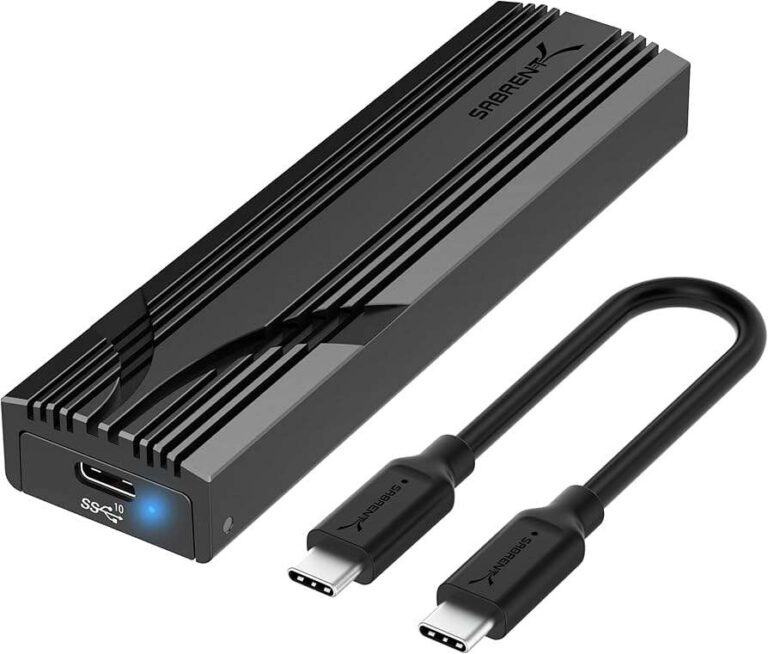
• A USB-to-SATA adapter, external enclosure, or second internal drive slot
• A cloning application that supports your drive
• A backup drive for important files
• Your BitLocker recovery key, if device encryption is enabled
• A small screwdriver if you need to install the SSD internally
Always back up important documents before you begin. Drive cloning is usually reliable, but a power loss, damaged source disk, or wrong disk selection can cause data loss.
Choose Between Cloning and a Clean Install
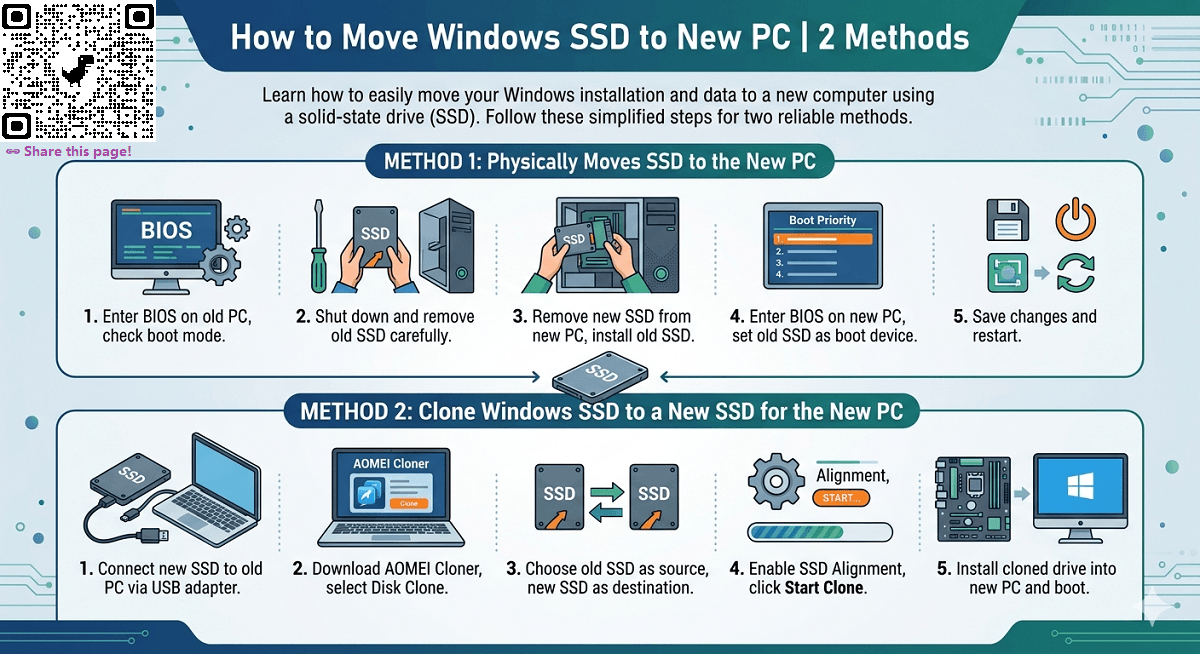
There are two main ways to transfer Windows to a new SSD: cloning the old drive or installing Windows from scratch.
Cloning copies the entire old drive to the new SSD. This includes Windows, installed programs, user accounts, settings, partitions, and boot files. It is the fastest choice when your current Windows installation works well.
A clean installation creates a fresh Windows system. It removes old drivers, unused programs, temporary files, and system clutter. This method takes more time because you must reinstall apps, restore files, and adjust your settings again.
Choose cloning when:
• You want your computer to look and work the same after the upgrade.
• Your current Windows installation is stable.
• You have many applications or custom settings.
• You want to avoid reinstalling programs.
Choose a clean installation when:
• Windows has frequent errors or malware problems.
• The old drive contains years of unwanted software.
• You are changing from Legacy BIOS to UEFI.
• You want the cleanest possible setup.
In my experience, cloning works best for a healthy system that only needs more speed or storage. A clean install is better when the old Windows setup feels slow, unstable, or crowded. Think of cloning as moving the entire house and a clean install as moving only the items you still need.

Method 1: Transfer Windows to a New SSD by Cloning
Cloning is the most direct way to transfer Windows to a new SSD. The process copies the source drive to the destination drive, then allows the computer to start from the new SSD.
1. Connect the New SSD
Connect the new SSD to your computer before you begin cloning.
For a desktop, install the SSD in an open drive bay or M.2 slot. For a laptop, connect it with a USB-to-SATA adapter or NVMe enclosure. Some cloning tools can detect a new drive immediately, while others may require you to open Disk Management first.
To check the drive:
-
Right-click the Start button.
-
Select Disk Management.
-
Find the new SSD in the lower drive list.
-
Initialize it if Windows asks.
Choose GPT when prompted if your computer uses UEFI. Do not create extra partitions unless the cloning tool requires it. The cloning software will usually copy the needed partitions for you.
2. Check the Source Drive
Before you transfer Windows to a new SSD, scan the current drive for errors.
Open File Explorer, right-click the Windows drive, select Properties, choose Tools, and select Check under Error checking. You can also open Command Prompt as an administrator and run:
chkdsk C: /scan
If Windows reports serious errors, repair them before cloning. A failing source drive may produce an incomplete copy or cause Windows to crash after the transfer.
It is also wise to remove temporary files. Open Settings, select System, choose Storage, and review Temporary files. Do not delete personal files unless you have already backed them up.
3. Suspend BitLocker or Device Encryption
BitLocker protects data by encrypting the drive. Cloning an encrypted drive can work, but encryption may make the process slower or cause boot problems if the recovery information is not available.
Open Settings and search for BitLocker. On some Windows editions, you may find it under Control Panel. Save the recovery key to your Microsoft account or another secure location, then suspend protection during the clone if the software recommends it.
Do not delete the recovery key. You may need it when Windows detects a hardware or boot change.
4. Start the Disk Clone
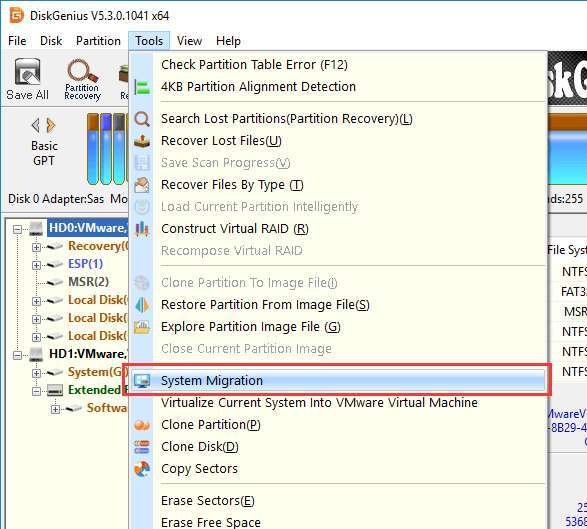
Open your cloning software and select the current Windows drive as the source. Select the new SSD as the destination.
This choice is critical. Selecting the wrong destination can erase the original drive. Take a moment to compare the drive model, capacity, and used space before continuing.
Most cloning tools show the partitions that will be copied. These often include:
• The EFI System Partition
• The Microsoft Reserved partition
• The main Windows partition
• The Windows Recovery partition
Copy all required system partitions. Do not copy only the C: drive unless the software clearly explains how it will recreate the boot files.
If the new SSD is smaller than the old drive, reduce the size of the main Windows partition so the total used space fits. The amount of free space matters more than the old drive’s total capacity.
5. Run the Clone
Start the cloning process and avoid using the computer while it runs. The time depends on the amount of data and the connection speed.
A SATA connection may take longer than a direct M.2 connection. A USB 2.0 adapter can be especially slow. Keep the computer connected to AC power, and prevent it from sleeping during the process.
When the software reports that cloning is complete, shut down the computer fully. Do not restart normally with both drives connected unless you know which drive the system will use.
Boot Windows From the New SSD
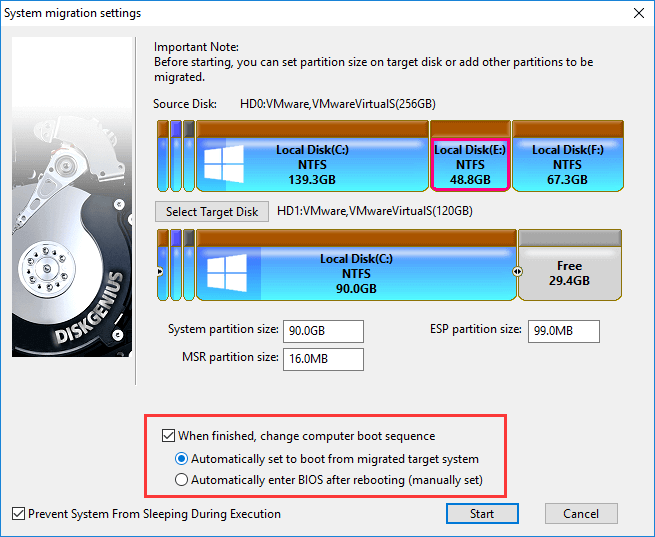
After you transfer Windows to a new SSD, the computer must start from the new drive. This step is simple on many systems, but it is also where most boot problems appear.
Replace or Prioritize the Old Drive
For a laptop, remove the old drive and install the new SSD in its place. This reduces confusion and forces the system to use the cloned drive.
For a desktop, you can disconnect the old drive for the first boot. If you leave both drives connected, enter the firmware setup and choose the new SSD as the first boot device.
Common keys for the boot menu or firmware setup include:
• F2
• F10
• F12
• Delete
The correct key depends on the computer maker. Press it repeatedly as the computer starts.
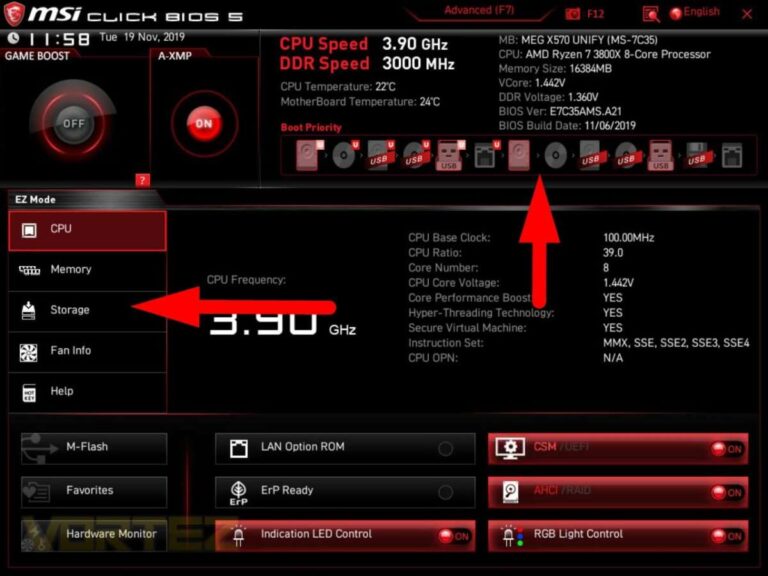
Look for Boot Order, Boot Priority, or Windows Boot Manager. Select the Windows Boot Manager entry linked to the new SSD. Save the changes and restart.
Check That Windows Uses the New SSD
After Windows starts, confirm that the system is running from the new drive.
Open Task Manager by pressing Ctrl + Shift + Esc. Select Performance and click the disk entries. You can also open Disk Management and compare the drive model with the new SSD.
Another useful check is to open File Explorer and review the drive capacity. If the new SSD is larger than the old one, the extra space may appear as unallocated space instead of part of the C: drive.
Extend the Windows Partition
If unallocated space appears next to the C: partition, you can usually add it to the Windows volume.
-
Right-click the Start button.
-
Select Disk Management.
-
Right-click the C: partition.
-
Select Extend Volume.
-
Follow the wizard.
The unallocated space must usually be directly next to the partition for Windows to extend it. If another partition sits between the C: drive and the free space, you may need a partition management tool. Do not modify partitions without a backup.

Method 2: Transfer Windows to a New SSD With a Clean Install
A clean installation is another reliable way to transfer Windows to a new SSD. It gives you a fresh operating system instead of copying the old one.
You will need a USB flash drive with at least 8 GB of space. The Windows installation media tool can create a bootable installer. The USB drive will be erased during this process, so move any files from it first.
Create Windows Installation Media
Download the official Windows installation media tool from Microsoft. Use it to create a bootable USB drive.
Before starting, check whether your computer supports Windows 11. Windows 11 has requirements such as Secure Boot, UEFI, and a compatible TPM. If your computer does not meet those requirements, Windows 10 may be the suitable option, although support periods should be checked before installation.
Install the SSD
Turn off the computer and disconnect the power. Install the new SSD in the proper SATA bay or M.2 slot.
If the old drive is still installed, disconnect it during the clean installation if possible. This prevents Windows from placing boot files on the wrong drive. You can reconnect the old drive after the new system starts correctly.
Install Windows
Insert the Windows USB drive and start the computer. Open the boot menu and select the USB device.
During setup:
-
Choose your language, time, and keyboard settings.
-
Select Install now.
-
Enter your product key or choose I don’t have a product key if Windows was already activated on the computer.
-
Select the correct Windows edition.
-
Choose Custom: Install Windows only.
-
Select the unallocated space on the new SSD.
-
Click Next.
Windows will create the necessary partitions automatically. Do not delete partitions on another drive by mistake. If several drives are connected, compare their capacities carefully before making changes.
Finish Setup and Restore Your Files
After Windows starts, connect to the internet. In many cases, activation occurs automatically because the license is linked to the device or your Microsoft account.
Install motherboard, chipset, graphics, network, and storage drivers from trusted sources. Then run Windows Update until no important updates remain.
Reinstall your applications and restore personal files from your backup. Keep the old drive untouched for a few days if it still works. This gives you a safety net if you forget a file or setting.
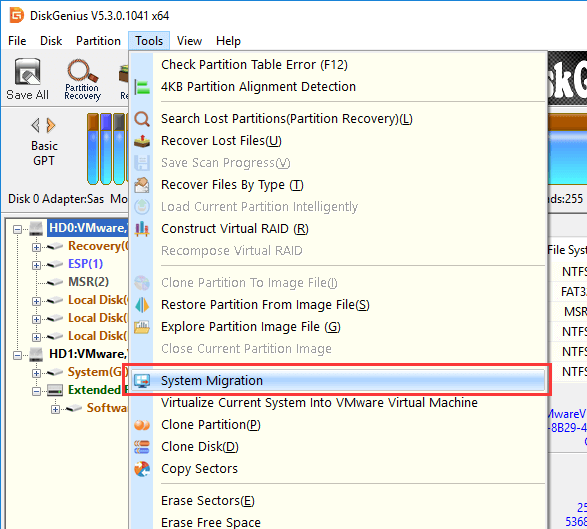
Common Problems After Moving Windows to an SSD
Even when you transfer Windows to a new SSD correctly, a few issues can appear. Most are caused by boot mode, encryption, partition size, or an incorrect drive selection.
Windows Says “No Boot Device Found”
This message usually means the computer cannot find the boot files. Check that the new SSD is detected in the firmware setup.
Then confirm that:
• UEFI is enabled if the disk uses GPT.
• Legacy or CSM mode is used only when required by the old installation.
• Windows Boot Manager is first in the boot order.
• The EFI System Partition was copied.
If the drive is visible but Windows will not start, Windows Startup Repair may fix the boot configuration. Start from a Windows installation USB, select Repair your computer, choose Troubleshoot, and run Startup Repair.
Windows Starts From the Old Drive
If both drives remain connected, the computer may continue using the old disk. Shut down the system, disconnect the old drive, and start again.
If Windows fails without the old disk, the boot files may have been placed on the old drive during cloning. In that case, repair the boot files or repeat the clone with only the new SSD connected as the destination.
The SSD Is Missing in Windows
Check the physical connection first. An M.2 SSD may not be fully seated, and a SATA cable may be loose.
If the drive appears in firmware but not in Windows, open Disk Management. It may need initialization or a drive letter. Do not format it if it contains the cloned Windows installation.
Windows Requests a BitLocker Recovery Key
A drive change can trigger BitLocker recovery. Enter the saved recovery key when prompted.
After Windows loads, verify that encryption is active and that the new recovery key is saved. Microsoft recommends keeping recovery keys in a safe location because losing one can prevent access to encrypted data.
Programs Ask for Activation Again
Some applications link activation to the old drive or hardware settings. Sign in to the application account or use the license recovery process provided by the software maker.
Microsoft 365, Adobe apps, games, and professional tools may each handle activation differently. Keep your license details before beginning the transfer.

How to Make the New SSD Perform Well
Transferring Windows to a new SSD is only part of the upgrade. A few simple checks can help the drive remain fast and reliable.
Windows normally enables TRIM automatically. TRIM helps the SSD manage unused blocks and maintain performance. To check it, open Command Prompt as an administrator and run:
fsutil behavior query DisableDeleteNotify
A result of 0 means TRIM is enabled for most Windows configurations.
You should also leave some free space on the SSD. A completely full drive can reduce performance and make updates difficult. Keeping at least 10% to 20% free is a practical target, although the exact effect depends on the SSD model and workload.
Do not use old-style disk defragmentation tools on an SSD. Windows Storage Optimizer recognizes SSDs and sends the proper optimization command instead.
Other useful habits include:
• Install the latest firmware only when the manufacturer recommends it.
• Keep important files backed up in more than one location.
• Monitor unusual errors, freezes, or disappearing drives.
• Use a surge protector or reliable power source for desktop systems.
• Avoid downloading random storage drivers from unknown websites.

Mistakes to Avoid When You Transfer Windows to a New SSD
The most common mistake is choosing the wrong source or destination disk. Drive names can look similar, especially when two disks have the same capacity. Compare the model number and size before you start.
Another mistake is cloning a damaged Windows installation without checking the source drive. If the old drive has file system errors, the new SSD may inherit them.
Avoid these errors:
• Starting without a full backup.
• Forgetting the BitLocker recovery key.
• Cloning to a destination that is too small.
• Disconnecting power during the clone.
• Formatting the old drive before testing the new SSD.
• Leaving both drives connected when the boot order is unclear.
• Switching from UEFI to Legacy mode without a reason.
• Deleting the recovery partition without understanding its purpose.
I once saw a transfer appear to fail because the new SSD showed less usable space than expected. The clone was complete, but the old partition had not expanded into the remaining space. Extending the volume in Disk Management solved the issue. This is a good reminder that a successful clone and a fully configured drive are two separate steps.
How Long Does It Take to Transfer Windows to a New SSD?
The time required to transfer Windows to a new SSD depends on how much data must be copied. A system with 100 GB of used space may finish in 20 minutes to an hour, while a drive with several hundred gigabytes can take much longer.
The connection type also matters. A direct NVMe connection is usually faster than a SATA connection, and a USB 2.0 adapter can slow the process significantly.
A clean Windows installation may take 30 minutes to an hour, but reinstalling apps and restoring files often takes several more hours. Cloning usually saves time when you want to preserve your complete setup.

Frequently Asked Questions About How to Transfer Windows to a New SSD
Can I transfer Windows to a smaller SSD?
Yes, if the used space on the old drive is smaller than the new SSD’s capacity. Shrink the main Windows partition before cloning, or use cloning software that automatically adjusts partitions.
Will transferring Windows to a new SSD delete my files?
Cloning normally copies your files to the new SSD, but it can erase the destination drive. Always confirm the source and destination disks, and keep a separate backup of important files.
Do I need to buy Windows again after moving it to an SSD?
Usually, no. Windows often reactivates automatically when installed on the same computer. Activation may depend on your digital license, product key, Microsoft account, and hardware changes.
Should I keep the old drive after cloning?
Keep the old drive until you have tested Windows, opened important files, and confirmed that your programs work. After that, you can erase and reuse it as a backup drive if it is healthy.
Can I transfer Windows without reinstalling programs?
Yes. Cloning transfers Windows, applications, files, settings, and many drivers together. A clean installation does not preserve programs, so you must reinstall them.
Does cloning Windows copy the recovery partition?
A complete disk clone usually copies the recovery partition and other system partitions. Select the entire disk or all required partitions rather than copying only the C: drive.
Conclusion
The safest way to transfer Windows to a new SSD is to back up your data, check compatibility, clone the complete system drive, and confirm that the computer boots from the new SSD. A clean installation is better when your old Windows setup has errors, unwanted software, or major configuration problems.
Take your time when selecting the source and destination disks. Keep your BitLocker key, test the new drive before erasing the old one, and make sure the boot mode matches the disk format. With these steps, you can enjoy faster startup, smoother app loading, and more reliable storage with far less stress.
If this guide helped, explore more Windows storage tips or share your SSD upgrade experience in the comments.

Everett Ashford is a tech reviewer at mytechgrid.com specializing in SSDs, cameras, TVs, earbuds, headphones, and other consumer electronics. He provides honest, data-driven reviews based on hands-on testing and real-world performance analysis. Everett simplifies complex tech details to help readers make smart, confident buying decisions.