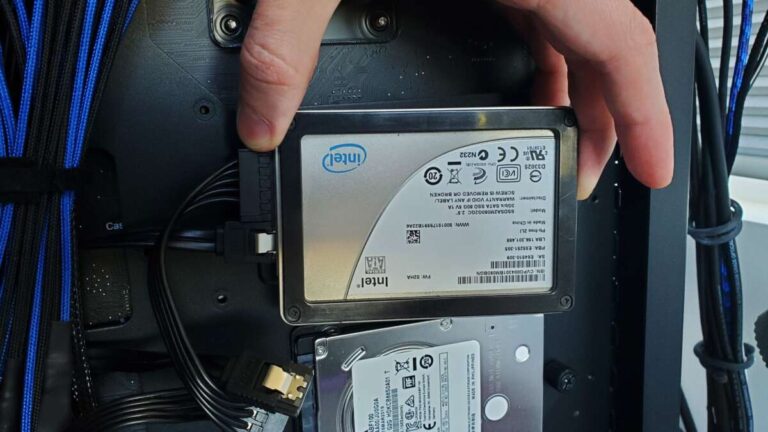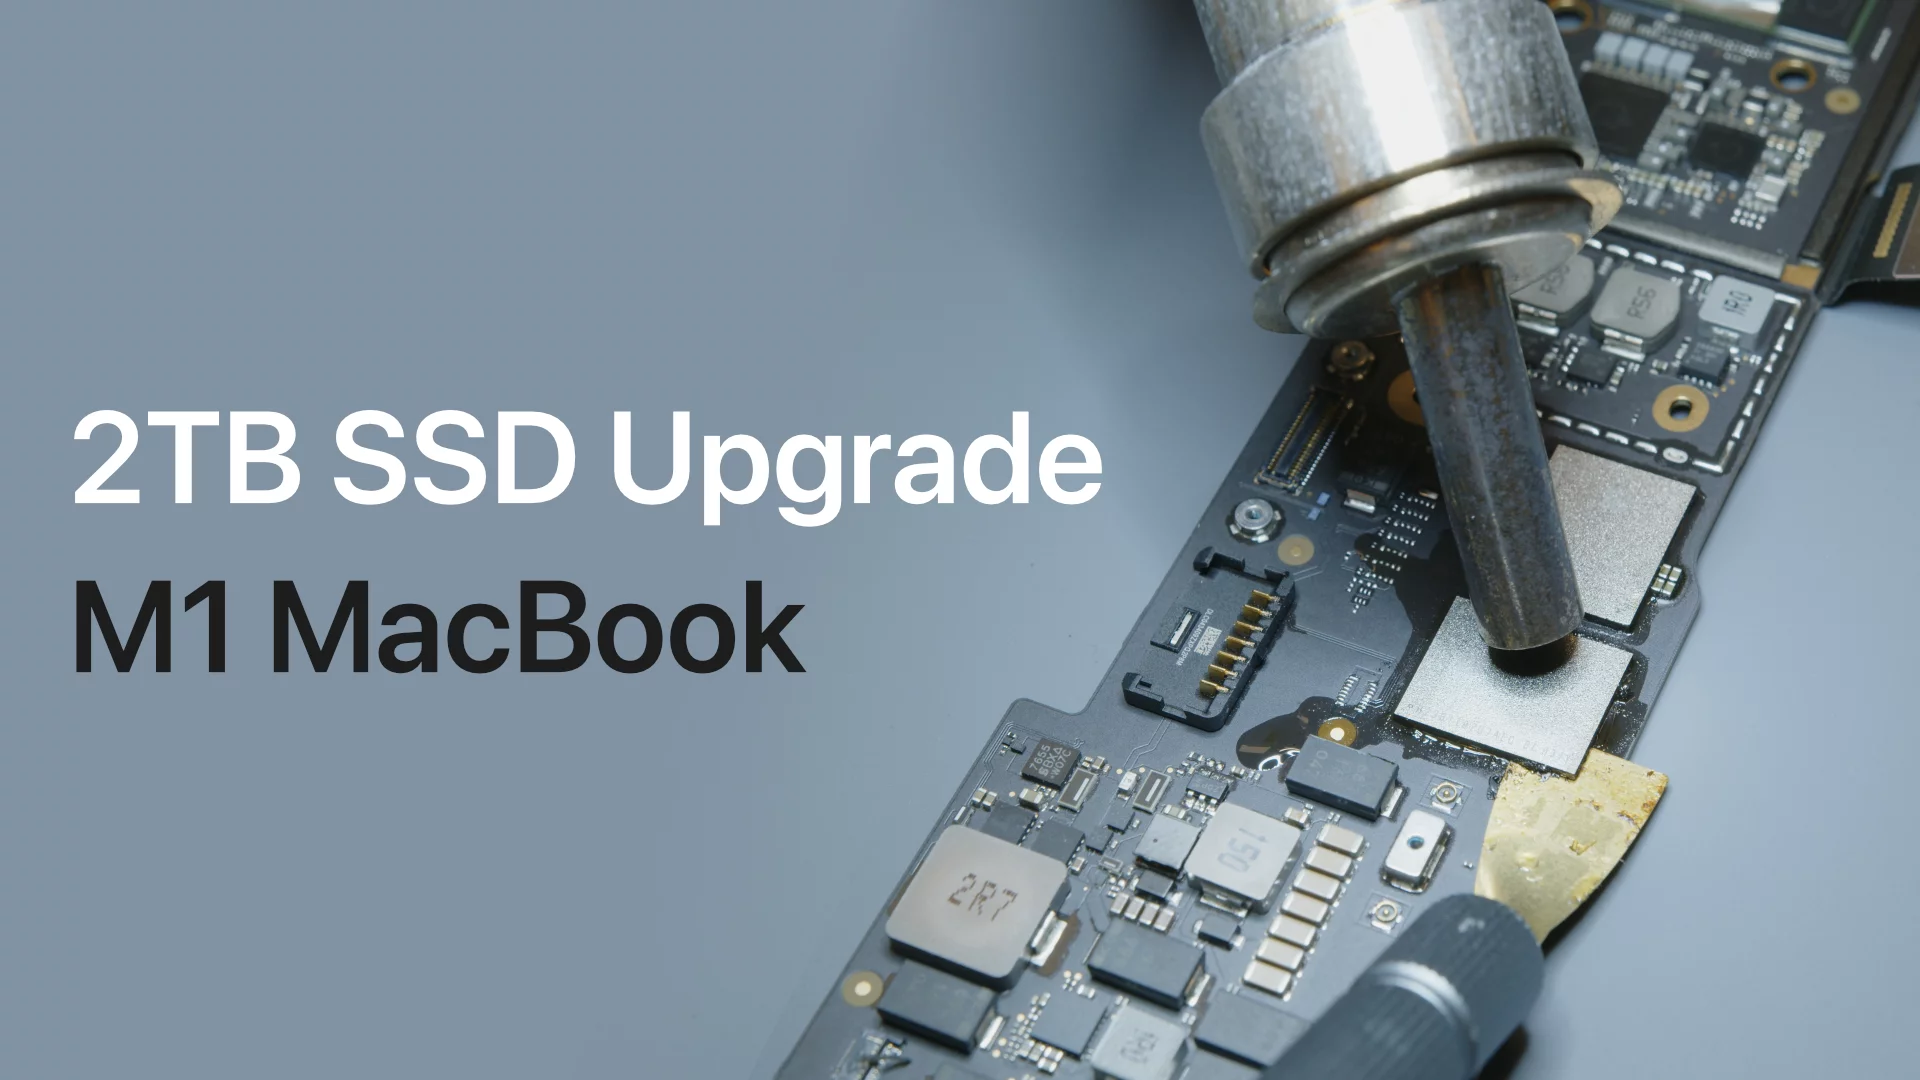
Yes, you can upgrade the SSD on some MacBook Air models, but newer models have storage soldered to the logic board.
Whether you can upgrade the SSD on a MacBook Air depends mainly on its model year. Older MacBook Air laptops often use a removable storage blade, while most Retina and Apple silicon models use soldered storage that cannot be replaced in the usual way. This guide explains how to check your model, what upgrade options exist, what tools you need, and when an external SSD is the better choice.
Can You Upgrade the SSD on a MacBook Air?
Yes, but only on certain MacBook Air models. The easiest MacBook Air models to upgrade are many versions made from 2010 through 2017.
The situation changed with the 2018 MacBook Air. Apple began using storage that is soldered directly to the logic board. This design is also used in the 2020 Intel MacBook Air and Apple silicon models with M1, M2, or M3 chips.
Here is the basic rule:
• 2010 to 2017 MacBook Air models usually have a removable SSD.
• 2018 to 2020 Intel MacBook Air models usually have soldered storage.
• M1, M2, and M3 MacBook Air models have soldered storage.
• Modern MacBook Air storage cannot be upgraded as a simple do-it-yourself repair.
If you are asking, “Can you upgrade the SSD on a MacBook Air?” the model number matters more than the screen size or processor name.
Which MacBook Air Models Support an SSD Upgrade?
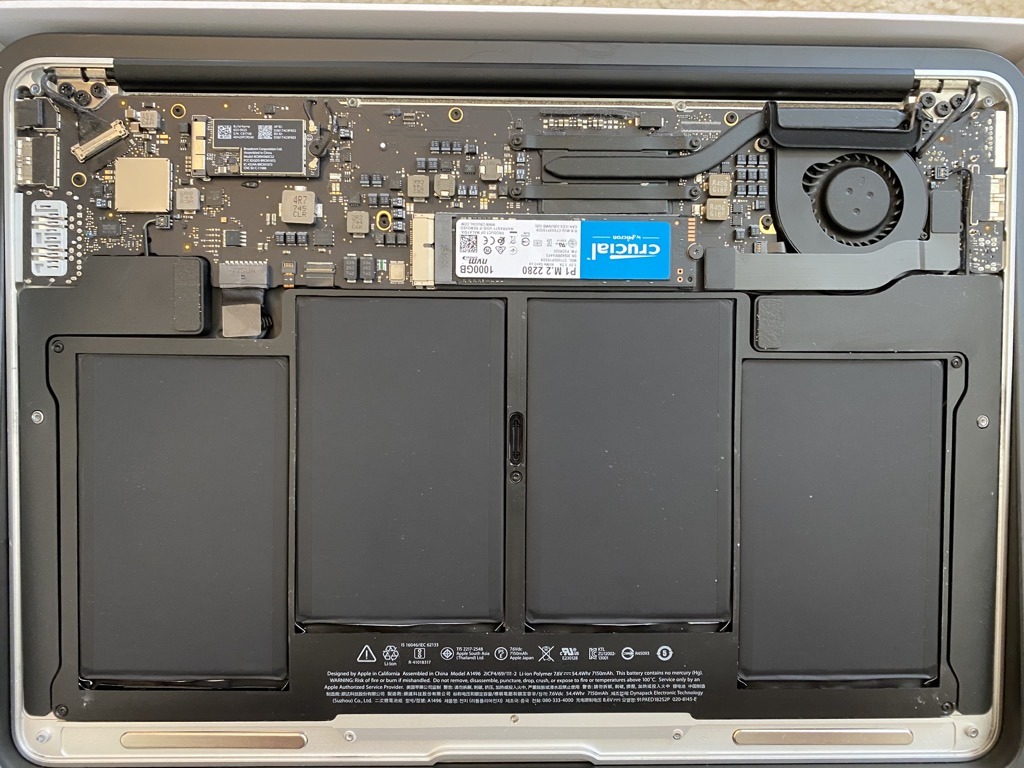
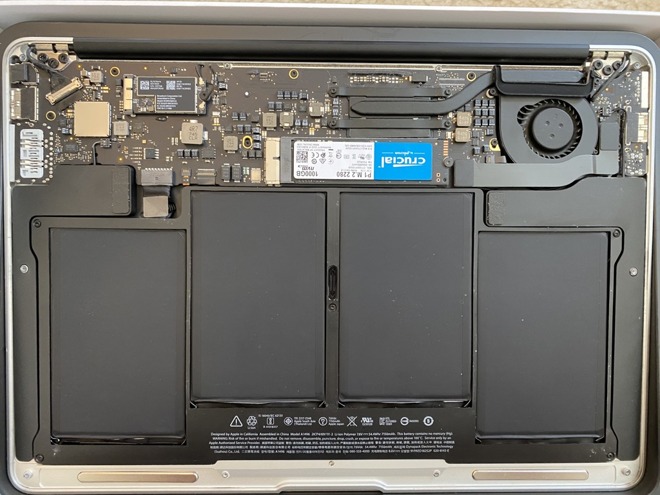
Older MacBook Air computers use a small, custom-shaped SSD. It looks different from a standard 2.5-inch laptop drive or a typical desktop M.2 SSD.
The following models commonly support an internal SSD upgrade:
• MacBook Air A1369 from 2010 and 2011
• MacBook Air A1466 from 2012 through 2017
• Some 2010 through 2015 models with removable blade-style storage
The exact SSD connector can vary by year. A drive made for a 2013 MacBook Air may not fit a 2010 model, so compatibility must be checked before buying.
The 2018 MacBook Air, model A1932, is different. Its storage chips are attached to the logic board. The 2019 and 2020 Intel models follow the same basic design.
How to Find Your MacBook Air Model
You can identify your MacBook Air in several ways:
-
Select the Apple menu.
-
Choose About This Mac.
-
Note the model year and serial number.
-
Enter the serial number on Apple’s official coverage page or a trusted Mac identification tool.
-
Check the model identifier, such as MacBookAir7,2 or MacBookAir8,1.
You can also turn the MacBook Air over and look for a model number printed on the bottom case. This number often begins with the letter A.
Do not buy an SSD based only on “MacBook Air SSD.” Confirm the year, model number, connector type, and supported capacity first.

Why Newer MacBook Air Models Cannot Be Upgraded
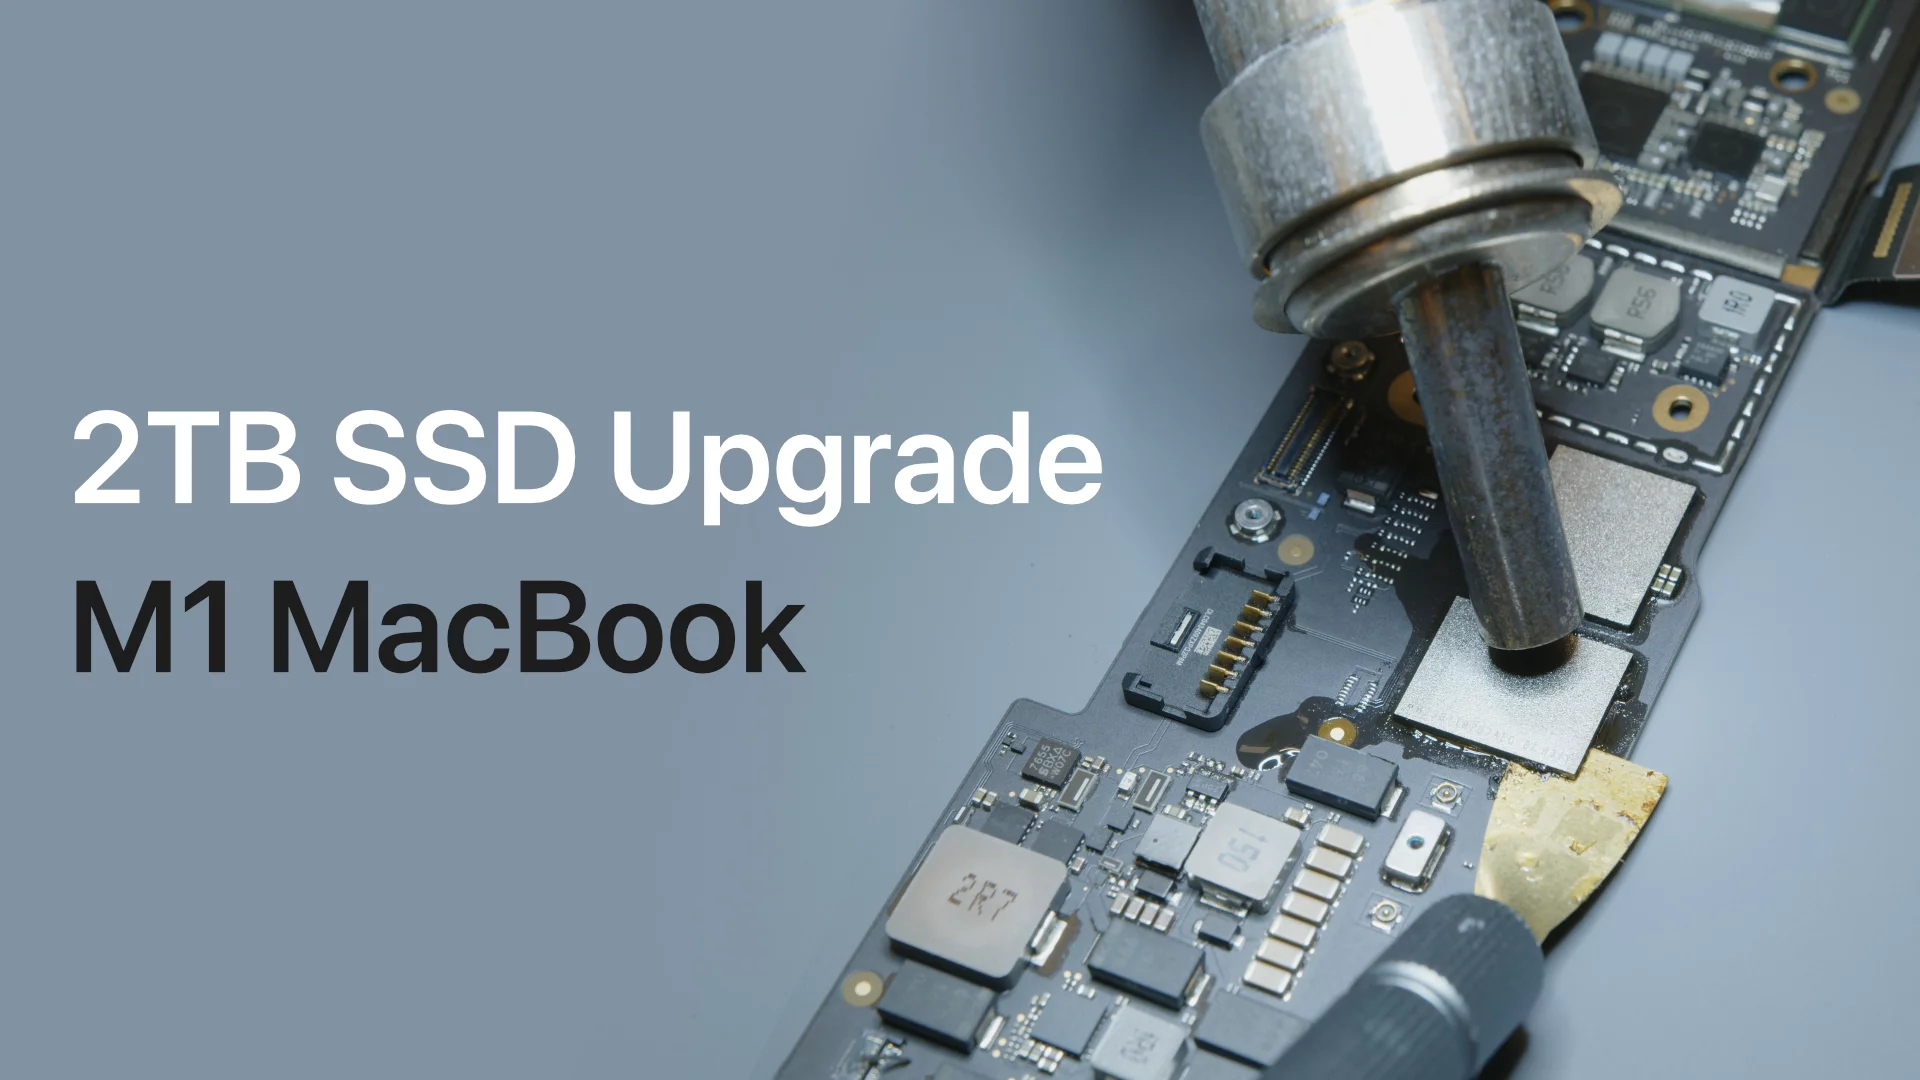
On newer MacBook Air models, storage chips are soldered to the logic board. Soldering creates a direct electrical connection, so the SSD is not a removable part like the drive in an older laptop.
This design helps Apple make the laptop thinner and lighter. It can also improve board layout and reduce the space needed for connectors. However, it makes future upgrades much harder.
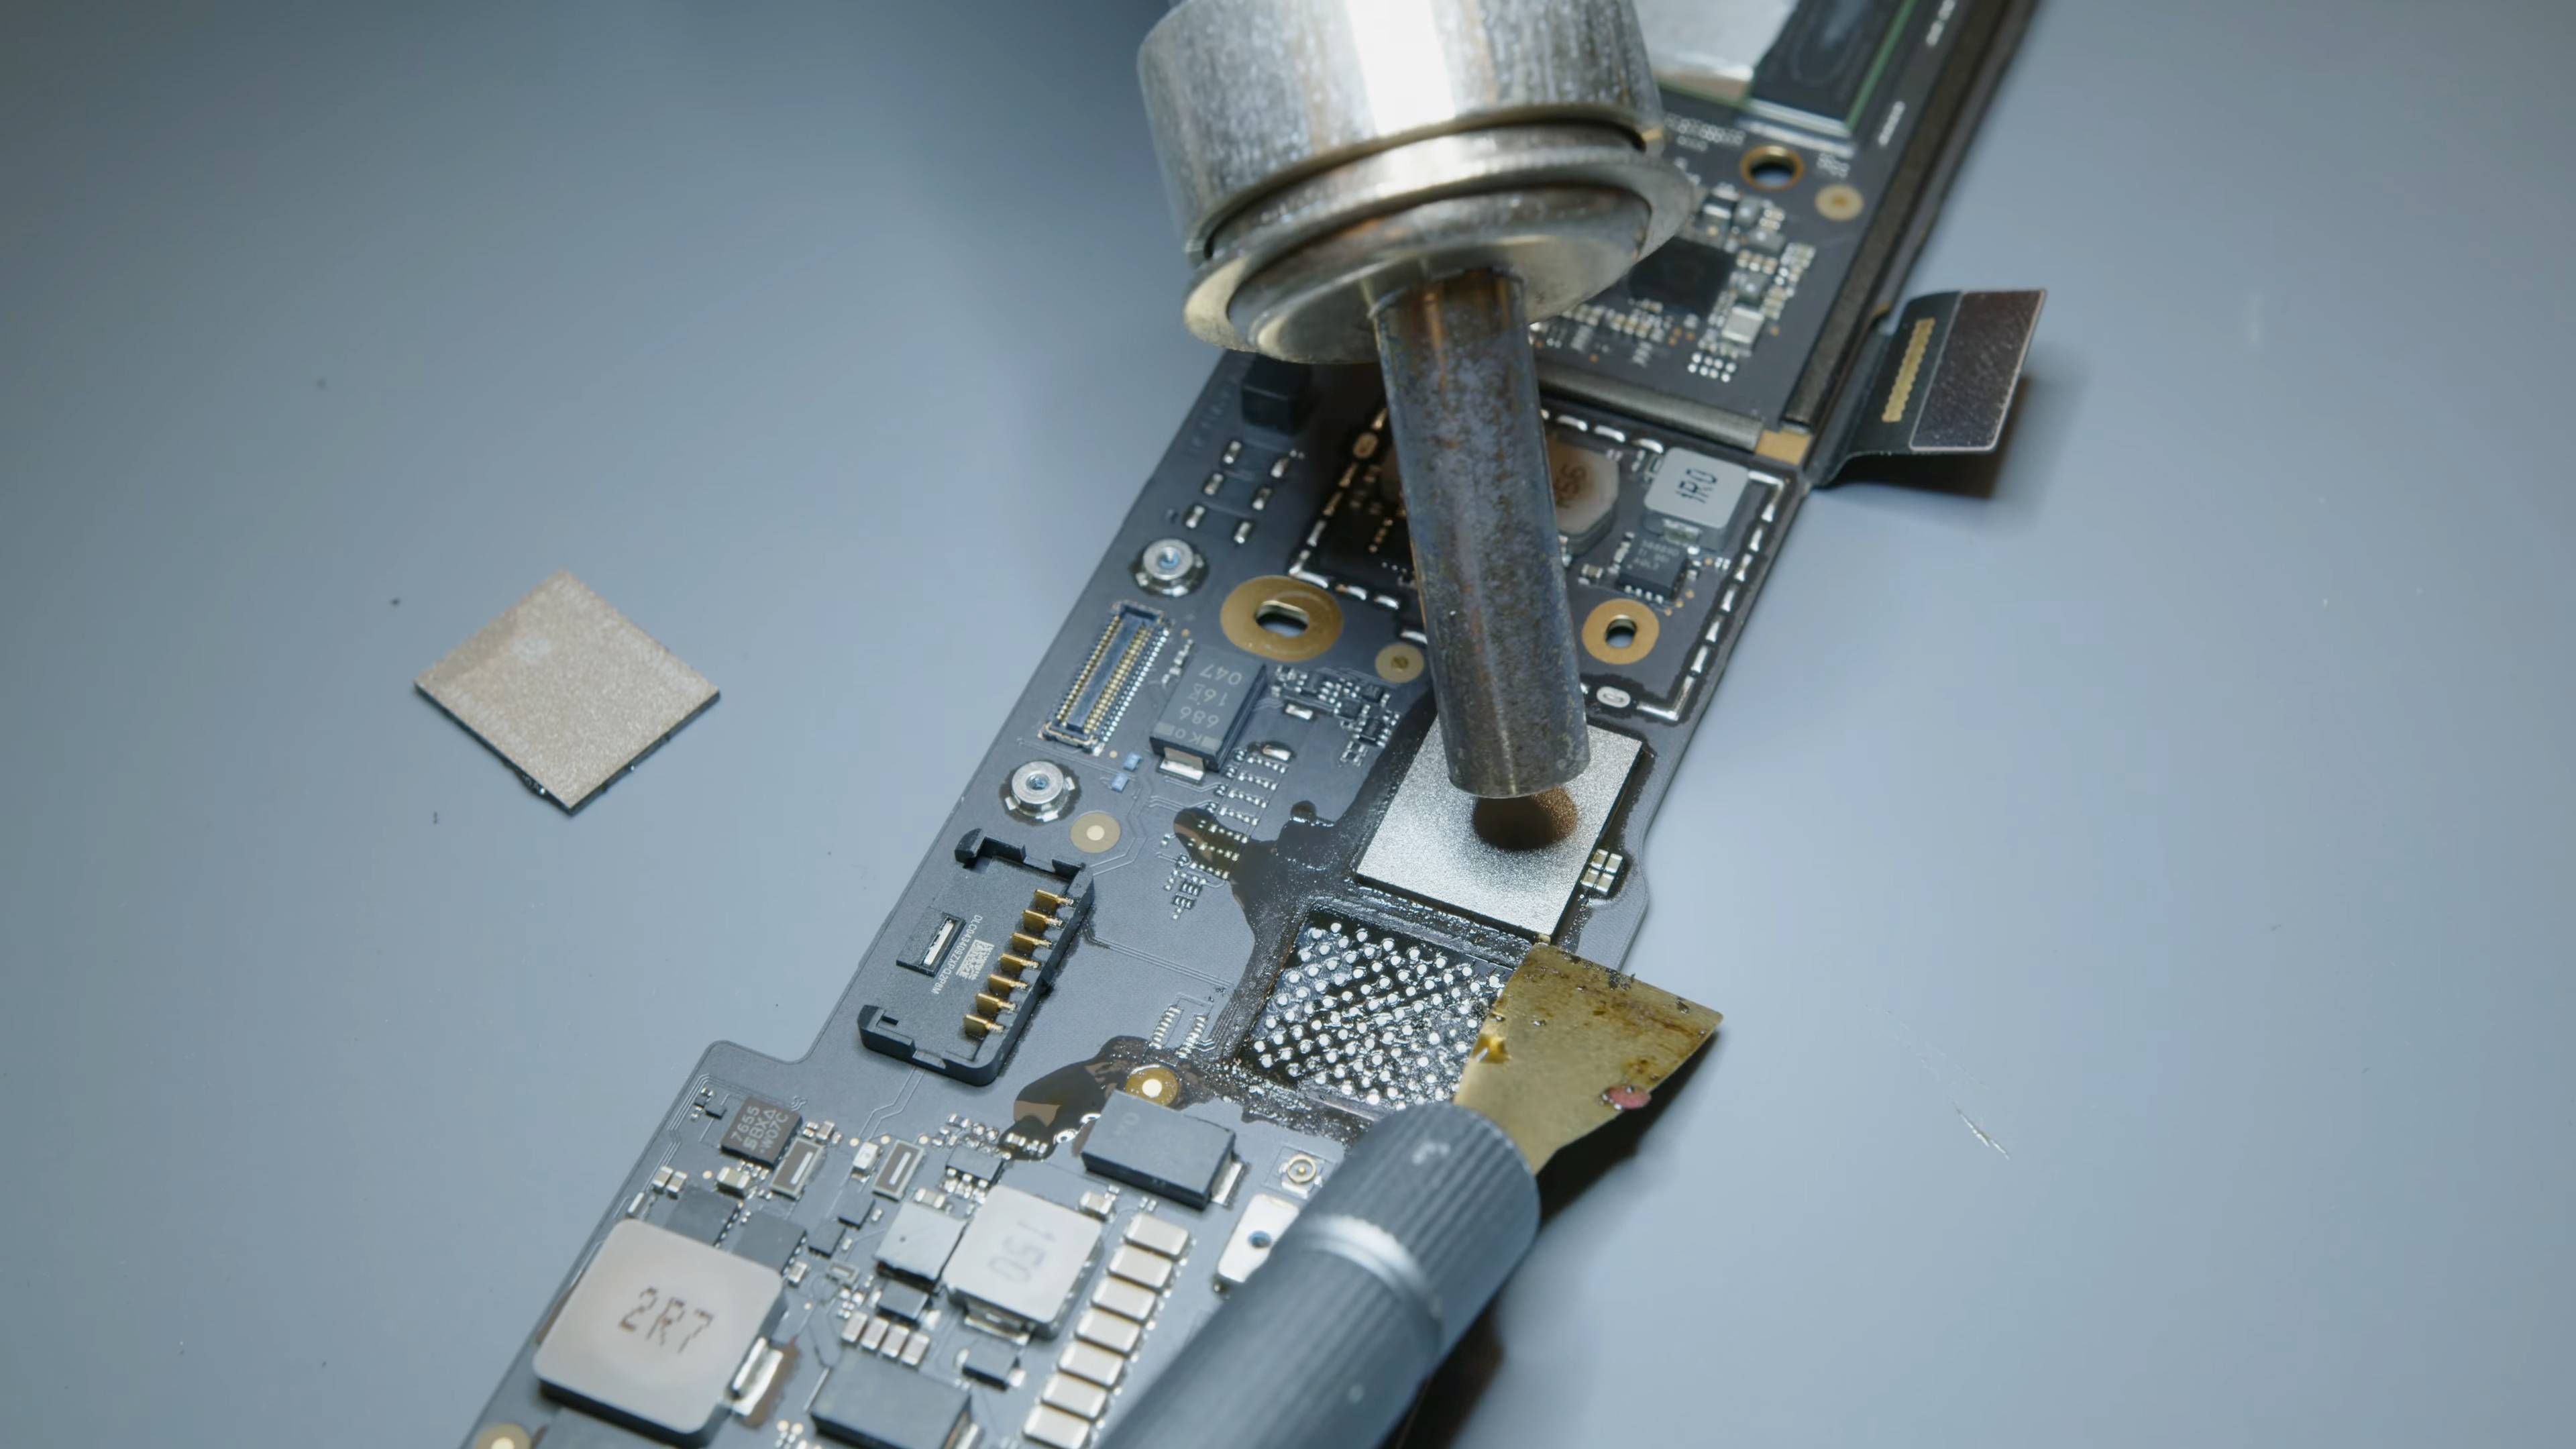
A soldered SSD is not normally replaceable with a larger drive. In theory, a skilled board-repair specialist may replace storage chips or transfer data, but this is not a normal upgrade. It requires advanced equipment, firmware knowledge, and microsoldering skills.
Apple silicon MacBook Air models add another limitation. Their unified memory and storage systems are closely tied to the main board. Storage capacity must be selected when you buy the computer.
This is why the answer to “Can you upgrade the SSD on a MacBook Air?” is different for a 2017 model and an M2 model. The older laptop has a removable storage module. The newer one does not.
How to Upgrade the SSD in an Older MacBook Air
If your MacBook Air has a removable SSD, the physical upgrade is fairly simple. Still, work slowly. Small screws and delicate connectors can turn a quick repair into an expensive mistake.
What You Need
Prepare these items before opening the laptop:
• A compatible replacement SSD
• A P5 pentalobe screwdriver
• A T5 Torx screwdriver, depending on the model
• A plastic spudger
• A clean, well-lit work area
• An external drive for backup
• A USB enclosure or adapter for the old SSD, if needed
Some replacement SSD kits include the needed screwdriver and a USB adapter. A kit can be easier for first-time repairs because the drive and tools are designed to work together.
Safe Upgrade Steps
-
Back up the MacBook Air with Time Machine or another trusted backup tool.
-
Shut down the MacBook Air completely.
-
Disconnect the charger and all accessories.
-
Remove the bottom-case screws and keep them organized.
-
Disconnect the battery before touching the SSD.
-
Remove the SSD retaining screw.
-
Slide the old SSD out of its connector.
-
Insert the new SSD at the same angle.
-
Reinstall the retaining screw and reconnect the battery.
-
Close the bottom case.
-
Start the MacBook Air in macOS Recovery.
-
Erase and format the new SSD with Disk Utility.
-
Restore your files or reinstall macOS.
The SSD should slide out and in with gentle pressure. If it does not move, stop and check the screw or connector. Never force it.
The Easiest Software Method
You have two common choices after installing the new SSD:
• Restore from a Time Machine backup.
• Clone the old SSD before removing it.
A Time Machine restore is simple and supported by Apple. Cloning can save time because it copies the system, apps, settings, and files in one step. However, cloning tools and macOS startup rules can change, so a current backup is still essential.

How Much Storage Can You Add?
The maximum supported capacity depends on the MacBook Air model and the replacement SSD. Many older MacBook Air models can use 480GB, 1TB, or 2TB upgrade drives.
A larger SSD gives you more room for:
• Photos and video
• School or work files
• Creative apps
• Virtual machines
• Local iPhone and iPad backups
• macOS updates
Capacity alone does not guarantee compatibility. Some third-party SSDs may have sleep, hibernation, or firmware issues on older Macs. A reputable drive made specifically for the MacBook Air is usually safer than a random adapter and generic SSD combination.
A useful choice for many people is 1TB. It offers a large increase over a 128GB or 256GB drive without pushing the older MacBook Air beyond its practical lifespan.
Before buying, check:
• The MacBook Air model year
• The model identifier
• The connector design
• The advertised maximum capacity
• macOS support
• The seller’s return policy
The question “Can you upgrade the SSD on a MacBook Air?” should always be followed by another question: “Which exact MacBook Air model do I have?”

What If Your MacBook Air Has Soldered Storage?
If your MacBook Air has soldered storage, an external SSD is the safest upgrade path. You connect the drive through USB-C or Thunderbolt and use it for files, media, backups, or even some apps.
A portable external SSD can be much faster than an old internal hard drive. It is also easy to move between computers. For everyday storage, a USB-C SSD is often all most users need.
You can use an external SSD for:
• Photos and video libraries
• Large games and creative projects
• Time Machine backups
• Documents and downloads
• Music and movie collections
• Some applications
Thunderbolt drives can reach higher speeds than standard USB drives, but they often cost more. A USB 3.2 Gen 2 SSD is usually fast enough for documents, photos, and normal creative work.
If you want to run macOS from an external drive, confirm that your MacBook Air and macOS version support the setup. External startup systems can be slower and less convenient than internal storage. They also need careful backup planning.
Cloud storage is another option, but it should not replace a real backup. Services such as iCloud Drive can keep files available across devices, yet deleted or damaged files may not always remain recoverable forever.
Internal SSD Upgrade vs. External SSD
Choosing between an internal and external SSD depends on the MacBook Air model and how you use it.
Internal SSD Upgrade
An internal upgrade is best when:
• Your MacBook Air has a removable SSD.
• You want a clean, portable setup.
• You need more space for apps and local files.
• You are comfortable opening the laptop.
The main risks are buying the wrong drive, damaging a connector, or losing data without a backup.
External SSD
An external SSD is best when:
• Your MacBook Air has soldered storage.
• You need extra space for large files.
• You want a flexible storage option.
• You do not want to open the computer.
The main drawbacks are the extra cable, the chance of losing the drive, and slower performance if you use a poor-quality cable or port.
In practical repair work, one common mistake is spending money on an internal upgrade before confirming the model. A quick model check can prevent a wrong purchase and an unnecessary return.

Common Problems After a MacBook Air SSD Upgrade
Most upgrades work well when the drive is compatible, but a few problems can occur.
The Mac Does Not Detect the SSD
Check whether the SSD is fully inserted. Also confirm that the battery connector is secure. If the drive still does not appear in Disk Utility, it may be incompatible or defective.
The Mac Starts With a Folder Icon
A flashing folder icon usually means the Mac cannot find a valid startup system. Start macOS Recovery, erase the SSD with the correct format, and reinstall macOS.
For many modern macOS installations, APFS is the correct format. Older macOS versions may use Mac OS Extended. Disk Utility will show the available options.
The Mac Runs Slowly
Slow performance can result from a poor-quality SSD, low free space, or an outdated adapter. Keep at least 10% to 20% of the drive free when possible. macOS needs working space for updates, caching, and temporary files.
Sleep or Battery Problems Appear
Some third-party SSDs do not manage power as well as Apple’s original drive. Check for firmware updates and confirm that the drive is designed for your MacBook Air generation.
The New Drive Has Less Space Than Expected
Storage makers use decimal units, while macOS reports capacity in a different way. A drive sold as 1TB will show somewhat less usable space after formatting. This is normal.
How to Protect Your Data Before an SSD Upgrade
A backup is not optional. Replacing storage can erase every file on the MacBook Air.
Use at least one full backup before starting. A second copy is even better for important work, family photos, tax files, or business records.
A safe backup plan includes:
• A Time Machine backup on an external drive
• A separate copy of essential files
• Cloud storage for selected documents
• Verification that the backup can actually be opened
Do not assume that a drive is backed up just because it appears in Finder. Open several files from the backup and confirm that the most important folders are present.
If FileVault is enabled, keep your recovery key and account password available. You may need them after the drive replacement or macOS installation.
Also sign out of services only when needed. Most upgrades do not require you to remove your Apple Account, but knowing your login details can prevent delays during setup.

Is a MacBook Air SSD Upgrade Worth It?
For an older MacBook Air, an SSD upgrade can be very worthwhile. More storage can extend the laptop’s useful life, especially if the battery and keyboard are still in good condition.
An upgrade is often worth considering when:
• The Mac has only 128GB of storage.
• You frequently see “disk almost full” warnings.
• The laptop works well but lacks space.
• A new computer would cost much more than the repair.
An upgrade may not be worth it when:
• The battery is failing badly.
• The Mac no longer receives useful macOS updates.
• The screen, keyboard, or logic board also needs repair.
• The upgrade cost is close to a newer used MacBook Air.
For a 2010 to 2017 model, an SSD upgrade can make daily tasks feel smoother because the replacement drive may be faster and larger than the original. It will not turn an old processor into a new one, but it can remove storage limits and reduce frustrating slowdowns.
For a newer MacBook Air with soldered storage, an external SSD is usually the better investment. If you need more internal space, compare the cost of an external drive with the cost of buying a MacBook Air with a larger factory-installed SSD.
Frequently Asked Questions About Can You Upgrade the SSD on a MacBook Air
Can you upgrade the SSD on a MacBook Air from 2017?
Yes, many 2017 MacBook Air models have a removable SSD that can be replaced. You need a drive designed for that specific model and connector.
Can you upgrade the SSD on a MacBook Air from 2018?
Usually, no. The 2018 MacBook Air uses soldered storage, so it does not support a normal internal SSD replacement.
Can you upgrade the SSD on an M1 MacBook Air?
No, the internal storage in the M1 MacBook Air is soldered to the logic board. You can add storage with a USB-C or Thunderbolt external SSD.
Does upgrading the SSD make a MacBook Air faster?
It can improve startup and file access on older models, especially when replacing a slow or worn drive. It will not greatly improve CPU performance, graphics power, or memory limits.
Will upgrading the SSD erase my files?
Yes, replacing and formatting the drive can erase all data. Create and verify a Time Machine backup before opening the MacBook Air.
Can Apple upgrade the SSD in a newer MacBook Air?
Apple generally does not offer a normal post-purchase storage upgrade for soldered-storage MacBook Air models. An Apple Store or authorized service provider can confirm repair options for your exact device.
Conclusion
The answer to “Can you upgrade the SSD on a MacBook Air?” depends on the model year. Many 2010 to 2017 models support a removable internal SSD, while 2018 and newer models usually have soldered storage.
Check the model number before buying any part. Back up your files, use a compatible drive, and work carefully around the battery and connectors. If your MacBook Air has soldered storage, a reliable external SSD is the simplest and safest way to add space.
Take a few minutes to identify your MacBook Air before spending money. Then choose an internal upgrade or external SSD based on your model, budget, and daily needs.

Everett Ashford is a tech reviewer at mytechgrid.com specializing in SSDs, cameras, TVs, earbuds, headphones, and other consumer electronics. He provides honest, data-driven reviews based on hands-on testing and real-world performance analysis. Everett simplifies complex tech details to help readers make smart, confident buying decisions.