Check SSD storage by opening your device’s storage settings, Disk Management, Disk Utility, or a trusted system command.
Knowing how to check SSD storage helps you see how much space remains, confirm that your drive is detected, and spot problems before they cause data loss. The steps vary by device, but the process is simple once you know where to look. This guide explains how to check SSD storage on Windows, macOS, Linux, Chromebooks, phones, and external drives, along with ways to check SSD health and improve available space.

What SSD storage means
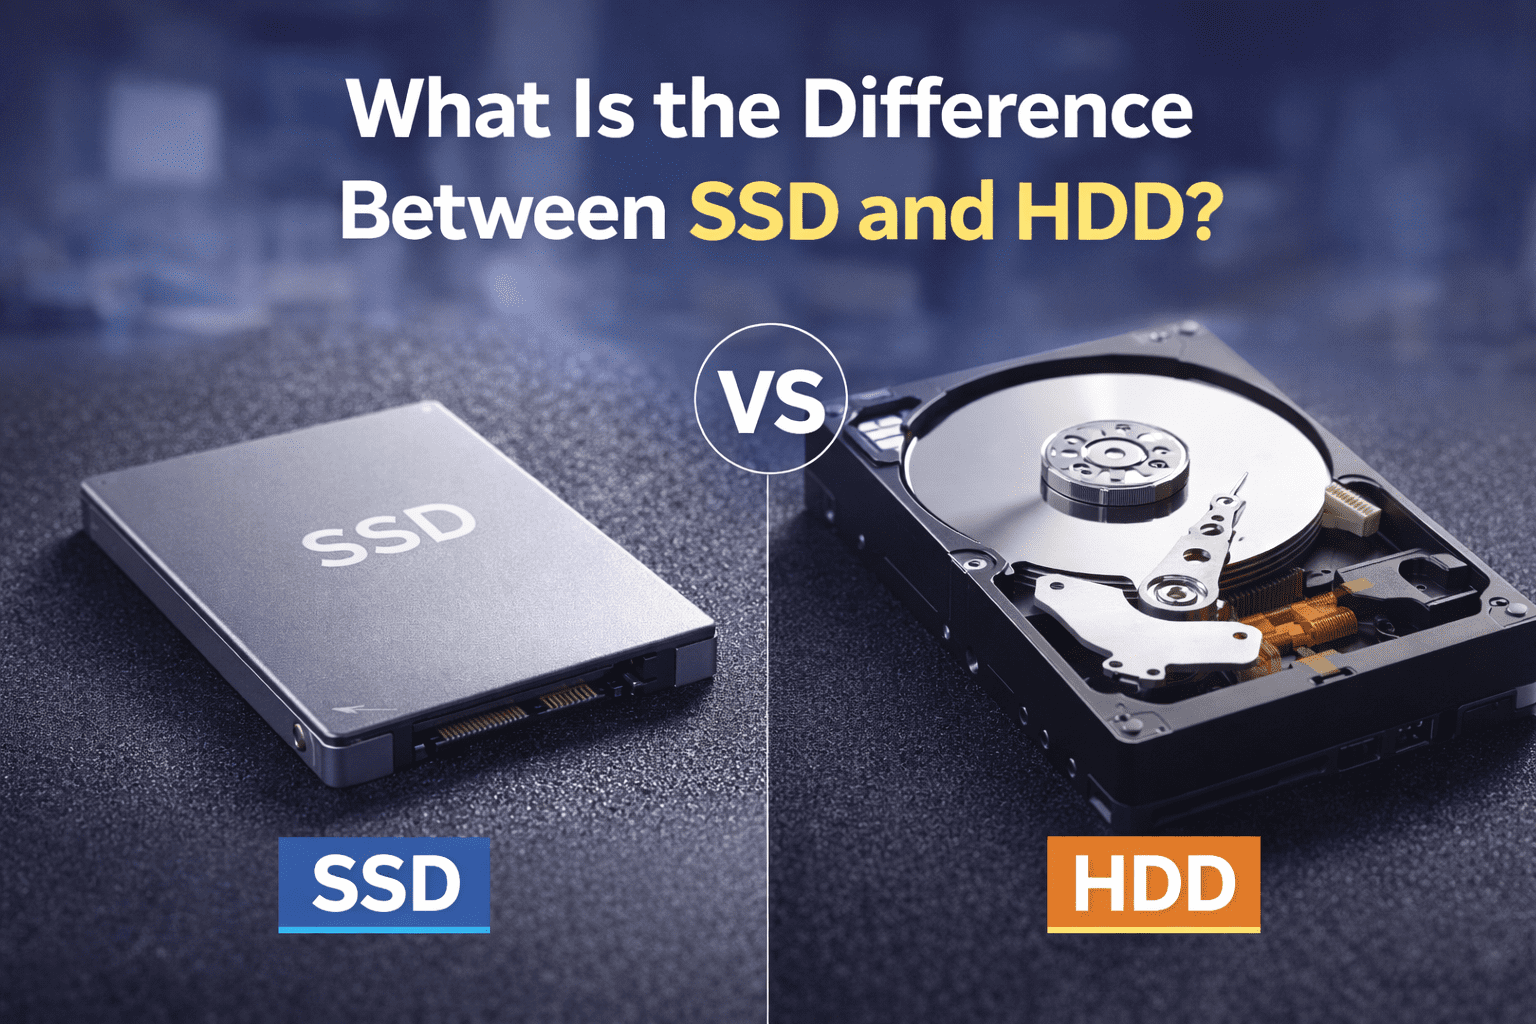
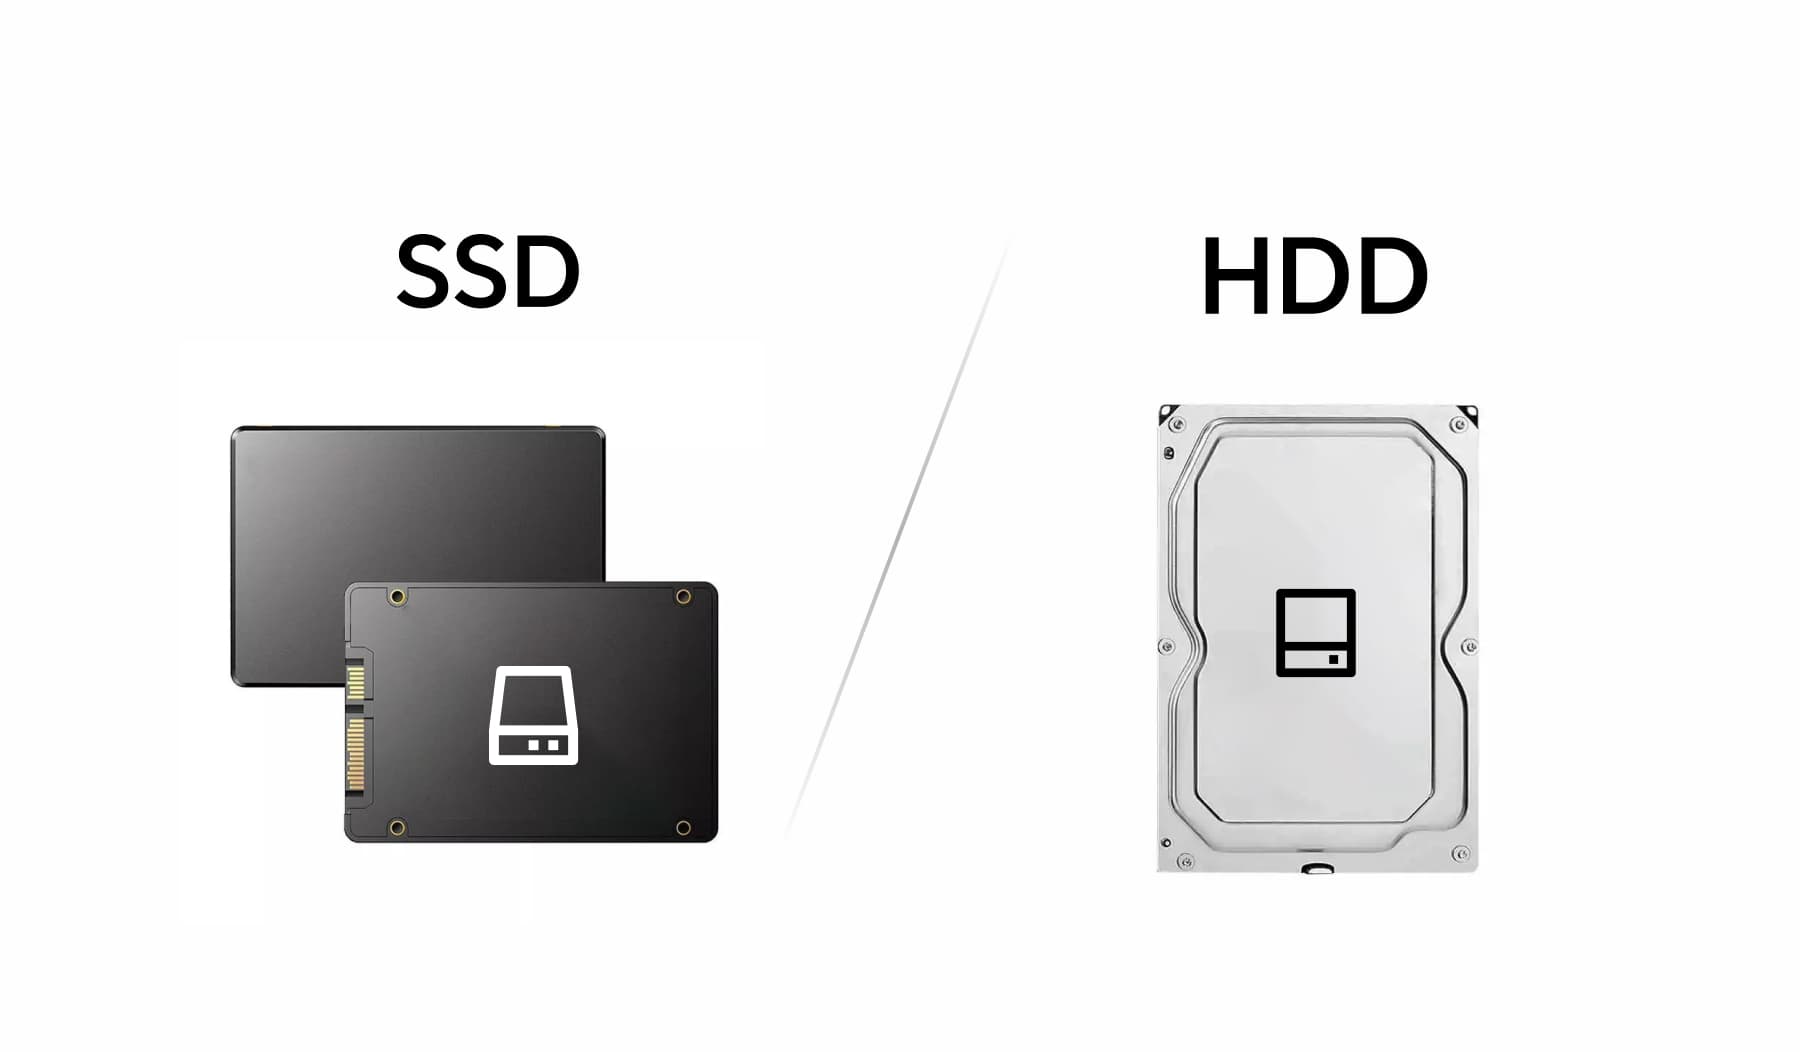
An SSD, or solid-state drive, stores your operating system, apps, photos, videos, and other files. Unlike a hard disk drive, an SSD has no spinning disks or moving read heads. It uses flash memory, which makes it fast, quiet, and more resistant to small physical shocks.
When people ask how to check SSD storage, they may mean one of three things:
• Available space: How much room is free for files and apps.
• Total capacity: The full size of the SSD.
• Drive health: Whether the SSD is working properly and showing signs of wear.
These details are related but not the same. A drive can have plenty of free space but poor health. It can also be healthy while being almost full.
Most operating systems show total and available storage in gigabytes. The number may look smaller than the size printed on the box. For example, a 1 TB SSD may appear as about 931 GB in Windows because manufacturers use decimal units, while operating systems often calculate capacity with binary units.
How to check SSD storage on Windows
Windows offers several simple ways to check SSD storage. The best method depends on whether you want a quick view of free space, a complete list of drives, or detailed drive information.
Check SSD storage in File Explorer
This is the fastest method for most users.
- Press Windows + E to open File Explorer.
- Select This PC from the left menu.
- Find the drive listed under Devices and drives.
- Look at the storage bar below the drive name.
- Right-click the drive and select Properties for exact figures.
The Properties window shows used space, free space, and total capacity. It also displays the file system, such as NTFS or exFAT.
If your computer has more than one drive, do not assume that the C: drive is the only SSD. Some computers use one SSD for Windows and another for files or games. Check each drive separately.
Check storage in Windows Settings
Windows Settings gives a cleaner visual summary.
- Open Settings.
- Select System.
- Choose Storage.
- Review the total space and the categories using it.
- Select Advanced storage settings if you want to view additional drives.
Windows may divide usage into apps, temporary files, documents, pictures, system files, and other categories. This makes it easier to find what is filling the SSD.
For example, a large “Other” category may include game files, application data, virtual machines, or old installation files. Review the category before deleting anything. Some system files are important for Windows recovery.
Check SSD storage with Disk management
disk Management shows every connected internal and external drive.
- Right-click the Start button.
- Select Disk Management.
- Review the disks and partitions shown at the bottom of the window.
- Check the capacity, drive letter, and partition status.
Disk Management is useful when an SSD does not appear in File Explorer. A new drive may be visible there but lack a drive letter or formatted partition.
Be careful when using this tool. Formatting, deleting, or shrinking a partition can remove data. If you are unsure, stop before making changes and back up your files.
Check SSD storage with PowerShell
PowerShell can show useful drive details without installing extra software.
Open PowerShell as an administrator, then run:
Get-PhysicalDisk
This command can show the device name, media type, health status, and size. An SSD should usually appear with “SSD” in the MediaType column.
You can also run:
Get-Disk
This lists disks, sizes, partition styles, and online status. To view logical drive space, use:
Get-Volume
These commands are helpful when Windows displays confusing drive names or when you need to confirm whether a drive is a solid-state drive.

How to check SSD storage on macOS
Mac users can check SSD storage through About This Mac, System Settings, Disk Utility, or Terminal. The first two options are easiest for a quick review.
Check SSD storage in System Settings
On newer versions of macOS:
- Open the Apple menu.
- Select System Settings.
- Click General.
- Select Storage.
- Review available space and the categories using it.
Older versions of macOS may show this information under About This Mac and the Storage tab.
The storage screen can show applications, documents, photos, messages, system data, and macOS files. System Data may be large because it can include caches, logs, local backups, and app support files.
Do not remove random files from system folders just to reduce the System Data category. macOS manages many of these files automatically. Focus first on large videos, unused apps, old downloads, and duplicate files.
Check SSD storage in Disk Utility
Disk Utility gives a more technical view.
- Open Spotlight by pressing Command + Space.
- Search for Disk Utility.
- Open the app.
- Select the internal drive or volume in the sidebar.
- Review the capacity, used space, and available space.
Click View and select Show All Devices to see the physical drive, containers, and volumes. This helps explain why the amount shown for a volume may differ from the full physical SSD capacity.
Disk Utility can also run First Aid. First Aid checks and repairs certain file system problems, but it is not a replacement for a backup. It cannot recover every failed drive or restore deleted data.
Check SSD storage with Terminal
Open Terminal and run:
df -h
The command shows mounted file systems, total size, used space, available space, and mount points. The -h option makes the numbers easier to read.
To list physical disks, use:
diskutil list
To view details about a selected disk, replace disk0 with the correct identifier:
diskutil info disk0
Use care with diskutil commands. Some commands can erase or repartition a drive. Read the command carefully before pressing Return.
How to check SSD storage on Linux
Linux provides both graphical and command-line tools for checking SSD storage. The exact menu names may differ between Ubuntu, Fedora, Linux Mint, and other distributions.
Check SSD storage in the file manager
Open your file manager and select the main drive or Home folder. Many Linux desktop environments show free space in the folder’s Properties window.
You can also open the Disks app if it is installed. Select the physical drive to view:
• Total capacity
• Partitions
• File systems
• Mount points
• SMART status, when supported
The Disks app may identify the drive model and whether it is connected through SATA, USB, or NVMe.
Check SSD storage with terminal commands
The following command shows free space on mounted file systems:
df -h
To list drives and partitions, use:
lsblk
For a more detailed list, run:
lsblk -o NAME,SIZE,TYPE,FSTYPE,MOUNTPOINTS,MODEL
Look for a device with the type “disk” and partitions beneath it. An NVMe drive often has a name such as nvme0n1, while a SATA drive may appear as sda.
To check whether Linux identifies a drive as rotational or non-rotational, run:
lsblk -d -o NAME,ROTA,SIZE,MODEL
A value of 0 in the ROTA column usually indicates solid-state storage. A value of 1 usually indicates a rotational hard drive.
Check SSD health on Linux
If the smartmontools package is installed, use:
sudo smartctl -a /dev/nvme0n1
For a SATA SSD, the device may be:
sudo smartctl -a /dev/sda
The correct command depends on the drive name. SMART information can include temperature, percentage used, media errors, unsafe shutdowns, and overall health.
Not all USB enclosures pass SMART data correctly. If no health information appears, the problem may be the enclosure or USB bridge rather than the SSD itself.

How to check SSD storage on a Chromebook
Chromebooks make storage checks easy through the Settings app.
- Click the time in the lower-right corner.
- Select the Settings gear.
- Choose Device.
- Select Storage management.
You can review downloads, offline files, Android apps, browsing data, and other storage categories. ChromeOS devices often have smaller SSDs, so large downloads and offline media can use space quickly.
To free space, remove files from the Downloads folder, uninstall apps you no longer use, and clear unnecessary offline content. Check your cloud storage before deleting anything that you may need later.
Some Chromebooks also support Linux commands through the Linux development environment. The available tools depend on the device and ChromeOS version.
How to check SSD storage on an iPhone or iPad
iPhones and iPads do not normally let you replace the internal SSD, but you can check device storage in Settings.
- Open Settings.
- Tap General.
- Select iPhone Storage or iPad Storage.
- Review used space, available space, and app sizes.
The top of the screen shows a storage bar. Below it, apps are listed by size. Tap an app to see options such as Offload App, Delete App, or Remove App Data.
The capacity listed in your device specifications is the total storage. The available amount is lower because iOS, system data, and preinstalled features use part of the drive.

How to check SSD storage on Android
Android menus vary by manufacturer, but the general path is similar.
- Open Settings.
- Tap Storage.
- Review used and available space.
- Open individual categories to see what is taking room.
Samsung, Google Pixel, Motorola, and other brands may use slightly different labels. You may see options for internal storage, an SD card, or USB storage.
An SD card is removable flash storage, but it is not the same as the internal SSD or flash storage inside the phone. Check the location before moving or deleting files.

How to check an external SSD
An external SSD should appear like another storage drive after you connect it. The steps are different by operating system.
On Windows
Open File Explorer and select This PC. The external SSD should appear under Devices and drives. Right-click it and select Properties to see its capacity and free space.
If it does not appear, open Disk Management. Check whether Windows detects the physical device but has not assigned a drive letter.
On macOS
Open Finder and look in the sidebar under Locations. Select the external SSD, then press Command + I to view its capacity and available space.
You can also open Disk Utility to check the drive format and partition structure.
On Linux
Run:
lsblk
Then use:
df -h
The first command helps identify the device. The second shows space on mounted file systems.
Common external SSD problems
An external SSD may fail to appear because of:
• A damaged USB cable
• A weak USB hub
• An incompatible port
• A missing drive letter
• An unsupported file system
• A failed enclosure
Try another cable and port first. Avoid formatting the drive until you confirm that important files are backed up.
How to check SSD health and lifespan
Storage capacity tells you how much space the SSD has. Health information tells you how well the drive is functioning.
Most SSDs use SMART data to record operating conditions. Depending on the drive, SMART data may include:
• Drive temperature
• Total data written
• Total data read
• Percentage of life used
• Media and data integrity errors
• Unsafe shutdowns
• Available spare capacity
A health status marked “Good” is reassuring, but it is not a guarantee that the drive will never fail. SMART tools cannot predict every electronic, firmware, controller, or connection problem.
On Windows, many SSD manufacturers provide management software that displays health and firmware information. On macOS, Disk Utility can show basic device details, while third-party tools may provide deeper SMART data. Linux users can often use smartctl.
Be cautious with health percentages. A drive showing 95% life remaining is not necessarily five percent away from failure when it reaches zero. The number is an estimate based on the manufacturer’s endurance model.
In my own troubleshooting work, I have seen drives report a normal health status shortly before a cable, controller, or file system problem appeared. That is why I treat health data as one warning signal, not a complete diagnosis.
How much free space should an SSD have?
There is no single rule for every computer, but keeping some free space is wise. A nearly full SSD can make updates, temporary files, caching, and virtual memory harder to manage.
As a practical guide:
• Keep at least 10% to 15% free for normal use.
• Keep more free space if you edit videos, run games, or use virtual machines.
• Avoid operating permanently at 95% to 100% capacity.
Modern SSDs use spare area for background maintenance, including garbage collection and wear leveling. A full drive gives the controller less flexibility.
This does not mean an SSD will instantly slow down when it reaches 90% usage. Performance depends on the model, workload, controller, file system, and amount of spare area. Still, leaving room makes everyday maintenance easier.
How to free space on an SSD safely
Once you know how to check SSD storage, the next step is finding safe ways to recover space.
Remove temporary files
Windows Storage settings and macOS Storage settings can identify temporary files. Review the list before removing anything.
Browser caches are usually safe to clear, but clearing them may sign you out of websites or remove offline data.
Uninstall unused apps and games
Large games can occupy tens or hundreds of gigabytes. Remove software you no longer use, especially if it can be downloaded again from a trusted store.
Move large personal files
Move videos, photos, music, and project files to an external SSD or reputable cloud service. Confirm that the copy opens correctly before deleting the original.
Find duplicate files
Duplicate videos and photo libraries are common sources of wasted space. Use a trusted duplicate finder and review its results manually.
Check downloads and backups
The Downloads folder often contains old installers, disk images, and compressed files. Local phone backups and virtual machine images can also become very large.
Avoid risky cleanup
Do not delete unknown files from system folders. Do not remove recovery partitions unless you understand the effect. A few gigabytes of extra space is not worth losing the ability to repair or restore the computer.
SSD storage mistakes to avoid
Learning how to check SSD storage is useful, but the wrong action can create new problems. Keep these points in mind:
• Do not confuse free space with drive health.
• Do not format a drive before making a backup.
• Do not rely on one health-check app.
• Do not use random “SSD optimizer” tools that promise dramatic speed gains.
• Do not defragment an SSD like a traditional hard drive.
• Do not ignore repeated crashes, disappearing files, or read errors.
Windows and macOS manage SSD maintenance in the background. They may send TRIM commands, which help the SSD handle deleted data. Manual “optimization” is rarely needed for normal users.
If a drive starts disconnecting, becomes read-only, or produces repeated errors, copy important files immediately. A health check can come later. Protecting the data comes first.
How to check SSD storage accurately
For the most reliable result, compare information from more than one place. Start with the operating system’s storage page, then confirm the physical drive in Disk Management, Disk Utility, or a Linux disk tool.
Use this simple process:
- Check total capacity and free space.
- Confirm the physical drive model.
- Check whether the drive is an SSD or HDD.
- Review the file system and partitions.
- Check SMART health if available.
- Back up important files.
- Investigate unusual errors or rapid space loss.
This process prevents a common mistake: assuming that a missing drive letter, full partition, or damaged cable means the SSD itself has failed.
When I help someone diagnose storage, I first ask what changed. Was a new drive installed? Did the computer update? Did files disappear? Did the drive work on another port? These details often reveal the cause faster than a long list of technical commands.
Frequently Asked Questions About How to Check SSD Storage
How do I check how much SSD storage I have?
On Windows, open File Explorer, select This PC, and right-click the drive to choose Properties. On macOS, open System Settings, select General, and choose Storage.
How do I know if my drive is an SSD?
Windows PowerShell can show the media type with Get-PhysicalDisk. On Linux, lsblk -d -o NAME,ROTA,MODEL can help identify solid-state and rotational drives.
Does checking SSD storage show drive health?
Basic storage screens show capacity and free space, not complete health data. Use SMART information or the SSD manufacturer’s management tool for details such as wear, temperature, and errors.
Why is my 1 TB SSD showing less than 1,000 GB?
Manufacturers usually define 1 TB as 1,000,000,000,000 bytes. Operating systems may display that capacity using binary calculations, so the visible number is often about 931 GB.
How much free space should I leave on an SSD?
Keeping about 10% to 15% free is a useful general target. Demanding workloads, such as video editing and virtual machines, may benefit from more free space.
Can I check an SSD without opening my computer?
Yes. Windows, macOS, Linux, ChromeOS, iOS, and Android all provide software tools for viewing storage. You can also use an external SSD enclosure or USB connection without opening the computer.
What should I do if my SSD is not detected?
Try another cable, port, or computer, then check Disk Management, Disk Utility, or lsblk. If important files are involved, avoid formatting the drive and consider professional data recovery help.
Conclusion
Checking SSD storage is more than looking at a single number. You should review total capacity, free space, drive identity, partitions, and health data when available. Windows, macOS, Linux, ChromeOS, iOS, and Android all provide simple tools for this task.
Make a habit of checking storage before your drive becomes full. Keep backups of important files, leave reasonable free space, and treat warning signs such as disappearing files or repeated errors seriously. Try the steps for your device today, then explore your system’s storage settings to keep your SSD fast, organized, and reliable.

Everett Ashford is a tech reviewer at mytechgrid.com specializing in SSDs, cameras, TVs, earbuds, headphones, and other consumer electronics. He provides honest, data-driven reviews based on hands-on testing and real-world performance analysis. Everett simplifies complex tech details to help readers make smart, confident buying decisions.