Most wired earbud failures come from a dirty plug, damaged cable, loose connection, or incorrect audio balance setting.
When one wired earbud stops working, the problem is often small and fixable. A careful check of the audio settings, plug, jack, cable, and earbud can usually reveal the cause without special tools. This guide explains how to fix one earbud not working wired, including safe cleaning steps, simple tests, repair options, and signs that replacement is the better choice.

Why Is Only One Wired Earbud Working?
One-sided audio usually means the sound signal is not reaching one earbud. The fault may be in the phone, computer, headphone jack, plug, cable, or earbud driver.
The most common causes include:
• A partly inserted headphone plug
• Dust or lint inside the audio jack
• A bent or dirty plug
• A broken wire near the plug or earbud
• Incorrect left and right audio balance
• A faulty adapter or headphone splitter
• A damaged earbud speaker
• A loose internal solder joint
Wired earbuds have very small wires. Repeated bending can break one wire while the outside cable still looks normal. The damage often appears near the plug, the Y splitter, or the point where the cable enters the silent earbud.
A software setting can also cause one-sided sound. Many phones, computers, and music apps have a balance slider. If the slider is moved fully to the left or right, one earbud may seem broken even when the hardware works correctly.
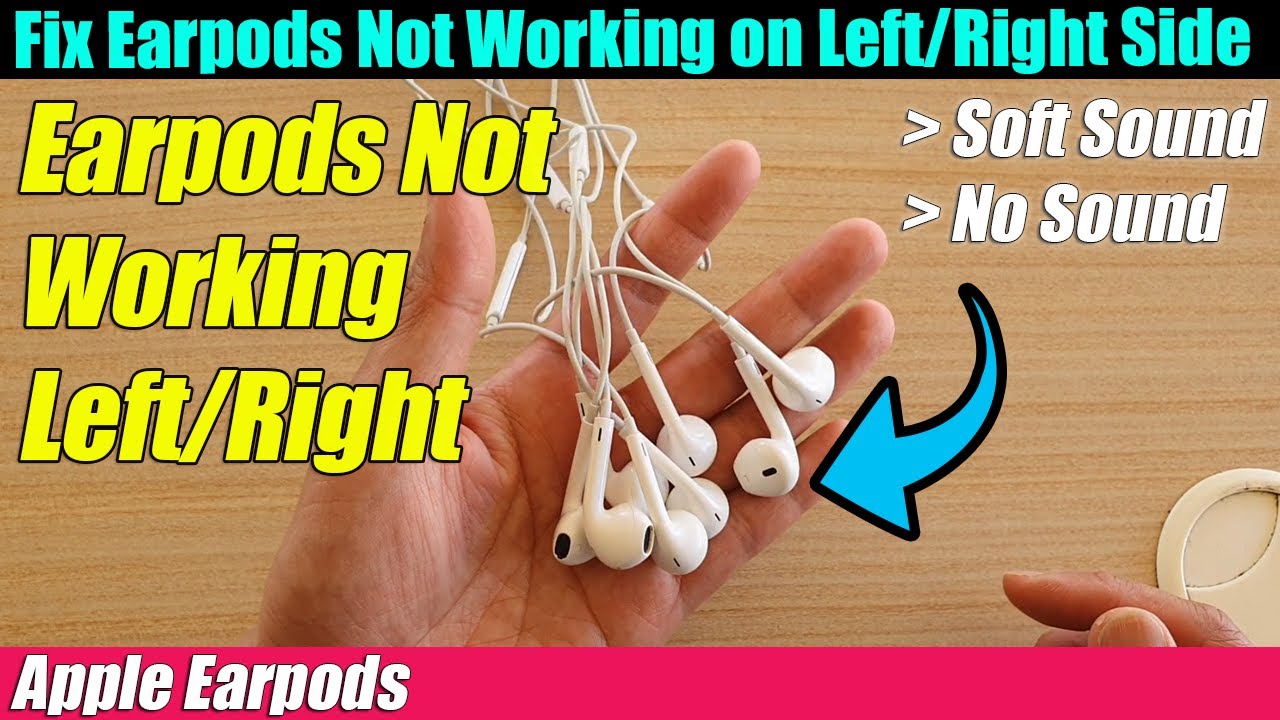
How to Fix One Earbud Not Working Wired: Quick Checks
Start with the easiest checks before opening or repairing anything. These steps can solve the problem in a few minutes.
1. Push the plug in fully
Remove the plug and insert it again. Push it straight into the headphone jack until it is fully seated.
A plug that is only partly inserted can create strange symptoms. You may hear sound in one ear, very low sound, or sound that changes when you twist the plug.
If you use a phone case, check whether the case blocks the plug from entering fully. A thick case can leave the connector slightly loose.
2. Check the left and right audio balance
On most devices, look under Accessibility, Sound, or Audio settings. Find the balance control and place it in the center.
Also check the mono audio setting. Mono audio should not normally stop one earbud from working, but changing it off and on can help identify a device setting problem.
On a Windows computer, open the speaker settings for the connected headphones. Make sure the left and right volume levels match. On a Mac, check Audio MIDI Setup if normal sound settings do not solve the issue.
3. Try another song or app
The problem may be in the recording or app. Some old audio files have unusual channel mixing or missing left or right audio.
Play a familiar song, a podcast, and a system sound. If the same earbud stays silent across several sources, the hardware or device connection is more likely to be at fault.
4. Test the earbuds on another device
Connect the earbuds to another phone, tablet, computer, or game controller. This is one of the fastest ways to separate a device problem from an earbud problem.
If both earbuds work on the second device, inspect the original device or adapter. If one earbud remains silent, focus on the plug, cable, and earbud.

Clean the Plug and Headphone Jack Safely
Dirt is one of the easiest causes to overlook. Pocket lint, dust, and skin oil can stop the metal contacts from touching correctly.
First, unplug the earbuds and turn off the device. Wipe the plug with a dry, soft cloth. For stubborn grime, use a small amount of isopropyl alcohol on the cloth, not a large amount directly on the plug.
Clean the headphone jack with care. A soft, dry brush can remove loose lint. Do not push a sharp metal object deep into the port. It may scratch contacts or damage the internal parts.
Avoid pouring liquid into the jack. Also avoid forcing cotton swabs inside narrow ports, because cotton fibers can remain behind and make the connection worse.
After cleaning, wait until all moisture has evaporated. Then insert the plug firmly and test the earbuds again.
A useful test is to gently rotate the plug while audio is playing. If the silent earbud briefly works, the plug or jack may have a contact problem. Stop twisting if the connection feels loose, since repeated movement can cause more wear.
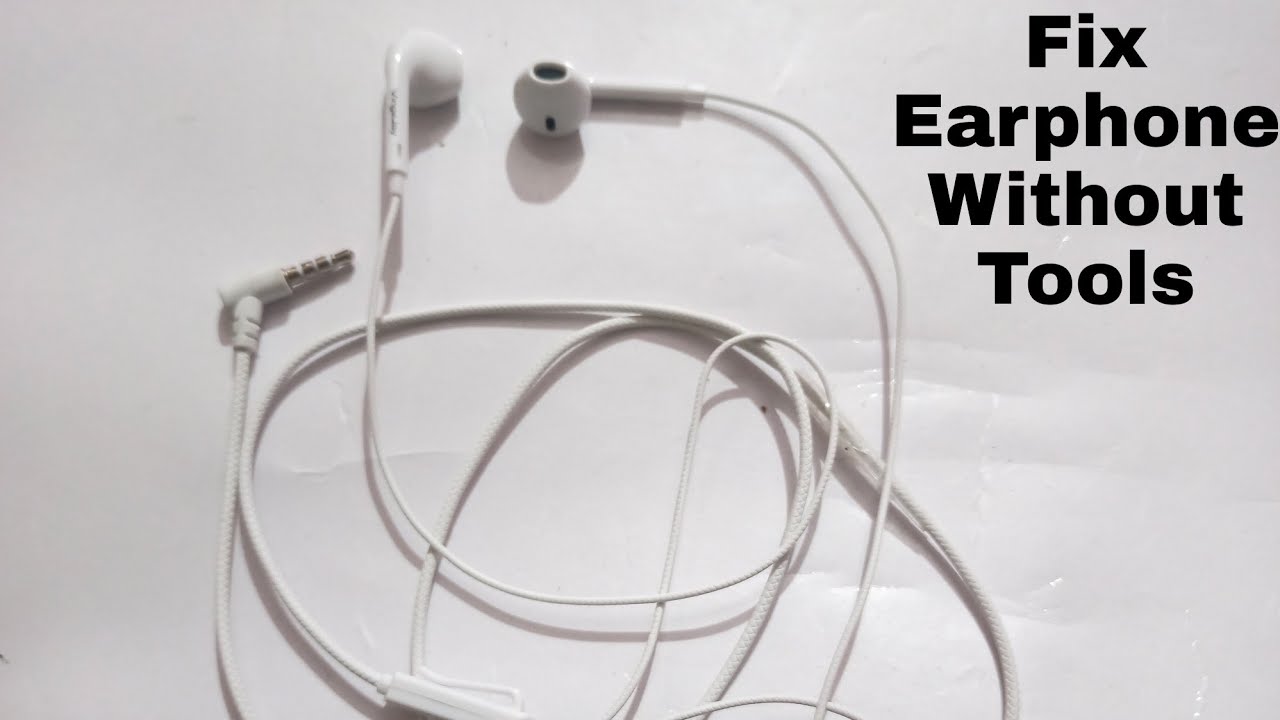
Inspect the Cable for Hidden Damage
A cable can fail inside even when its rubber coating looks fine. The copper wire inside may be cracked from bending, stretching, or being pulled from the device.
Play audio at a low volume. Slowly bend the cable at these points:
• The plug
• The first few inches above the plug
• The Y splitter
• The cable entry point on the silent earbud
• Any spot with a sharp bend or visible crease
If sound cuts in and out when you move one area, you have likely found the damaged section. This is a strong sign that the issue is physical rather than software-related.
Do not pull the earbuds out by the cable. Grip the plug instead. Store them in a loose loop rather than a tight knot, and keep heavy objects from pressing on the cable.
In repair work, the plug area is one of the most common failure points I see. People often wrap the cord tightly around a phone or pull it from a pocket by the wire. That repeated stress acts like bending a paper clip until it snaps.

Check the Earbud and Speaker Opening
The silent earbud may be working, but its sound outlet could be blocked. Earwax and dust can cover the small mesh screen and reduce sound to almost nothing.
Use a dry, soft toothbrush or a clean small brush to remove surface debris. Hold the earbud with the mesh facing downward so loose particles fall away from the speaker opening.
Do not push debris into the mesh. Do not use water, needles, or strong compressed air. These methods can damage the driver or force dirt deeper into the earbud.
If the earbud works quietly rather than producing no sound, a blocked mesh is more likely. If it produces no sound at all while the other side works normally, a broken wire or failed driver is more likely.
Clean the ear tips as well. Silicone tips can hold moisture and debris. Remove them, wash them with mild soap and water, let them dry fully, and reinstall them only when they are completely dry.

Check the Adapter, Splitter, or Extension Cable
Many wired earbud problems come from an accessory rather than the earbuds. USB C and Lightning adapters contain electronic parts that can fail. A low quality adapter may also have poor contact with the plug.
If you use an adapter, test the earbuds without it if possible. Try a different adapter that supports audio output. Some USB C ports support charging but do not support analog audio without the right digital audio hardware.
Also remove extension cables, splitters, and airplane audio adapters. Connect the earbuds directly to the device. If the sound returns, reconnect each accessory one at a time to find the faulty part.
A four contact TRRS plug supports stereo audio and, on many models, a microphone. A three contact TRS plug supports stereo audio without a microphone. Poor compatibility or a damaged contact can cause one channel to disappear.

Repair a Broken Wired Earbud Cable
A cable repair is possible when the damage is clear and you have basic electronics skills. It usually requires a replacement plug, wire strippers, a soldering iron, heat shrink tubing, and a multimeter.
Unplug the earbuds before testing or repairing them. Work in a ventilated area, keep the hot soldering iron on a stable stand, and protect your skin and workspace.
The general repair process is:
- Find the damaged section by gently bending the cable.
- Cut away the damaged area.
- Strip the outer insulation carefully.
- Identify the ground, left channel, and right channel wires.
- Remove the coating from the tiny enamel wires if needed.
- Solder each wire to the correct replacement plug contact.
- Cover each connection with insulation.
- Add heat shrink tubing for strain relief.
- Test the earbuds at low volume.
Wire colors are not universal. A red wire often indicates the right channel, and a green or blue wire may indicate the left channel, but manufacturers use different color codes. Confirm the wiring with a multimeter or the replacement plug diagram instead of relying only on color.
A multimeter set to continuity can help locate a broken conductor. Test from each plug contact to the matching connection at the earbud. If one channel shows no continuity while the other is normal, the cable or solder joint is likely open.
This repair has limits. If the failure is inside a sealed earbud, the driver is damaged, or the cable is molded into the housing, repair may take more time and skill than the earbuds are worth.

How to Test Wired Earbuds With a Multimeter
A multimeter can confirm whether the problem is an open wire or a damaged speaker driver. This test is useful when cleaning and device checks do not help.
Set the meter to resistance or continuity mode. Touch the probes to the plug contacts for the silent channel and ground. A working earbud often shows a low resistance value, commonly between about 16 and 64 ohms, but the correct value depends on the model.
A reading close to infinite resistance usually means an open circuit. A reading close to zero may suggest a short circuit. These values are general guides, not universal rules.
Do not use a high-voltage test mode. Do not connect a battery directly to the earbud. A battery can damage the tiny speaker driver.
If you are not comfortable identifying plug contacts or handling test probes, skip this step. A repair shop can perform the same test safely.

When One Earbud Needs Replacement
Sometimes the best way to fix one earbud not working wired is to replace the pair. This is especially true when the cable is molded, the driver has failed, or several areas show wear.
Replacement is usually more practical when:
• The cable has multiple damaged spots
• The earbud has water damage
• The housing is cracked
• The driver produces no sound
• The plug is molded onto the cable
• The repair cost is close to the price of new earbuds
Do not keep using earbuds with exposed wires. Damaged wires can create shorts, cause crackling, or damage the audio output in rare cases. Stop using them if the cable becomes hot, smells burnt, or has sharp exposed conductors.
Choose new earbuds with a flexible strain relief near the plug. A reinforced cable and a good return policy can matter more than small differences in advertised sound quality.
For frequent use, consider a durable model with a replaceable cable. It may cost more at first, but a replaceable cable can extend the life of the earbuds.
Mistakes to Avoid When Fixing Wired Earbuds
A few quick fixes can create new damage. Avoid these common mistakes:
• Do not yank the cable to remove the plug.
• Do not use a needle deep inside the headphone jack.
• Do not pour alcohol or water into the device.
• Do not turn the volume high while testing a weak connection.
• Do not solder without proper ventilation and heat protection.
• Do not assume wire colors are the same on every brand.
• Do not bend the plug repeatedly to keep sound playing.
• Do not use earbuds with exposed copper wires.
One mistake I learned to avoid is testing a suspected short at full volume. The sudden crackle is unpleasant and can stress the device’s audio circuit. Low volume gives you enough information while reducing the risk of a loud burst.
Treat the cable like a shoelace, not a tow rope. Gentle handling prevents many failures before they begin.
How to Prevent One Wired Earbud From Failing
Good storage and daily handling can greatly reduce cable damage. Most prevention steps are simple.
Keep the plug clean and dry. When you remove the earbuds, hold the plug housing rather than the cord. Leave a small, relaxed loop when storing them.
Use a case or pouch instead of placing the earbuds loose in a pocket. Coins, keys, and tight folds can bend the plug and crush the cable.
Keep the cable away from hot surfaces, sharp desk edges, and chair wheels. Heat can weaken insulation, while repeated pressure can break the conductors inside.
If you use earbuds during exercise, wipe away sweat after use. Sweat contains salts that can promote corrosion on metal contacts over time. Let the earbuds dry before placing them in a closed case.
These habits will not prevent every failure. Small speakers and thin cables have a limited service life, especially with daily use. They can, however, reduce avoidable strain and extend the useful life of the earbuds.
A Simple Diagnosis Checklist
Use this order when one wired earbud stops working:
- Push the plug fully into the device.
- Center the left and right audio balance.
- Try another song and another app.
- Test the earbuds on a different device.
- Remove any adapter, splitter, or extension cable.
- Clean the plug and headphone jack safely.
- Brush debris from the silent earbud mesh.
- Gently test the cable near the plug and splitter.
- Use a multimeter if you understand continuity testing.
- Repair or replace the earbuds based on the damage.
This order saves time because it moves from simple, low risk checks to more technical steps. It also prevents you from opening the earbuds when the real problem is just a balance setting or dirty connector.
Frequently Asked Questions About How to Fix One Earbud Not Working Wired
Why is only one side of my wired earbuds working?
The most common causes are a loose plug, dirty contact, damaged cable, incorrect balance setting, or failed earbud driver. Test the earbuds on another device to determine whether the problem follows the earbuds.
Can a headphone jack cause one earbud to stop working?
Yes. Dust, lint, worn contacts, or internal damage in the headphone jack can interrupt one stereo channel. Clean the port carefully and test another pair of wired headphones before assuming the jack is broken.
How do I fix one earbud not working wired without tools?
Check the audio balance, reseat the plug, remove adapters, test another device, and clean the plug and earbud mesh with a dry cloth or soft brush. These steps solve many simple connection and blockage problems.
Can I repair a broken wired earbud cable?
You can repair a cable with soldering tools if the damaged area is accessible. A replacement may be safer and more practical when the cable is sealed, the driver is damaged, or multiple wires are broken.
Why does my earbud work when I bend the wire?
Bending the cable may temporarily reconnect a broken conductor. This usually indicates internal cable damage near the plug, splitter, or earbud housing, and continued bending will likely make the failure permanent.
Is it safe to use wired earbuds with exposed wires?
No. Exposed wires can short, create loud pops, or cause further damage to the cable and device. Replace the cable or earbuds, or insulate and repair them properly before use.
Does audio balance affect one wired earbud?
Yes. If the balance slider is moved fully to one side, the other earbud will receive little or no sound. Set the balance to the center and check the setting on both the device and the music app.
Conclusion
Fixing one earbud not working wired usually starts with simple checks: reseat the plug, center the audio balance, test another device, and remove adapters. Then clean the plug, headphone jack, and earbud mesh before inspecting the cable for breaks.
If moving the cable changes the sound, the wire likely has internal damage. A solder repair may work, but replacement is safer when the driver or sealed cable has failed. Use gentle storage and handle the plug instead of pulling the cord to prevent future problems.
Try the checklist in order, keep the volume low during testing, and share your results or questions in the comments.

Everett Ashford is a tech reviewer at mytechgrid.com specializing in SSDs, cameras, TVs, earbuds, headphones, and other consumer electronics. He provides honest, data-driven reviews based on hands-on testing and real-world performance analysis. Everett simplifies complex tech details to help readers make smart, confident buying decisions.