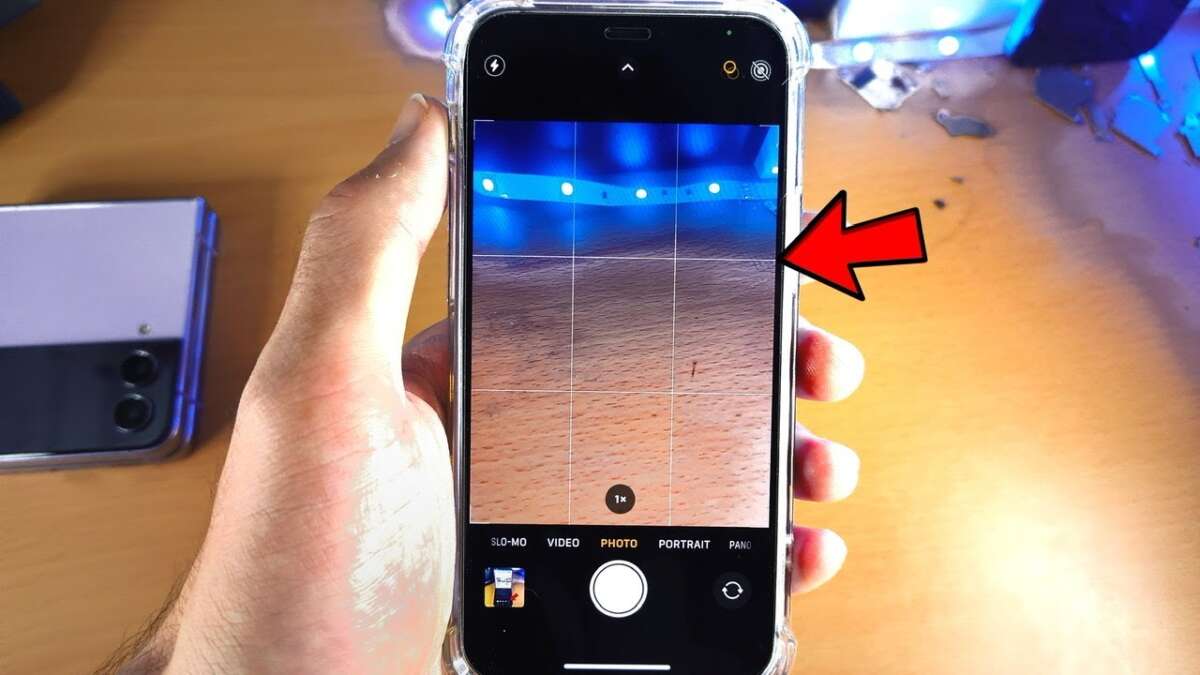
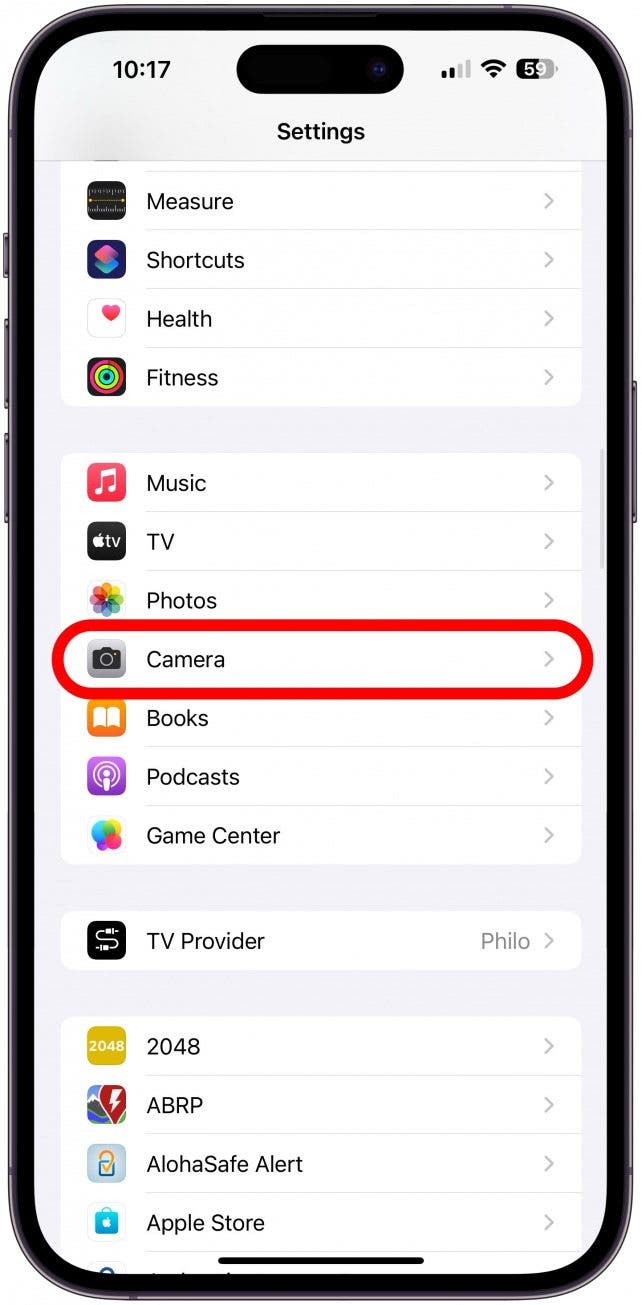
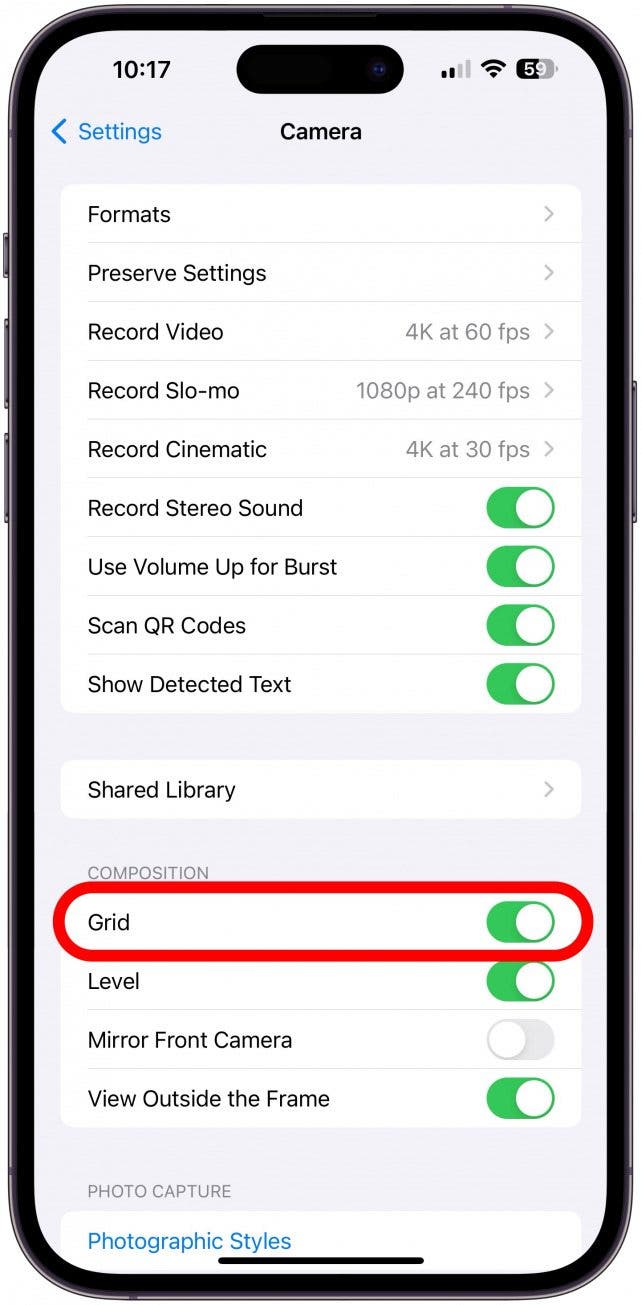
Open Settings, tap Camera, and turn on Grid to display it in Camera.
I’ve used iPhones for years and helped dozens of friends improve their photos. This guide shows exactly how to get the grid on iPhone Camera, why it matters, and how to use it for better composition. Read on for step-by-step instructions, practical tips, and real-world tests to make your photos sharper and more balanced.
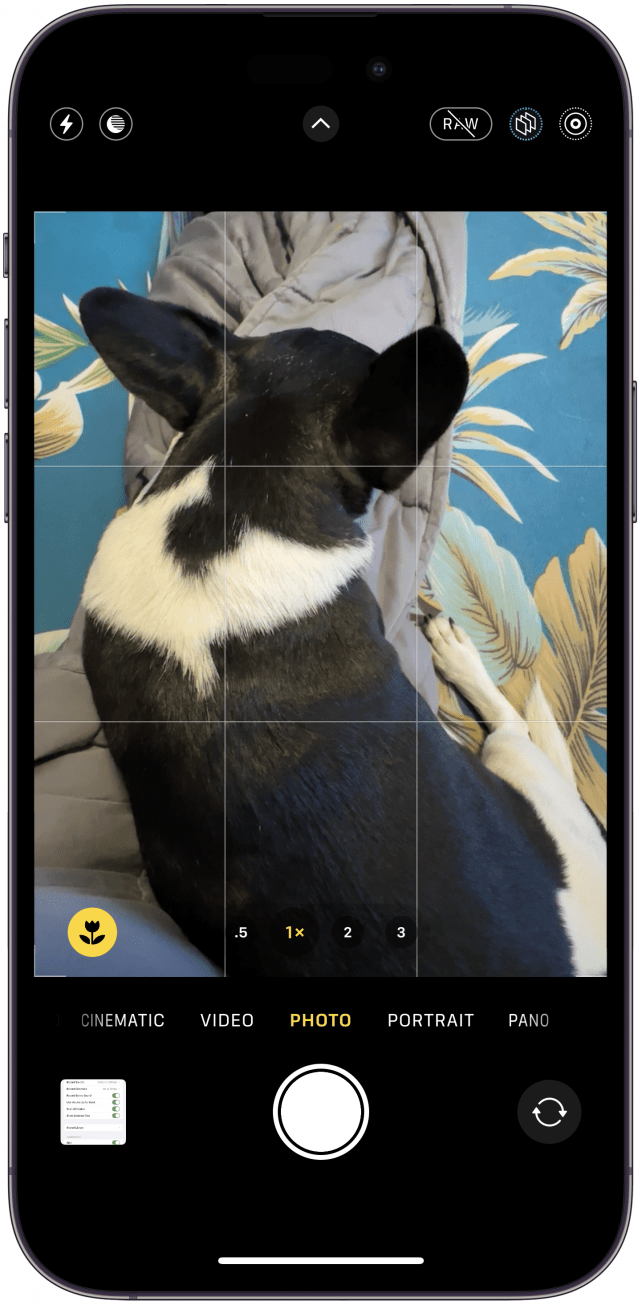
Why the grid matters for iPhone photos
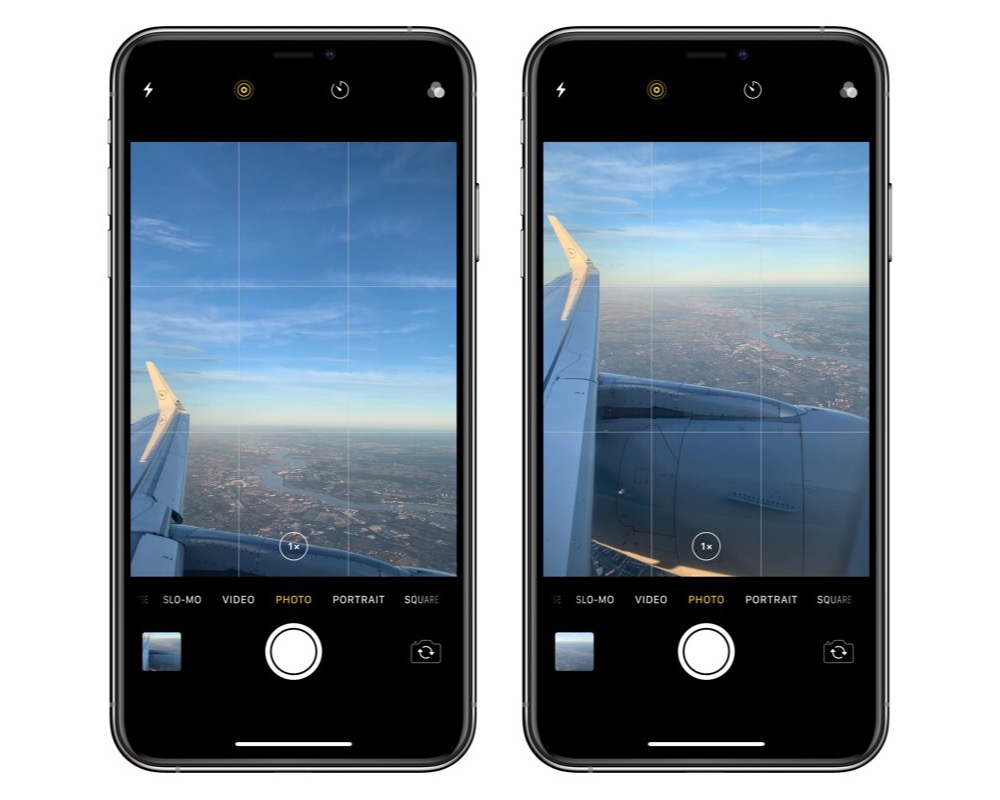
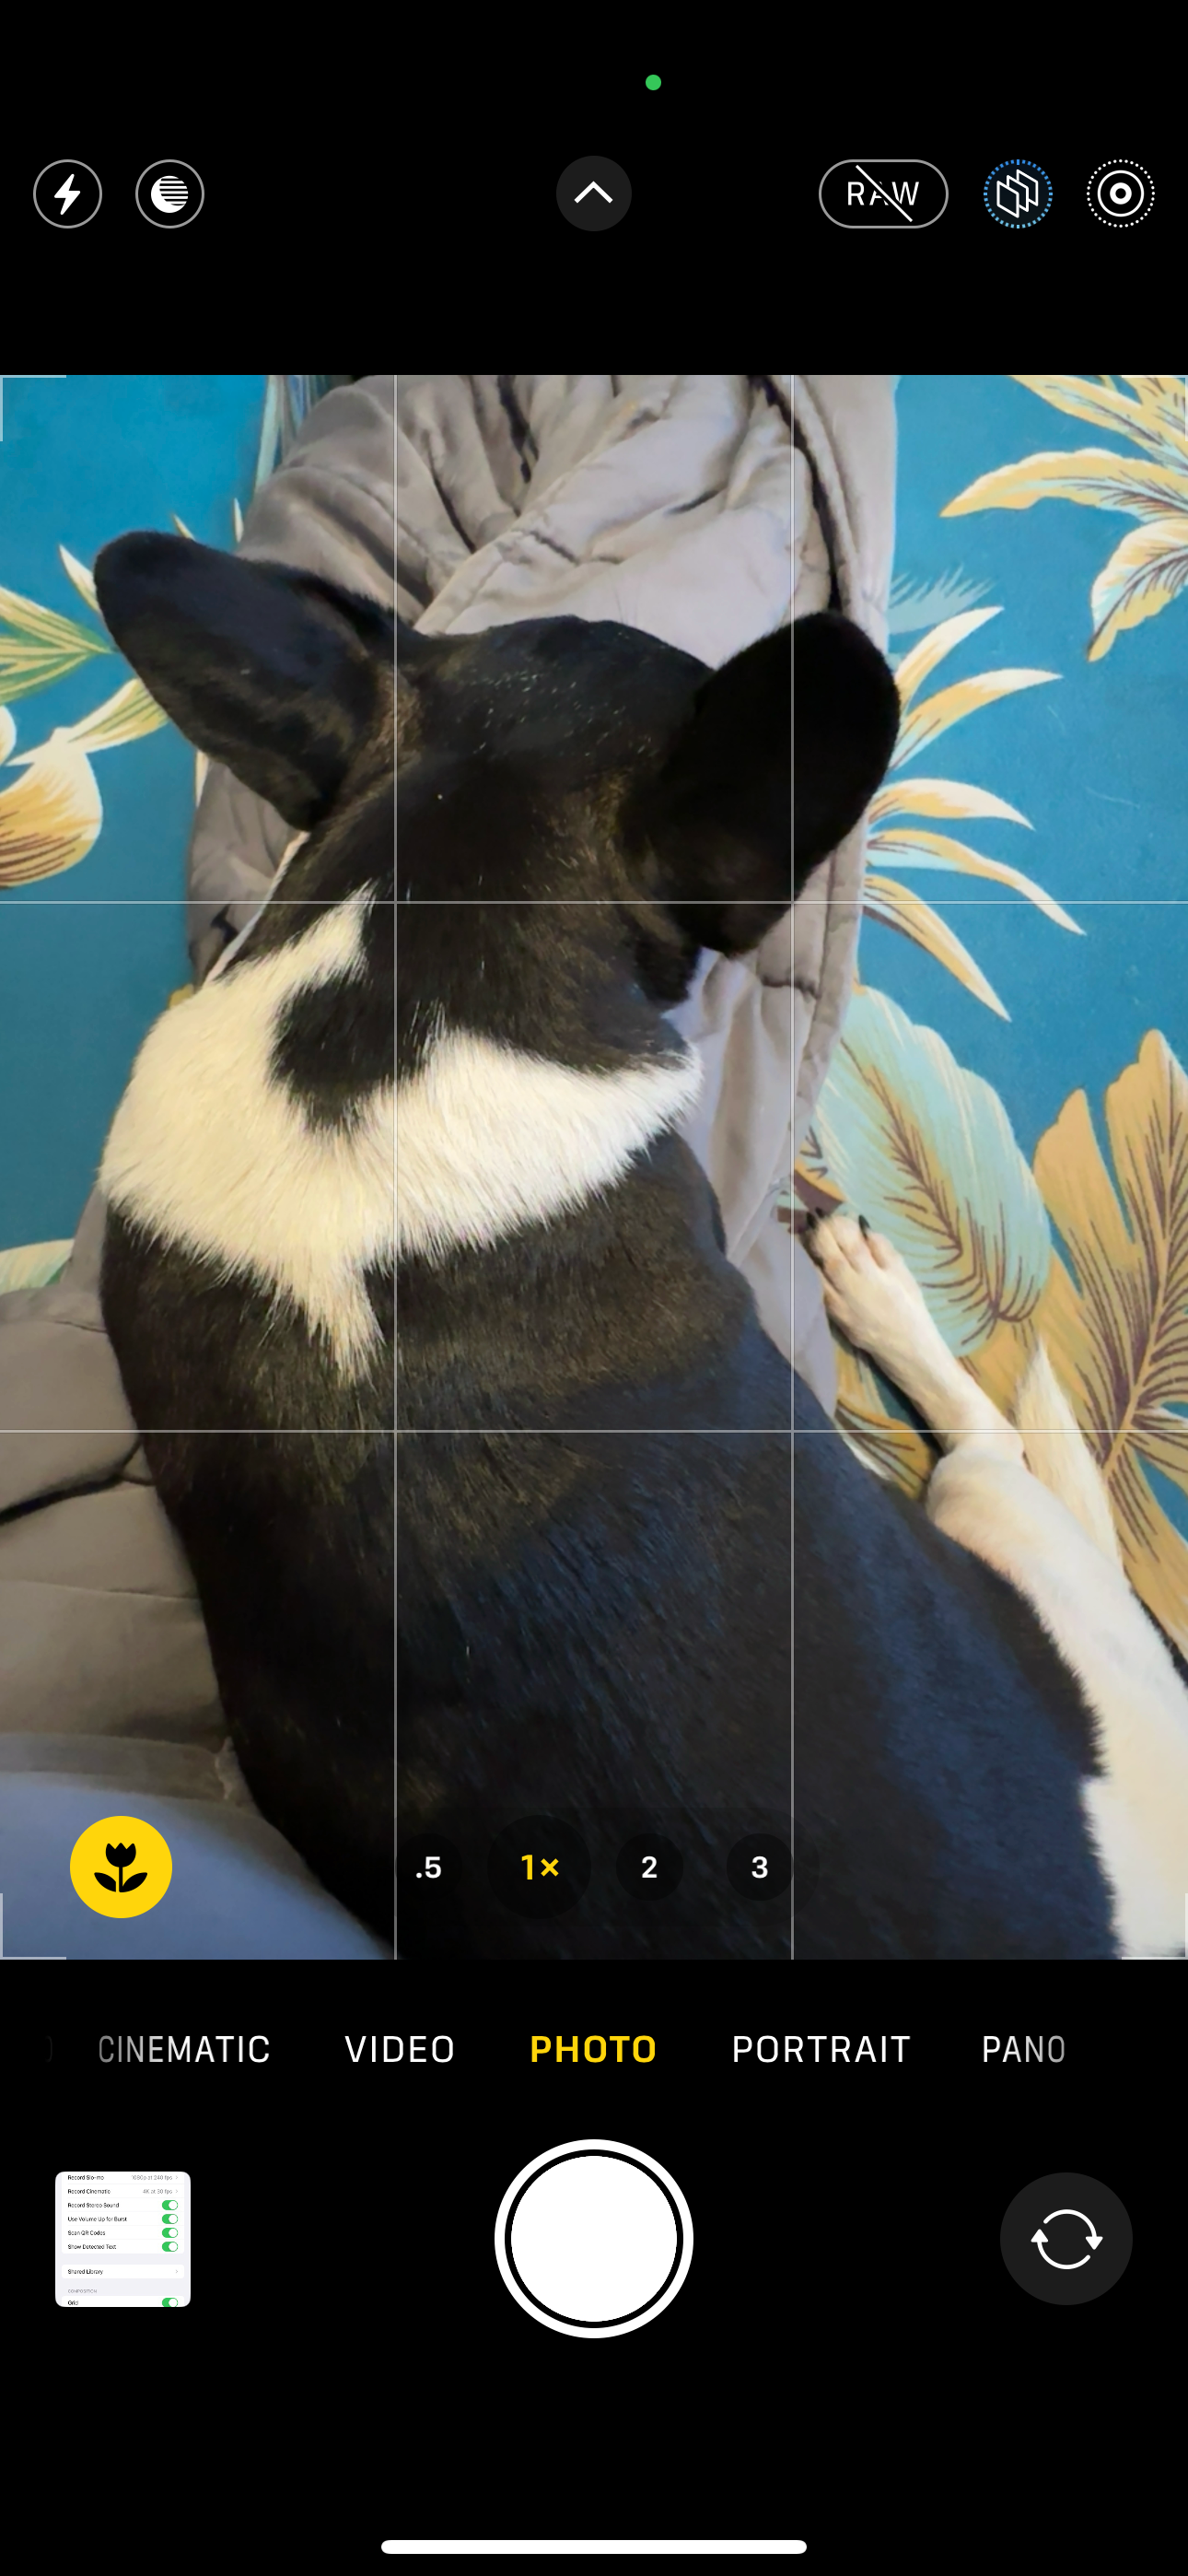
The grid helps you compose photos with balance. It shows two vertical and two horizontal lines. This follows the rule of thirds. The grid makes it easier to align horizons, buildings, and subjects. Many pros and hobbyists use it to get cleaner shots.
Benefits of using the grid
- Helps place key elements on intersection points.
- Keeps horizons level and verticals straight.
- Improves portrait and landscape composition quickly.
When you learn how to get the grid on iPhone Camera, your photos become more deliberate. You start seeing negative space and balance. That makes ordinary shots look intentional.
How to turn on Grid on iPhone Camera — step-by-step
Follow these quick steps to enable the grid. Each step is short and clear.
- Open Settings on your iPhone.
- Scroll and tap Camera.
- Find the Grid option.
- Toggle Grid to On.
Now open the Camera app. The grid appears as faint lines. If it does not show, close and reopen the Camera app. These same steps explain how to turn off the grid when you want a clean viewfinder.
When people ask how to get the grid on iPhone Camera, this simple path is the fastest. If you prefer visual help, look for screenshots in your Settings app. They match these steps exactly.

Grid options and what they mean
The iPhone grid is simple. It uses a 3×3 pattern. This is the rule of thirds grid. There are no built-in options to change the number of lines. That keeps the interface uncluttered.
What the grid does
- Divides the frame into nine equal parts.
- Guides subject placement on intersections.
- Helps with horizon and tilt correction.
If you need different grids, apps exist that add overlays for golden ratio, thirds, or center crosshairs. But for most shots, the iPhone grid is ideal. It is light on the screen and does not distract.
Using the grid for composition: practical tips
The grid is a tool. Use it with these simple tips to improve composition.
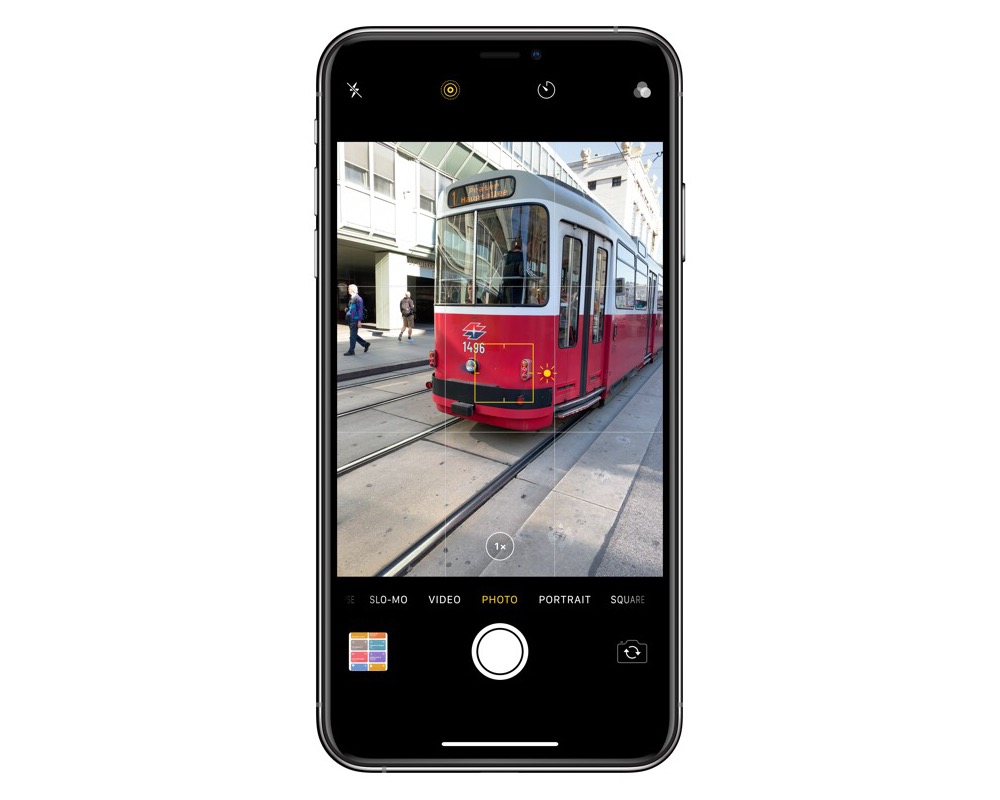
- Place the subject on a grid intersection for strong balance.
- Align horizons with the top or bottom horizontal line.
- Use vertical lines to keep buildings and trees straight.
- Break the grid when the scene benefits from center framing.
I learned early to trust the grid for landscapes. It fixed dozens of crooked horizon shots. I still turn it on for quick checks. It saves time in editing and improves final photos.
Troubleshooting: grid not showing or behaving oddly
If the grid does not appear, try these fixes. They are easy and fast.
- Toggle Grid off and on in Settings, then reopen Camera.
- Restart your iPhone to refresh system services.
- Check for iOS updates. An older iOS can cause glitches.
- Reset settings only if other Camera issues persist.
Rare cases: some camera modes hide overlays. For example, certain third-party camera apps may not display the native grid. If you switch modes and the grid disappears, return to Photo mode or use an app that adds its own grid.

Advanced uses and third-party grid apps
The iPhone grid is basic. Third-party apps add advanced overlays. These work well for architecture and studio shots.
Popular grid features in apps
- Golden ratio overlays for pleasing curves.
- 4×4 or 6×6 grids for design work.
- Custom opacity and color for better visibility.
- Live level indicators combined with grids.
If you want exact control, use pro camera apps. They let you lock the grid, change size, and save custom overlays. This helps when you need precision for print or crop-critical work.
Personal experience: lessons and tips from real shoots
I use the grid on nearly every landscape and portrait shoot. It forces better framing. Here are mistakes I made and what helped.
- Mistake: Relying on the center for every subject. Lesson: try intersections first.
- Mistake: Turning off the grid too soon. Lesson: leave it on until final crop.
- Tip: Use the grid when composing for social posts. It saves time editing later.
Once, a friend and I shot a sunset with no grid. The horizon was tilted in half the images. After enabling the grid, every shot improved. That small change saved editing time and improved client feedback.

Quick PAA-style questions you might search for
What happens when I turn on the grid on iPhone Camera?
- The Camera view shows two vertical and two horizontal lines that divide the frame. These lines help with composition and alignment.
Can I change the grid style on iPhone?
- Not in the default Camera app. The native grid is fixed at a 3×3 layout. Use third-party apps for alternate grids.
Does the grid affect photo quality?
- No. The grid is an overlay only. It does not change the image file or quality. It only aids your composition during capture.
Frequently Asked Questions of how to get the grid on iphone camera
How do I enable the grid on my iPhone camera?
Open Settings, tap Camera, and toggle on Grid. Then open the Camera app to see the lines.
Will the grid show in all camera modes?
The grid appears in most basic modes like Photo and Portrait. Some modes or third-party apps may not show the native grid.
Can I change the grid style on iPhone?
The built-in Camera only offers a 3×3 grid. Use third-party camera apps to access other grid styles.
Does enabling the grid change my saved photos?
No. The grid is only a live overlay. It does not alter or appear in saved images.
My grid is not visible. What should I try?
Toggle the Grid setting off and on, restart the Camera app, restart your iPhone, and check for iOS updates.
Does the grid help with video recording too?
Yes. The grid helps frame video shots in Photo and Video modes where overlays are supported. Some modes may hide overlays.
Is the grid useful for portraits?
Yes. Use the vertical lines to place eyes or the body along intersections for better balance and eye flow.
Conclusion
Turning on the grid is a small step that yields big gains in composition. You now know how to get the grid on iPhone Camera, why to use it, and how to troubleshoot common issues. Try using the grid for a week and compare your before-and-after shots. You will see quicker framing and fewer editing fixes. Share your results, subscribe for more tips, or leave a comment about your favorite grid technique.

Everett Ashford is a tech reviewer at mytechgrid.com specializing in SSDs, cameras, TVs, earbuds, headphones, and other consumer electronics. He provides honest, data-driven reviews based on hands-on testing and real-world performance analysis. Everett simplifies complex tech details to help readers make smart, confident buying decisions.