Install a backup camera by mounting the camera, routing power and video wires, and connecting to the display.
I’ve installed dozens of backup cameras on cars, trucks, and vans over the last decade, and this guide walks you through how to install a backup camera with clear steps, practical tips, and common mistakes to avoid. Read on for hands-on instructions, parts lists, and troubleshooting advice so you can complete a reliable, safe installation that improves rear visibility and parking confidence.

Why install a backup camera?
A backup camera reduces blind spots and helps prevent collisions when reversing. It gives a wide view behind your vehicle and can spot small children, pets, or objects you might miss.
Benefits of installing a backup camera
- Improves safety while reversing.
- Makes parking easier in tight spaces.
- Can lower insurance claims and repair costs from minor backing accidents.
- Adds value if you plan to sell your vehicle.
Limitations to know
- A camera does not replace mirrors or careful checking.
- Image quality depends on camera resolution and lighting.
- Wireless units may suffer interference in some setups.

Types of backup cameras and systems
Understanding system types helps you choose the right kit for your vehicle.
Common types
- Wired camera with RCA video output: Reliable connection to aftermarket head units or monitors.
- Wireless camera and receiver: Easier install for older cars, but may have latency or signal loss.
- Mirror-integrated display: Camera feeds display inside the rearview mirror.
- OEM-style replacement: Designed to fit factory spots and integrate with original infotainment systems.
- License-plate mount, bumper mount, and flush-mount options: Fit different vehicle bodies and aesthetics.
Which type is best
- Choose wired for consistent video and zero interference.
- Choose wireless for quick installs or when running a video cable is difficult.
- Choose OEM-style if you want factory look and integration.

Tools and parts you'll need
Gather tools before starting to save time and avoid running back and forth.
Essential parts
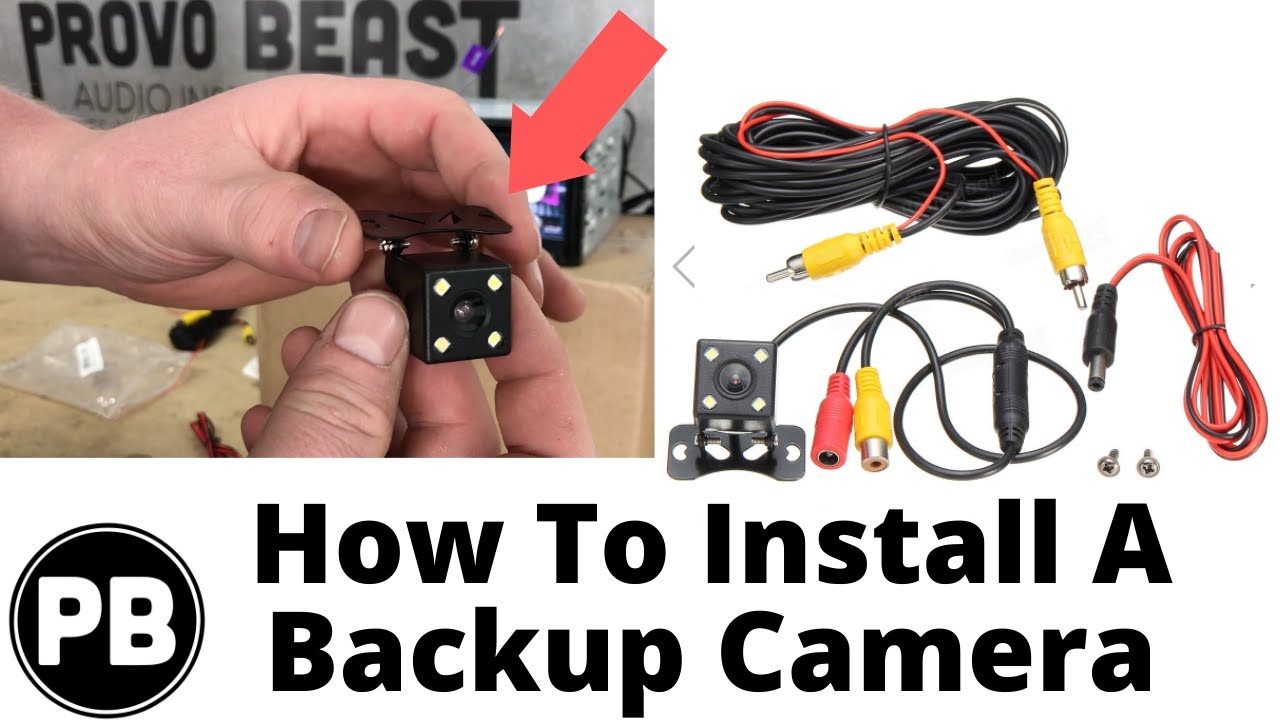
- Backup camera kit (camera, power/pigtail, video cable, monitor or head unit)
- Video cable (RCA) or wireless transmitter/receiver
- Fuse tap or inline fuse for power
Essential tools
- Screwdrivers (Philips and flat)
- Wire stripper and crimper
- Multimeter or test light
- Drill with bits (for mounting if needed)
- Trim removal tools
- Electrical tape and heat-shrink tubing
- Cable ties and silicone sealant
Optional helpful items
- Fish tape or flexible wire puller
- Panel clips or replacement fasteners
- Zip-tie mounts and adhesive pads
Step-by-step: how to install a backup camera
Follow these steps for a typical wired camera install. Adjust for wireless models or specific vehicles.
- Plan the install
- Pick camera location (centered on bumper or license plate). Ensure clear view and no obstruction.
- Choose monitor location inside the cabin on dash or rearview mirror.
- Test components first
- Power the camera from a 12V source and connect video to the monitor on the bench to confirm image and orientation.
- Mount the camera
- Attach to license-plate bracket or drill a small hole for flush mount.
- Use silicone to seal screw holes and prevent leaks.
- Aim camera slightly downward; test angle later.
- Route the video cable
- Run RCA or video wire from the camera into the trunk and forward under trim panels.
- Use fish tape where needed and secure cable with zip ties every 12–18 inches.
- Connect power
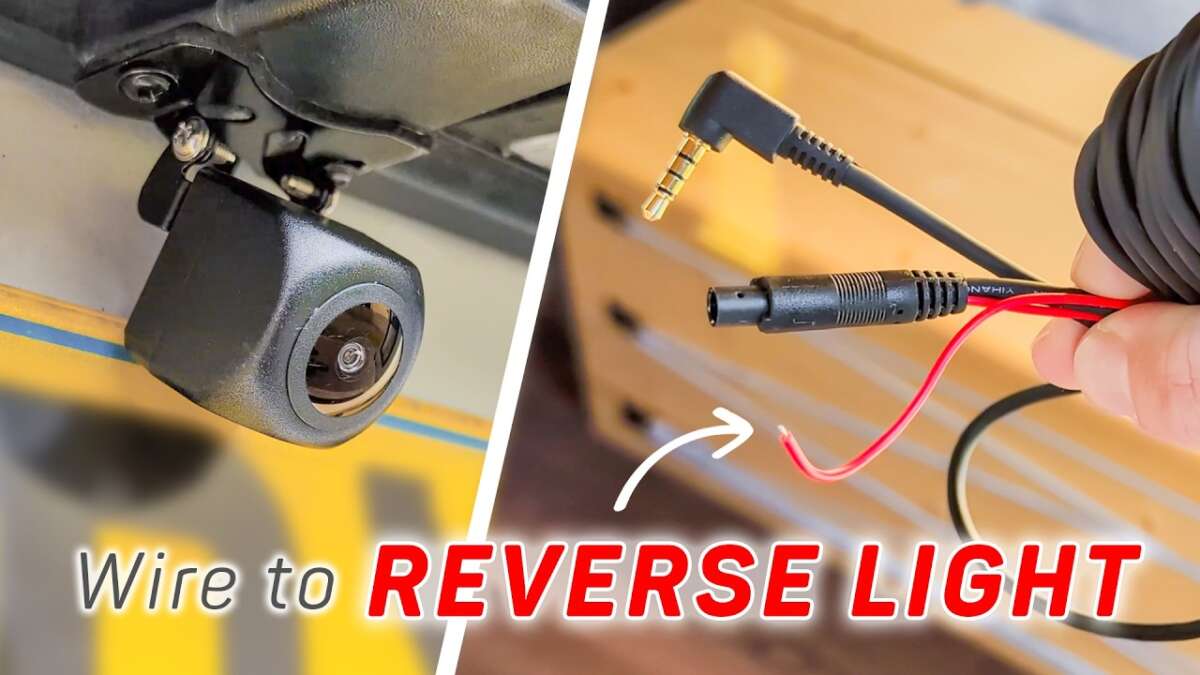
- Most cameras use reverse lamp power so the camera turns on only when backing up.
- Locate the reverse light wire in the tail light assembly with a multimeter or test light.
- Splice camera power to reverse positive, and connect camera ground to chassis ground.
- Connect video to monitor
- Plug RCA into aftermarket head unit reverse video input or into a standalone monitor.
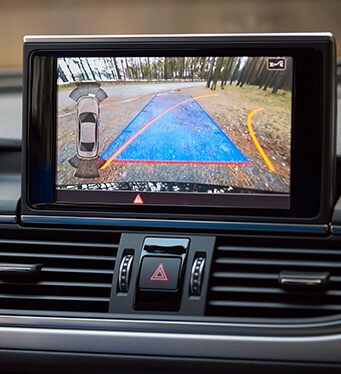
- If using a stereo, set the head unit to switch to camera view when reverse gear is engaged.
- Test and adjust
- Put vehicle in reverse to test camera feed.
- Adjust camera angle and focus. Tighten mounts and re-seal openings.
- Finalize and clean up
- Reinstall trim and secure cables.
- Use heat-shrink and tape on all splices.
- Check for wiring rubbing points and protect with loom tubing.

Wireless installation specifics
Wireless kits skip long video runs but need attention to placement and pairing.
Steps for wireless camera install
- Mount camera and connect power to reverse light as above.
- Mount receiver in the cabin near the monitor. Pair per manufacturer instructions.
- Keep transmitter and receiver antennas clear of metal obstructions.
- Test signal strength in all parking positions before finalizing.
Common wireless caveats
- Signal can drop near heavy metal panels or other wireless devices.
- Latency can exist; wired remains best for instant feedback.

Troubleshooting common issues
Quick fixes for the problems you’re most likely to face when installing a backup camera.
No image or black screen
- Check power at camera (should get 12V when reverse is on).
- Verify RCA connections; swap cables if unsure.
Flicker or rolling lines
- Look for loose ground or poor grounding.
- Move power wires away from high-current cables to avoid interference.
Reverse image upside down
- Physically rotate the camera or check a setting in your monitor to flip the image.
Intermittent signal (wireless)
- Reposition receiver, ensure strong antenna line-of-sight, or switch to a wired kit.

Maintenance, legal considerations, and limitations
Keep your system working and legal.
Maintenance tips
- Clean lens regularly with a soft cloth and mild cleaner.
- Check mounting screws and seals yearly.
- Replace or reseat worn wiring and connectors.
Legal and safety notes
- Check local laws about camera displays and reversing aids.
- Do not rely solely on camera images; use mirrors and turn your head.
Limitations
- Poor lighting, heavy rain, snow, or dirt can degrade image.
- Camera field of view varies; gauge depth differently than mirrors.
Personal experience and pro tips
A few things I learned after several installs that will save you time and headaches.
What I learned on the job
- Test components on a bench before you cut or drill into the car.
- Splice into reverse lamp power with a quality connector, not just electrical tape.
- Use heat-shrink and silicone to prevent corrosion and water leaks.
Common mistakes I’ve seen
- Running video cables near high-current wiring, causing noise and flicker.
- Poor ground connections that make a camera feed unstable.
- Not sealing holes; water ingress causes early failure.
Practical tips
- Label wires during install so you can troubleshoot later.
- Keep an extra inline fuse accessible; it protects against shorts.
- If unsure, consult a pro to integrate with factory infotainment safely.
Frequently Asked Questions of how to install a backup camera
How long does it take to install a backup camera?
Most DIY wired installs take 1.5 to 4 hours depending on vehicle access and experience. Wireless kits can be quicker but still need wiring to the reverse light.
Can I power the camera from a constant 12V source?
Yes, but powering from reverse lamp is recommended so the camera only runs when reversing and avoids battery drain. If constant view is needed, use a fused constant 12V with proper wiring.
Will a wireless camera have delay or interference?
Wireless units can show slight latency and may suffer interference from other signals. Wired connections provide the most stable, real-time video.
Do I need a special monitor or head unit?
No, any monitor or head unit with a composite video input (RCA) works. Some modern head units support camera inputs and automatic switching on reverse.
Is installing a backup camera expensive?
Costs vary by kit and labor. A DIY kit can be under $50 to $200, while professional or OEM-style installs cost more due to parts and integration.
Conclusion
You now have a clear, practical roadmap for how to install a backup camera—choose the right type, gather tools, and follow the step-by-step wiring and mounting process. Take your time to test components, secure wiring, and seal all openings so the system stays reliable in real use. Try the installation on one vehicle or practice bench wiring first, and if you run into trouble, seek professional help to ensure safety.
Ready to improve rear visibility? Start by picking a camera kit that fits your vehicle, gather the tools listed, and schedule a block of time to work calmly through the steps. If you found this guide useful, subscribe for more how-to car upgrades or leave a comment with your vehicle model and I’ll offer tailored tips.

Everett Ashford is a tech reviewer at mytechgrid.com specializing in SSDs, cameras, TVs, earbuds, headphones, and other consumer electronics. He provides honest, data-driven reviews based on hands-on testing and real-world performance analysis. Everett simplifies complex tech details to help readers make smart, confident buying decisions.