Installing a SATA SSD is usually a quick swap: mount the drive, connect SATA and power, then set up in BIOS or clone your OS.
I’ve installed dozens of drives for friends and clients, and I’ll walk you through exactly how to install SATA SSD with clear steps, practical tips, and troubleshooting. This guide covers tools, hardware checks, step-by-step physical installation, BIOS settings, cloning versus fresh install, performance tuning, and common mistakes I’ve seen. Read on and you’ll finish confident and with a faster, more reliable system.

Why upgrade and what a SATA SSD is
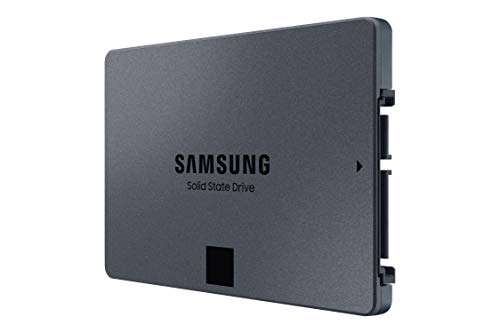
A SATA SSD is a solid-state drive that uses the SATA interface. It replaces spinning hard drives with fast flash storage that boots faster and loads apps quickly.
Benefits include faster boot times, better responsiveness, lower power use, and longer reliability. Limitations are that SATA SSDs are slower than NVMe drives and usually come in 2.5-inch form factors for laptops and desktops. If you want a balanced upgrade path, learning how to install SATA SSD will give you big real-world gains.

What you need before you start
Prepare these items and checks to make the install smooth.
- SATA SSD drive, compatible with your PC or laptop
- SATA data cable and SATA power connector from your power supply
- Small Phillips screwdriver and, if needed, a 2.5-inch to 3.5-inch bracket
- External USB-to-SATA adapter or enclosure if you plan to clone your current drive
- Backup of important data and a recovery USB or OS installer
- Time and a static-safe workspace
I always back up before I touch drives. One failed step is easier to fix when you have a backup.

Safety and compatibility checks
Do these quick checks before opening your PC.
- Confirm your motherboard has a free SATA port and the power supply has an available SATA power connector.
- Check physical space and mounting options, especially in laptops and small cases.
- Verify your SATA SSD size (2.5-inch) fits and that your PC uses SATA III for best speed, though SATA II also works.
If your system is old, check BIOS updates and whether your controller supports AHCI mode for best performance when you install SATA SSD.
Step-by-step: How to install SATA SSD (physical installation)
Follow these steps for the physical install. Each step is short and safe.
- Power down and unplug the PC or laptop. Press the power button for a few seconds to drain residual charge.
- Open the case or remove the laptop back panel. Keep screws in a small bowl so you don’t lose them.
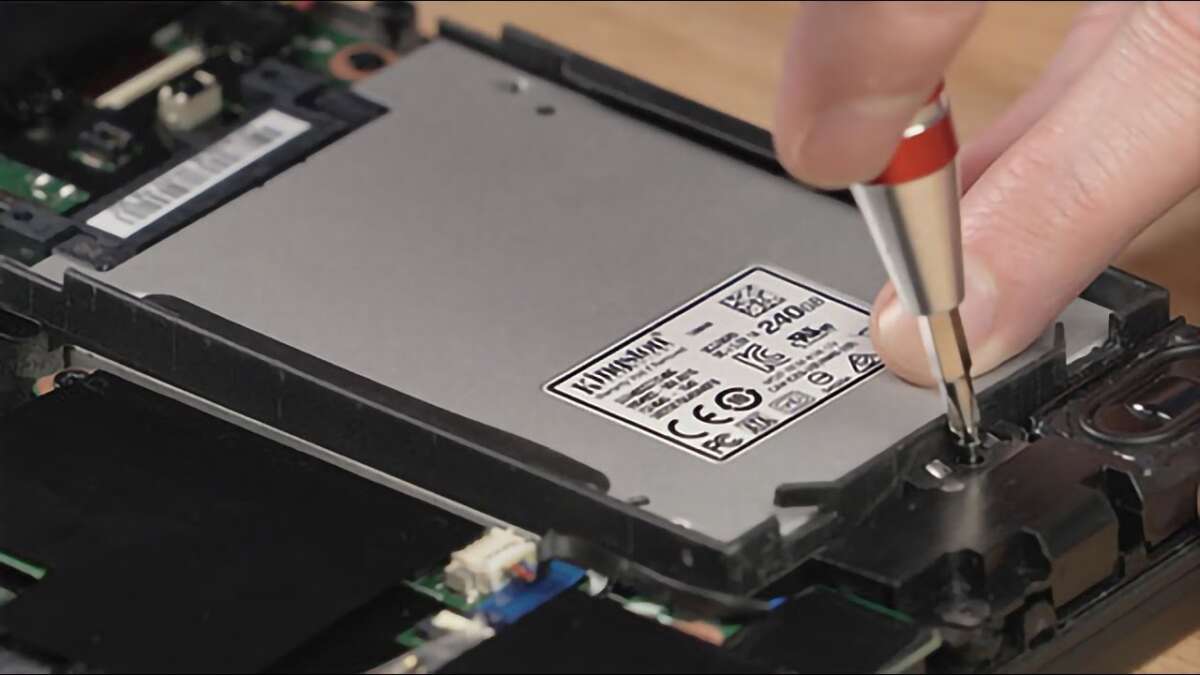
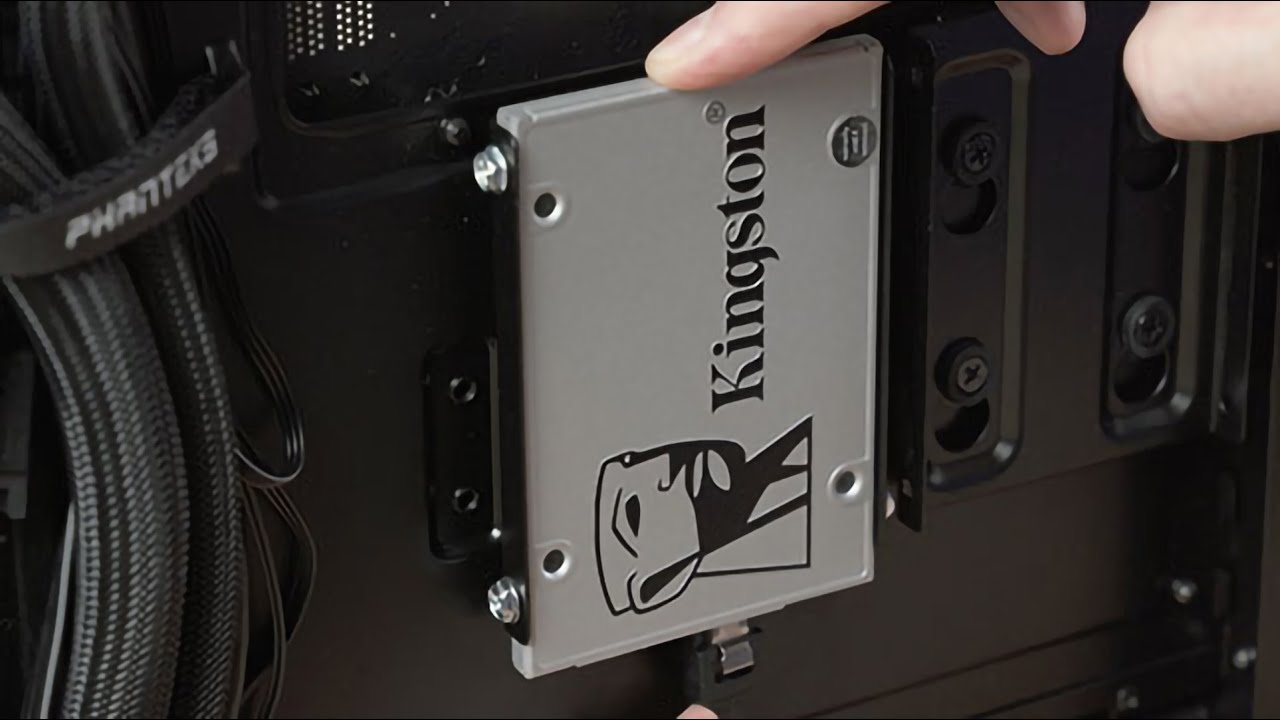
- Locate a free 2.5-inch bay or use a mounting bracket for a 3.5-inch bay. Slide the SSD into the tray.
- Secure the SSD with screws so it does not move. Gentle firm tightening is enough.
- Connect the SATA data cable to the SSD and the motherboard SATA port. Note the port number for BIOS.
- Connect the SATA power cable from the PSU to the SSD. Ensure a snug, full insertion.
- Close the case or reinstall the laptop panel and reconnect power.
That’s the basic physical part of how to install SATA SSD. If you feel unsure about steps, stop and re-check connectors before powering on.

Step-by-step: How to install SATA SSD (software setup)
After the hardware is connected, set up the drive in software. Choose cloning or a fresh OS install.
- Power on and enter BIOS/UEFI (press Del, F2, or the key for your system).
- Confirm the new SSD is detected and that SATA mode is AHCI. Change if needed to enable TRIM and good speeds.
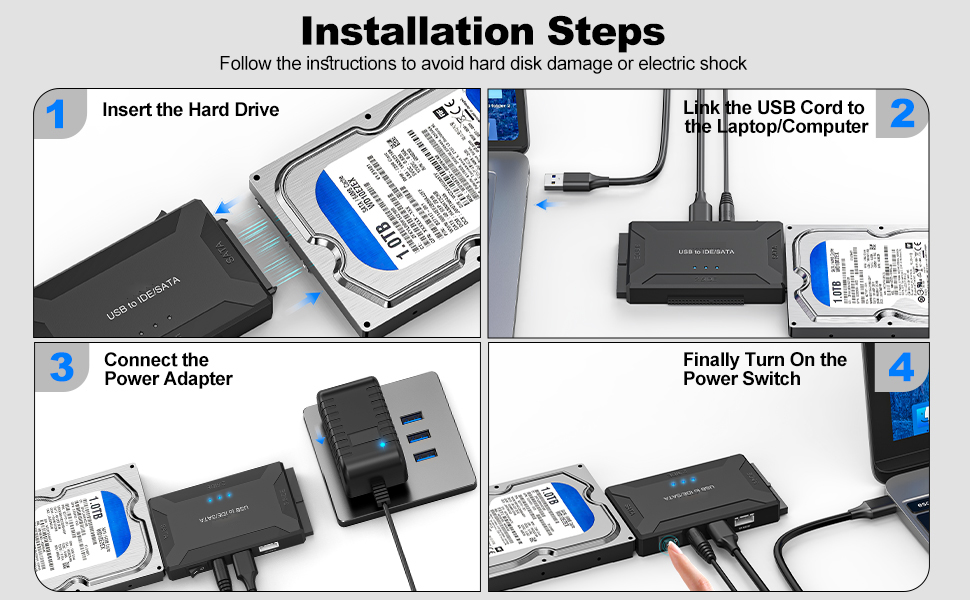
- If cloning: attach your old drive via USB adapter, run cloning software, and clone the OS to the new SSD. Ensure target partition alignment for best speed.
- If fresh installing: boot from the OS installer USB/DVD, select the SSD as the installation target, and follow prompts. Format as NTFS for Windows or appropriate format for other OSes.
- After cloning or install, set the SSD as the first boot device in BIOS.
I usually clone for speed and convenience when the old drive is healthy. I prefer a fresh install when the system has years of cruft or bugs.
Cloning tips and alignment
Cloning can be fast, but avoid these pitfalls.
- Verify source and target drive sizes. The SSD must be large enough for data and system partitions.
- Use cloning software that supports alignment and SSD optimization. Misaligned partitions cut performance.
- After cloning, check that TRIM is enabled and that partitions are aligned. Boot the SSD and test boot time.
I once cloned a 1TB HDD to a 512GB SSD and nearly bricked the install because I didn’t trim the partitions. Always check sizes and alignment.

BIOS settings and post-install checks
These steps ensure your SSD runs well after install.
- Set the SSD as the primary boot device. Save and reboot.
- Confirm AHCI mode is active for the SATA controller. AHCI offers better performance and enables TRIM.
- Check Disk Management (Windows) or Disk Utility (macOS) to confirm capacity and health.
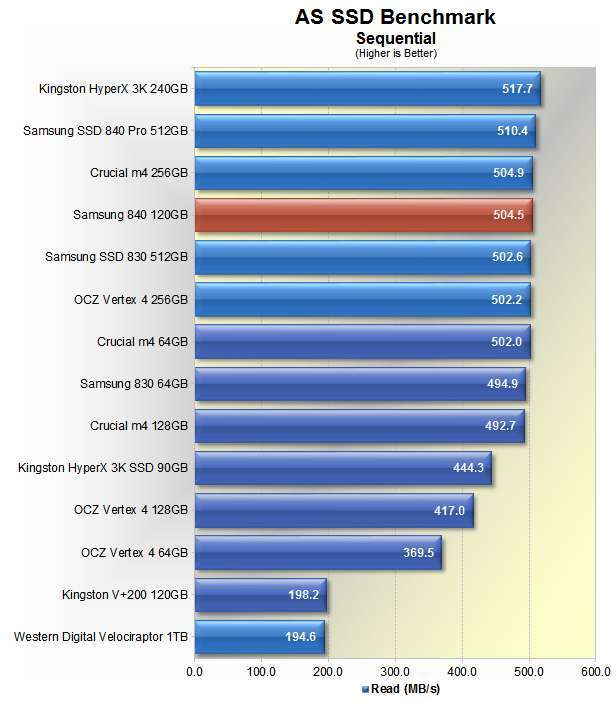
- Run a quick benchmark or use built-in tools to confirm performance and SMART health.
If the drive is not detected, recheck cables, try another SATA port, and test power connectors.
Performance tuning and maintenance
Keep the SSD performing well with a few simple habits.
- Ensure TRIM is enabled. TRIM helps maintain write speed over time.
- Avoid filling the SSD above 75-85% to preserve speed and longevity.
- Update SSD firmware when manufacturer updates are available.
- Disable heavy background defragmentation. TRIM replaces the need for defrag on SSDs.
From my experience, the most common mistake is treating an SSD like an HDD—filling it up and running constant defrag. Don’t do that.
Troubleshooting common problems
Quick fixes for issues you may face after you install SATA SSD.
- Drive not detected: reseat SATA and power cables and try a different SATA port.
- Slow performance: confirm AHCI mode and TRIM are enabled and check firmware.
- Cloned system won’t boot: verify boot order and run startup repair or reinstall bootloader.
- SSD not showing full capacity: delete existing partitions and create new ones during install.
If problems persist, test the SSD in another machine or use an external adapter to isolate issues.
My real-world tips and mistakes to avoid
I’ll share honest lessons from installs I’ve done.
- Label your cables and take photos before unplugging things. Photos save time when reassembling.
- Use a USB-to-SATA adapter to test the SSD before internal install. It avoids repeated case opens.
- Don’t assume “clone” always preserves boot settings. I once had to repair the bootloader after cloning a Windows system.
- Keep spare SATA cables on hand. Faulty cables are a hidden cause of failure.
These small habits will save you time and headaches when you install SATA SSD.
PAA-style questions you may search for
What tools do I need to install a SATA SSD?
Short answer: A Phillips screwdriver, a SATA data cable, a SATA power connector, and optionally a USB-to-SATA adapter. Back up your data first.
How long does it take to install a SATA SSD?
Short answer: Physical install takes 10–30 minutes. Cloning or OS installation can take 30 minutes to several hours depending on data size.
Should I clone or clean install when I install a SATA SSD?
Short answer: Clone if you want the exact current setup. Clean install gives a fresh system and fewer legacy issues.
Will installing a SATA SSD void my warranty?
Short answer: For many PCs, replacing storage does not void warranty, but check your manufacturer’s policy for laptops and prebuilt systems.
Do I need a special cable for SATA SSD?
Short answer: No special cable is required beyond a standard SATA data cable and SATA power connector from your PSU.
Frequently Asked Questions of how to install sata ssd
What is the best way to physically mount a 2.5-inch SATA SSD?
Secure the SSD in a 2.5-inch bay or use a 2.5-to-3.5 bracket. Use screws to prevent movement and ensure good contact.
Can I install a SATA SSD in a laptop myself?
Yes, most laptops allow user access to the drive bay. Follow the service manual and use ESD precautions when you install SATA SSD.
How do I make my computer boot from the new SATA SSD?
Enter BIOS/UEFI, set the SSD as the first boot device, and save changes. If cloned, ensure the bootloader and partitions are correct.
Do I need to enable AHCI to use a SATA SSD?
Yes, AHCI provides better performance and enables TRIM. Switch to AHCI in BIOS before OS installation for a clean setup.
Will installing a SATA SSD improve gaming load times?
Yes, a SATA SSD reduces load times and improves game responsiveness versus a traditional HDD. It won’t match NVMe but still shows clear gains.
How do I check that TRIM is enabled after installation?
On Windows, use the command line to query TRIM status or check system utilities. If TRIM is disabled, enable AHCI and confirm settings.
Is SATA III required to get full SSD speed?
SATA III (6 Gbps) gives best possible speed for SATA SSDs. SATA II will work but at lower throughput, so use SATA III when possible.
Can I move a cloned SSD to another computer?
You can move a cloned SSD, but drivers and activation may require adjustments. A clean install is often more stable for new hardware.
What if my SSD is detected but not usable?
Open Disk Management (Windows) or the Disk Utility (macOS), initialize the disk, create partitions, and format it for use. That fixes many visibility issues.
How often should I update SSD firmware?
Check manufacturer updates occasionally and update when fixes or performance gains are noted. Read release notes before applying firmware updates.
Conclusion
You now have a complete roadmap for how to install SATA SSD: prepare your tools, check compatibility, perform a careful physical install, choose cloning or a fresh OS install, set BIOS options, and use basic maintenance to keep performance high. Follow the step-by-step process and my practical tips to avoid common mistakes and get the most from your upgrade. Ready to speed up your system? Back up your data, pick the right SATA SSD, and try the install—then share your experience or questions below.

Everett Ashford is a tech reviewer at mytechgrid.com specializing in SSDs, cameras, TVs, earbuds, headphones, and other consumer electronics. He provides honest, data-driven reviews based on hands-on testing and real-world performance analysis. Everett simplifies complex tech details to help readers make smart, confident buying decisions.