Installing an M.2 SSD in a PS5 Slim adds fast storage for more games without deleting your favorites.
Learning how to install SSD in PS5 Slim is simple when you use the right drive, prepare the console, and follow each step with care. This guide covers compatibility, tools, installation, formatting, testing, common mistakes, and safe ways to improve your storage.
What You Need Before Installing an SSD in PS5 Slim
The PS5 Slim has a built-in M.2 SSD expansion bay. You can use it to add more space for PS5 and PS4 games. The process does not replace the console’s original internal storage.
Before you learn how to install SSD in PS5 Slim, check that your drive meets Sony’s requirements.
Your SSD should have these features:
• M.2 NVMe PCIe Gen4 x4 interface
• Storage capacity from 250GB to 8TB
• Recommended sequential read speed of at least 5,500MB/s
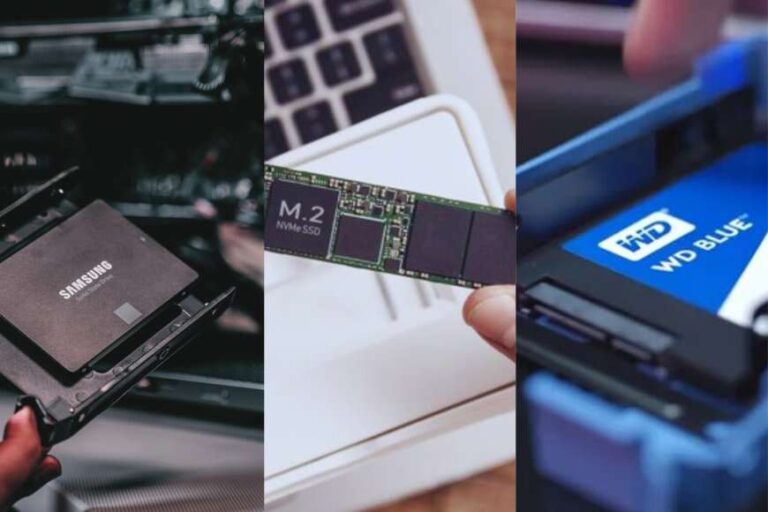
• M.2 2230, 2242, 2260, 2280, or 22110 size
• A width of 22mm
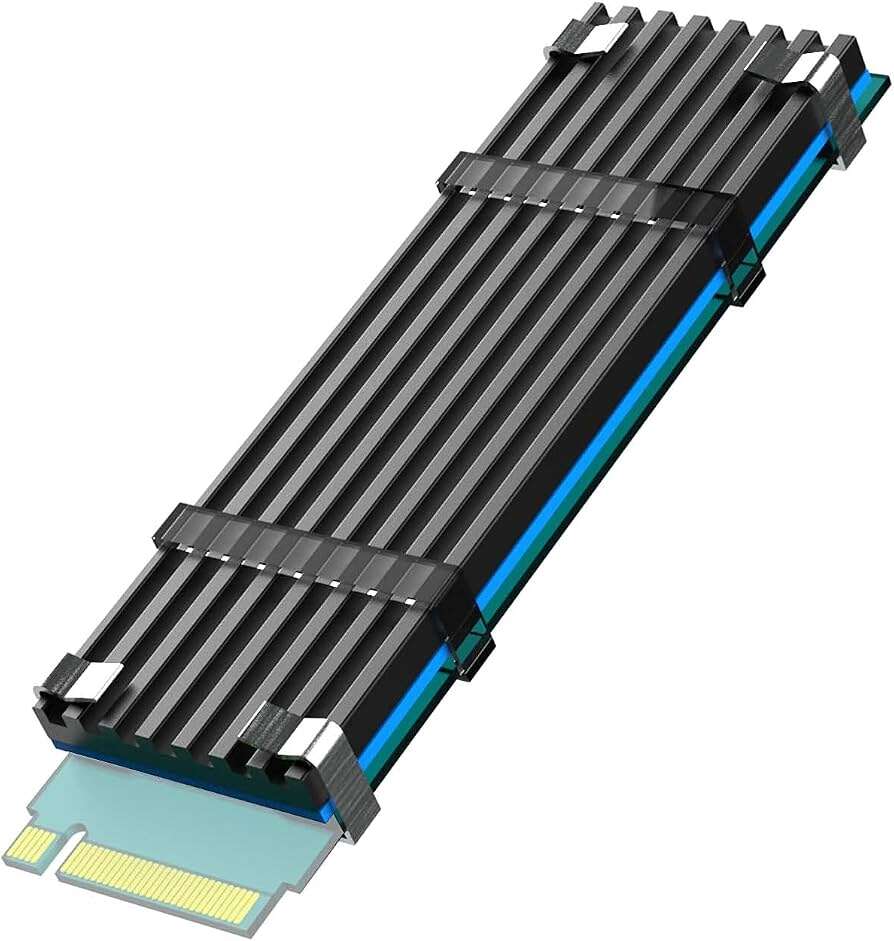
• A compatible heatsink
• Total thickness of no more than 11.25mm, including the heatsink
• A single-sided or double-sided design that fits the bay
Do not buy an M.2 SATA SSD. It may look similar, but the PS5 Slim requires a PCIe NVMe drive. A drive made for a laptop may work, but only if its size, speed, and heatsink fit the console.
The most practical choice for many players is a 1TB or 2TB PCIe Gen4 NVMe SSD with a low-profile heatsink. A 1TB drive gives you useful extra space, while a 2TB model is better if you play large games such as Call of Duty, Final Fantasy VII Rebirth, or NBA 2K.

Tools and Safety Tips
You do not need special repair equipment for this upgrade. Gather the following items before you open the PS5 Slim:
• A compatible M.2 NVMe SSD
• A PS5-compatible heatsink, if the SSD does not include one
• A small Phillips screwdriver, usually a PH1 or PH2
• A clean, flat table
• A soft cloth or towel
• The PS5 Slim’s horizontal stand, if you use one
Shut down the console fully before starting. Do not use Rest Mode. Wait until the power light turns off, then unplug the AC cable and all other cables.
Place the console on a soft cloth. This helps prevent scratches and gives you a stable surface. Touch a metal object before handling the SSD to reduce static electricity. You can also avoid working on carpet, where static is more common.
When explaining how to install SSD in PS5 Slim, I always stress one point: never force the cover or the expansion slot screw. If a part does not move, check its position again. Plastic panels and small screws can break when handled with too much pressure.

Prepare the PS5 Slim
The PS5 Slim can be opened while standing horizontally or vertically. A horizontal position is often easier because the console is more stable and less likely to tip.
Follow these preparation steps:
- Save your game and close every application.
- Select Power, then choose Turn Off PS5.
- Wait until the console light turns off.
- Disconnect the power cable and accessories.
- Let the console cool for several minutes.
- Place it on a soft, clean surface with the PlayStation logo facing down.
The expansion bay is under one of the removable outer panels. The exact panel depends on the side and orientation of your console. Look for the small rectangular cover marked for the M.2 SSD area.
The PS5 Slim cover uses a sliding motion. Lift the edge slightly, then slide the panel away from the console. Do not pry straight up with a tool. If the panel feels stuck, adjust your grip and slide it in the correct direction.

How to Install SSD in PS5 Slim
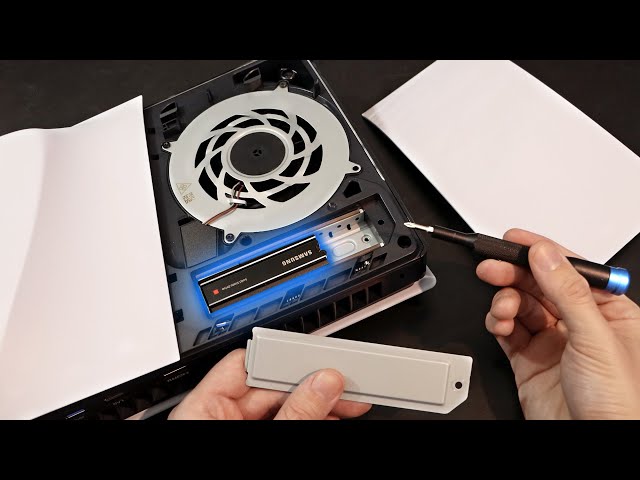
Once the expansion cover is off, you can access the M.2 SSD bay. The bay has a long metal cover secured by one screw.
Follow these steps carefully:
- Remove the screw from the M.2 expansion cover.
- Lift off the metal cover and set it aside.
- Check the spacer inside the bay.
- Move the spacer to the hole that matches your SSD length.
- Hold the SSD by its edges.
- Line up the notch on the SSD with the connector inside the slot.
- Insert the SSD at a slight angle, close to 30 degrees.
- Press the raised end of the SSD down gently.
- Secure the SSD with the provided screw.
- Reinstall the metal expansion cover.
- Replace the plastic outer panel.
- Reconnect the cables.
The SSD connector should slide into the slot smoothly. You may feel light resistance, but the drive should not need force. If the notch does not line up, remove the drive and check its direction.
The spacer controls the height of the SSD. For example, an M.2 2280 drive uses the 80mm position. An M.2 2230 drive uses the 30mm position. The screw should hold the SSD flat without bending it.
A useful lesson from hands-on console upgrades is to avoid tightening the screw too much. It only needs to keep the drive in place. Excess force can damage the screw head, spacer, or SSD circuit board.

Add or Check the SSD Heatsink
A heatsink helps move heat away from the SSD controller. The PS5 Slim has limited airflow around the expansion bay, so cooling matters during long game installs and large file transfers.
Some M.2 SSDs include a heatsink. Others need one added before installation. If you buy a separate heatsink, make sure it supports your SSD’s length and does not exceed the PS5’s maximum height.
The complete SSD height must stay within Sony’s limit. This includes:
• The SSD circuit board
• The top heatsink
• Any thermal pad
• The bottom heatsink, if used
• Clips or mounting parts
Do not stack a second heatsink on top of a drive that already has one. That can make the SSD too tall and prevent the expansion cover from closing.
Keep the thermal pad aligned with the main chips. Do not cover the gold connector at the end of the SSD. The connector must remain clean and fully exposed so it can enter the PS5 Slim slot.
If the expansion cover does not close easily, stop and inspect the heatsink. Never press the cover down to make it fit.

Start and Format the New SSD
After you finish learning how to install SSD in PS5 Slim, the console must format the drive before you can use it.
Reconnect the power cable and turn on the PS5 Slim. If the system detects the SSD, it will display a formatting message. Follow the on-screen steps to format the drive.
Formatting erases all data on the SSD. A new drive should be empty, but check it first if you used it in another device. Back up any files you need before connecting it to the console.
The PS5 will usually show the drive’s read speed during setup. The number may differ from the speed listed on the SSD package. This is normal because advertised speeds come from controlled computer tests, while console results depend on firmware and system conditions.
Once formatting finishes, open Settings and select Storage. You should see the new M.2 SSD listed as an additional storage location.
If the PS5 Slim does not detect the drive, turn off the console and check the following:
• The SSD is a PCIe NVMe model, not SATA
• The SSD is inserted fully into the slot
• The retaining screw holds the drive down
• The heatsink is not blocking the connector
• The SSD bay cover is installed correctly
• The console software is updated
Move Games to the New SSD
The new M.2 drive can store and play compatible PS5 and PS4 games. You can choose where new games are installed and move existing games from the internal storage.
To move a game, open Settings and select Storage. Choose Console Storage, then Games and Apps. Select a game, choose Move, and pick the M.2 SSD.
You can also change the default installation location in the Storage settings. This is helpful if your internal drive is nearly full.
Keep these points in mind:
• PS5 games can run directly from the M.2 SSD
• PS4 games can run from the M.2 SSD
• PS5 games cannot run directly from a standard USB external drive
• Saved data remains managed separately from game installations
• Game updates may need free space on the selected storage device
When helping with how to install SSD in PS5 Slim, I recommend moving one or two games first. Test them before transferring your entire library. This makes it easier to spot a compatibility or installation issue.