How To Install Windows To An SSD: Easy Guide
Create a bootable USB, install Windows from it, and select your SSD as the destination drive.
Learning how to install Windows to an SSD can make an older computer feel new again. An SSD gives faster startup, quicker app loading, and a more responsive desktop than a traditional hard drive. This guide explains how to install Windows to an SSD safely, whether you are building a new PC, replacing an old drive, or moving from a hard drive to solid-state storage.
Before starting, back up your files and check your computer’s firmware settings. A clean installation is simple when the SSD is ready, the Windows USB is correct, and you know which drive to select.


What You Need Before Installing Windows to an SSD
To install Windows to an SSD, gather the right hardware and software first. Preparation prevents most problems, especially accidental data loss and boot errors.
You will need:
• A compatible SSD installed in the computer
• A Windows 11 or Windows 10 installation USB with at least 8 GB of space
• A working computer with internet access to create the USB
• A product key, digital license, or Microsoft account linked to your license


• A backup of personal files, photos, browser data, and software settings
• A screwdriver if you need to install a 2.5-inch SATA or M.2 SSD
A clean Windows installation normally erases the target drive. If the SSD contains files, copy them to an external drive or cloud storage first. Do not assume that a second drive is safe simply because you are installing Windows on another disk.
For Windows 11, check the basic requirements before beginning. The computer should support features such as UEFI firmware, Secure Boot capability, and TPM 2.0. Microsoft also lists processor, memory, storage, and graphics requirements that may affect installation.
Choose the Right SSD
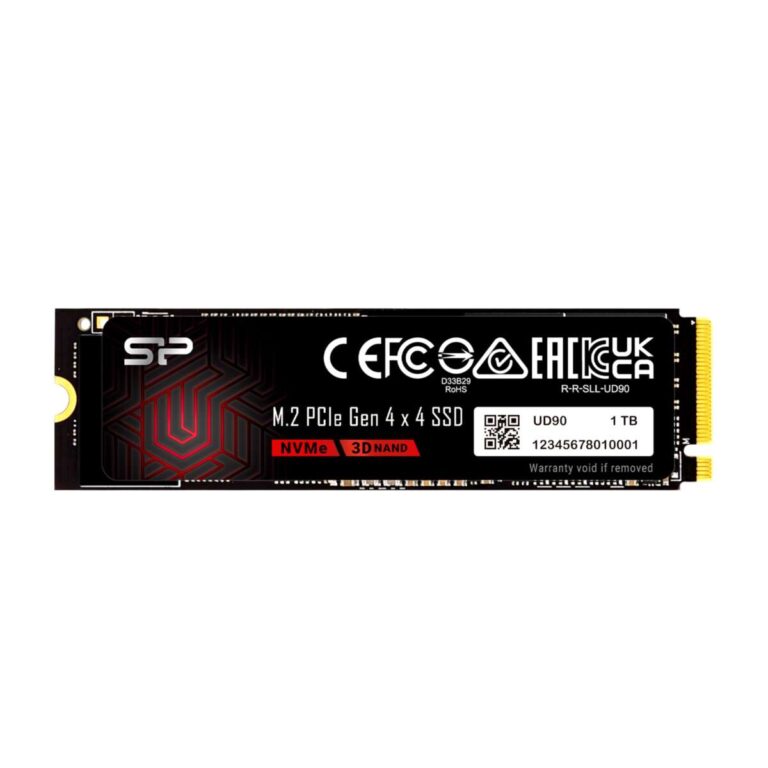
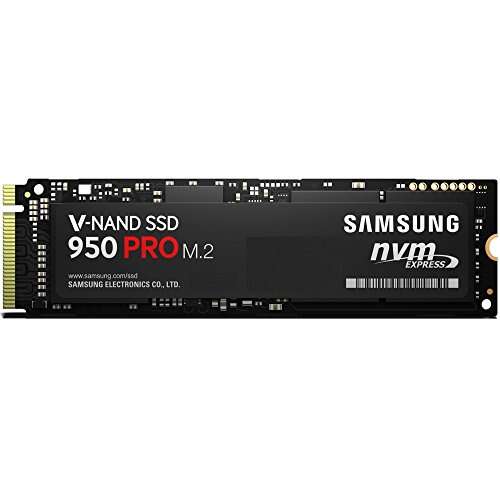
Modern computers usually use one of these SSD types:
• 2.5-inch SATA SSD: This connects with a SATA data cable and a SATA power cable.
• M.2 SATA SSD: This looks like a small circuit board and fits into a compatible M.2 slot.
• M.2 NVMe SSD: This uses PCIe and is often much faster than SATA storage.
Check your motherboard or laptop manual before buying an SSD. An M.2 slot may support only SATA, only NVMe, or both. The drive must also fit the physical length supported by the slot.
Check the Drive Size
A 500 GB SSD is a practical minimum for many Windows users. A 1 TB SSD gives more room for applications, games, updates, and personal files.
Windows itself does not use the entire advertised capacity. A drive sold as 500 GB may show about 465 GB in Windows because manufacturers and operating systems measure storage differently.

Back Up Your Data Before You Install Windows
Backing up your data is the most important step when you install Windows to an SSD. A clean install can remove partitions and delete everything on the selected drive.
Save these items:
• Documents, pictures, videos, and music


• Files stored on the desktop and in the Downloads folder
• Browser bookmarks and saved passwords
• Email archives and application settings
• Game saves and project files
• Device drivers that may be difficult to find later
Use an external drive, network storage, or a trusted cloud service. For important files, keep two copies in different places. A backup is useful only if you can open the files and confirm that they copied correctly.
If the old Windows drive still works, sign in to your Microsoft account before replacing it. This can help Windows reactivate after installation, provided the digital license is linked to that account and the hardware has not changed beyond the license terms.
A common mistake is backing up only the obvious folders. Many applications store data in hidden folders or inside the user profile. If you rely on specialized software, check that program’s own export or backup options.

Create a Bootable Windows USB Drive
The installation USB is the tool you use to install Windows to an SSD. Use Microsoft’s official Windows installation media tool whenever possible. It downloads the current installation files and prepares a bootable USB drive.
Follow these steps:
-
Insert an empty USB flash drive with at least 8 GB of space.
-
Open Microsoft’s official Windows download page on a working computer.
-
Download the Windows Media Creation Tool for your version.
-
Run the tool as an administrator.
-
Accept the license terms.
-
Select the option to create installation media for another PC.
-
Choose the language, Windows edition, and 64-bit architecture.
-
Select USB flash drive.
-
Choose the correct USB drive and let the tool finish.


The process erases the USB drive. Check the drive letter carefully before continuing. If the tool fails, try another USB port, use a different flash drive, or create the media on a more stable internet connection.
You can also use an ISO file with a trusted USB writing tool. This option gives you more control, but the official media tool is usually easier for most users.
Do not copy the ISO file to the USB as if it were a normal document. The USB must be made bootable so the computer can start the Windows installer.

Install the SSD in Your Computer
Turn off the computer and disconnect its power cable before installing the SSD. For a laptop, follow the manufacturer’s service instructions and disconnect the battery when possible.
Install a 2.5-Inch SATA SSD
A 2.5-inch SATA SSD needs two connections:
• A SATA data cable that connects to the motherboard
• A SATA power cable from the power supply
Secure the drive in a mounting bracket or drive bay. Avoid leaving it loose inside the case. The SSD has no moving parts, but a loose cable can still cause an intermittent connection.
Install an M.2 SSD
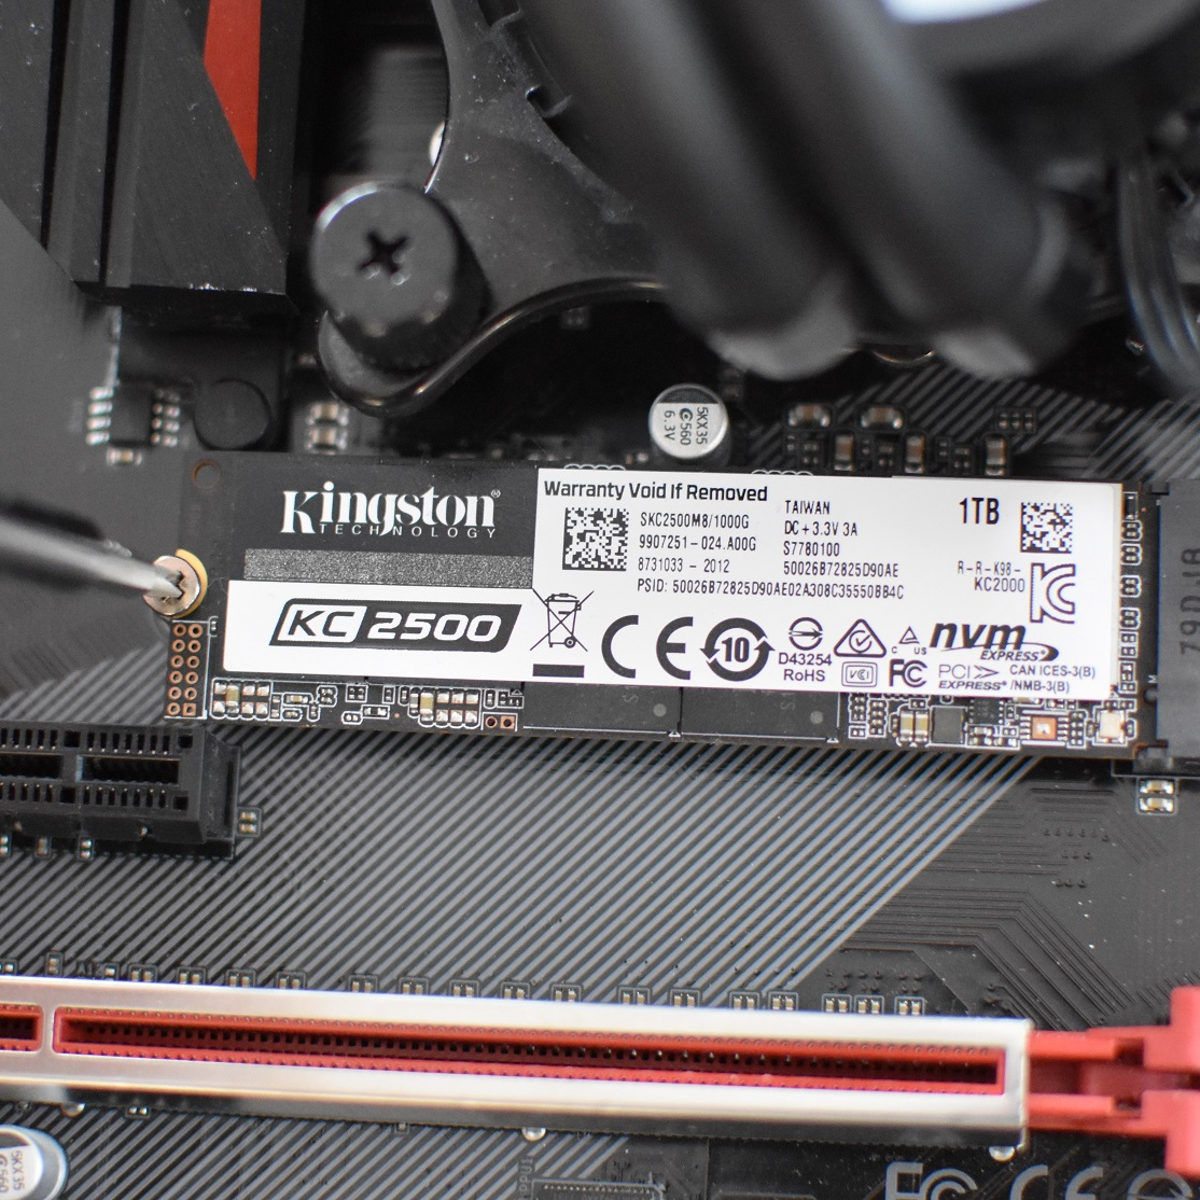
Find the correct M.2 slot on the motherboard. Remove the small retaining screw, slide the SSD into the slot at a slight angle, and press it down gently. Secure it with the screw.


Do not force the drive. The notch on the connector must match the key in the slot. If the screw is missing, check the motherboard box because many boards include the standoff and screw.
After installation, reconnect the power cable and start the computer. Enter the firmware setup by pressing a key such as Delete, F2, F10, or Esc during startup. The correct key depends on the computer manufacturer.
Check whether the SSD appears in the storage or NVMe information screen. If it does not appear, turn off the computer and check the connection, slot compatibility, and storage settings.
Set UEFI Boot Mode and Check the SSD
Modern Windows installations work best with UEFI firmware and a GPT partition style. UEFI is the newer replacement for legacy BIOS. GPT is the partition format designed for modern systems and large drives.
In the firmware settings, look for options such as:
• UEFI or Legacy Boot
• Secure Boot
• Storage Configuration
• SATA Mode
• NVMe Information
• Boot Priority
Use UEFI mode when your computer supports it. Avoid changing SATA mode after Windows is installed unless you know what you are doing. Switching between AHCI, RAID, and other modes can cause Windows to stop booting.
Secure Boot can usually remain enabled for a standard Windows installation. If the installer refuses to start, check the motherboard manual before disabling security features. Some custom systems need a temporary setting change, but restore secure settings after installation.
Set the USB drive as the first boot device, or open the one-time boot menu. The boot menu is often accessed with F12, F9, F11, or Esc. Choose the entry that begins with “UEFI” if two USB options appear.
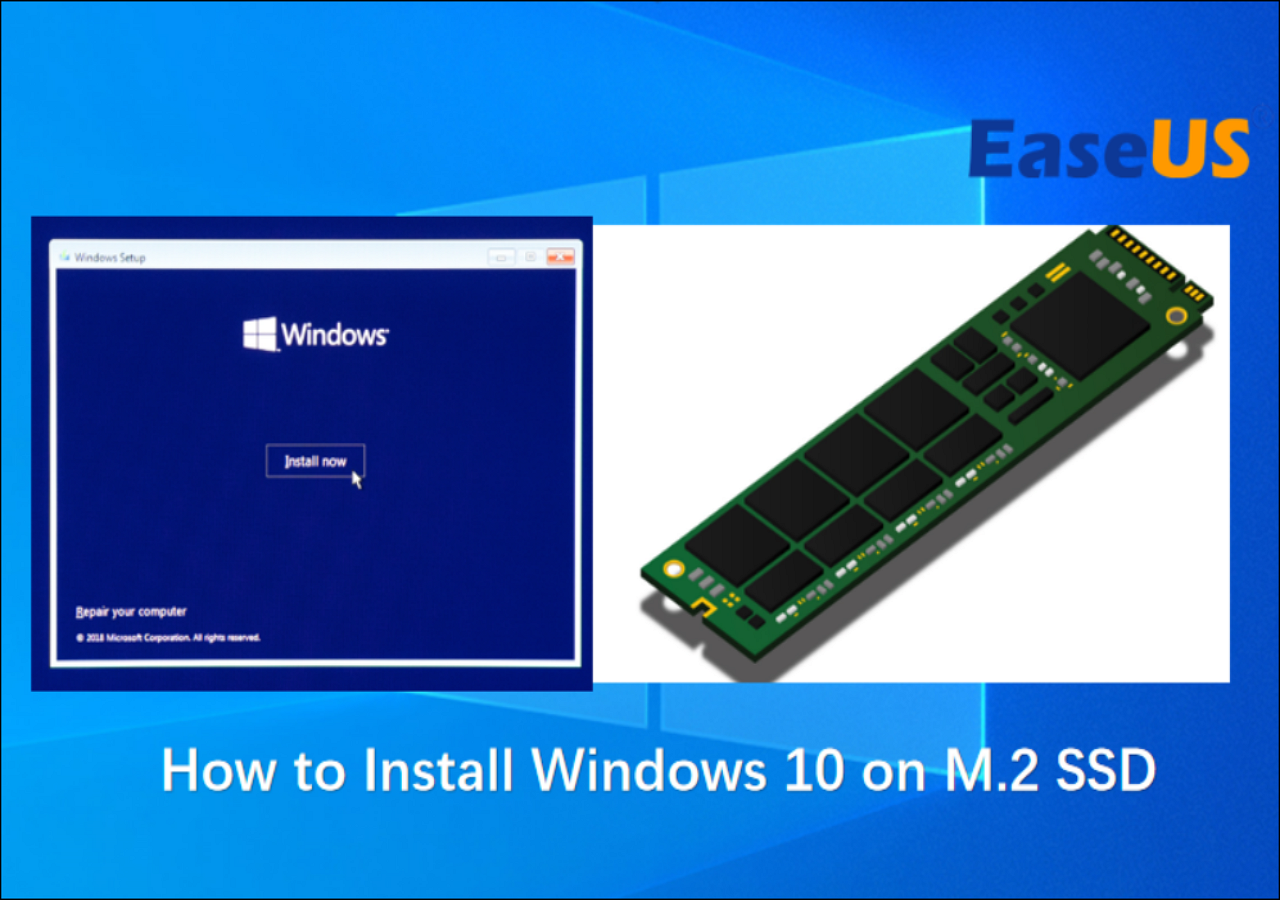
How to Install Windows to an SSD
Once the USB is ready and the SSD is detected, you can install Windows to the SSD. Keep the computer connected to reliable power throughout the process.
Follow these steps to install Windows to an SSD:
-
Insert the bootable Windows USB.
-
Restart the computer.
-
Open the boot menu and select the UEFI USB option.
-
Wait for Windows Setup to load.
-
Choose your language, time, currency, and keyboard layout.
-
Select Install now.
-
Enter your product key, or choose I don’t have a product key if the computer already has a digital license.
-
Select the correct Windows edition if asked.
-
Accept the license terms.
-
Choose Custom: Install Windows only.
-
Identify the SSD by its capacity.
-
Delete old partitions on that SSD only if you want a completely clean installation.
-
Select the unallocated space on the SSD.
-
Click Next.
Windows Setup will create the partitions it needs. These may include system, recovery, and reserved partitions. This is normal.
The hardest part is identifying the correct drive. Look at the drive size and compare it with the SSD you installed. Never delete partitions from a disk unless you are certain it is the target drive.
If the computer has both the old hard drive and the new SSD installed, disconnecting the old drive during setup can reduce confusion. It also helps ensure that Windows places its boot files on the SSD instead of another disk.
The computer will restart several times. Do not press a key when the message asks you to boot from the USB again. If it does, remove the USB after the first restart or select the SSD from the boot menu.
Complete Windows Setup After Installation
After Windows finishes installing, it will ask you to select regional settings and connect to a network. Follow the setup prompts and sign in with your Microsoft account if you use one.
Windows may ask you to create a PIN. This PIN is normally tied to the specific computer and can be easier to use than a full account password.
Once you reach the desktop, complete these tasks:
• Run Windows Update until no important updates remain.
• Install motherboard, chipset, Wi-Fi, and graphics drivers.
• Confirm that the SSD appears in File Explorer and Disk Management.
• Activate Windows under Settings > System > Activation.
• Install your main applications.
• Restore your personal files from the backup.
• Turn on Windows Security and review privacy settings.
Windows Update often installs useful drivers, but the motherboard or laptop manufacturer may provide newer chipset, storage, or firmware drivers. Graphics drivers are usually best downloaded from the graphics chip maker or computer manufacturer.
Activation is normally automatic when the computer has a digital license. A major hardware change, such as replacing the motherboard, may require additional activation steps.
Optimize Windows for Your New SSD
Windows automatically handles many SSD settings. You usually do not need to run a traditional disk defragmenter on an SSD.
Windows uses a process called TRIM to help the SSD manage unused blocks. It also runs scheduled maintenance through the Optimize Drives tool. For an SSD, this tool normally sends a TRIM command rather than performing a traditional hard-drive defragmentation.
Good SSD habits include:
• Keep at least 10 percent of the drive free when practical.
• Install firmware updates only from the SSD manufacturer.
• Avoid unknown “SSD optimizer” programs.
• Do not disable TRIM without a specific reason.
• Keep important files backed up.
• Use a surge protector or reliable power protection for desktop systems.
An SSD can improve speed, but it does not replace a backup. SSDs have no moving parts, yet they can fail without much warning. Backups protect your data; they do not depend on the type of drive you use.
Common Problems When Installing Windows to an SSD
Even a correct installation can run into trouble. Most errors have a clear cause.
The SSD Does Not Appear in Windows Setup
Check whether the SSD appears in UEFI firmware first. If it is missing there, inspect the physical connection, confirm M.2 compatibility, and try another supported slot.
Some systems use Intel Rapid Storage Technology or a RAID controller. In that case, Windows Setup may need a storage driver from the computer manufacturer. Download the driver on another computer, copy it to a USB drive, and choose Load driver in Windows Setup.
Windows Says It Cannot Install to the Disk
This often happens when the computer boots the installer in Legacy mode while the disk uses GPT. Boot the USB in UEFI mode, then restart the installation.
For a completely clean installation, you can delete the partitions on the target SSD and let Windows create new ones. This permanently deletes that drive, so confirm the disk identity first.
The Computer Boots to the Old Drive
The old drive may still contain the active boot manager. Shut down the computer and temporarily disconnect the old drive. If Windows then starts from the SSD, reconnect the old drive and set the SSD or Windows Boot Manager as the first boot option.
Windows Starts Slowly After Installation
Check whether the computer is booting from the SSD. Also install chipset drivers and confirm that the SSD is connected to the fastest supported interface. Startup apps can also slow the desktop after installation.
The SSD Has Less Space Than Expected
Manufacturers use decimal capacity, while Windows reports capacity using a different measurement. Recovery partitions and Windows system files also use space. This difference is normal and does not mean the SSD is defective.
Clean Install or Clone: Which Method Is Better?
A clean installation is usually the best way to install Windows to an SSD when the old system has clutter, malware concerns, driver problems, or years of unused software.
Cloning copies the old Windows installation to the SSD. It preserves applications, settings, and files, which can save time. However, cloning can also copy old problems, unnecessary files, and incompatible partitions.
Choose a clean installation when:
• You want a fresh start.
• The old Windows installation is unstable.
• You are changing from Legacy BIOS to UEFI.
• You are replacing a failing drive.
• You suspect malware or serious system corruption.
Choose cloning when:
• You need to preserve a complex work setup.
• You have limited time to reinstall software.
• The source drive is healthy.
• The SSD has enough capacity for the cloned data.
Before cloning, check the software’s options for SSD alignment, partition resizing, and recovery partitions. After cloning, shut down the computer and test the SSD as the only boot drive if possible.
Practical Lessons That Prevent Installation Mistakes
One of the most useful lessons when you install Windows to an SSD is to slow down at the disk selection screen. The installer may list several drives with similar names, and a wrong click can erase the wrong disk.
Use these habits:
• Write down the SSD’s capacity before starting.
• Disconnect extra storage drives during a clean installation.
• Keep the backup drive unplugged after copying files.
• Use the UEFI version of the USB boot option.
• Do not interrupt the installation while files are being copied.
• Save network and storage drivers before replacing a laptop drive.
• Keep the Windows USB until activation and updates are complete.
Another common mistake is formatting the old drive too soon. Use the new Windows installation for a few days first. Open your key files, test your applications, and confirm that the computer boots correctly before erasing the old drive.
Think of the old drive as a spare key. It gives you a way back if a driver, file, or setting is missing.
How Long Does It Take to Install Windows to an SSD?
The installation itself often takes 20 to 60 minutes. The total time can be longer if you need to install the SSD, create the USB, download updates, install drivers, and restore files.
A fast NVMe SSD does not always make the entire process much shorter. Internet speed, USB performance, processor speed, and the number of Windows updates can have a larger effect.
Do not judge the SSD by the time needed for the first setup. The biggest improvement usually appears during daily use, such as booting Windows, opening applications, searching files, and loading projects.
How to Install Windows to an SSD Without Losing Files
You can install Windows to an SSD without losing files if you keep the files on another drive and select only the new SSD during setup. Still, no installation method is completely risk-free, so make a backup first.
If Windows is already installed on the old drive, you can install Windows fresh on the SSD while leaving the old drive untouched. After testing the new system, copy your files from the old drive.
Do not choose “Delete” or “Format” for a drive that contains files you need. Drive letters may change inside Windows Setup, so use capacity and partition details instead of relying only on labels such as C: or D:.
Frequently Asked Questions About How to Install Windows to an SSD
Can I install Windows directly to an SSD without a USB?
A USB drive is the simplest and most reliable method for a clean installation. Some computers support network installation or recovery tools, but these options vary by manufacturer and are less convenient for most users.
Should I format the SSD before installing Windows?
You do not need to format a new SSD before installation. In Windows Setup, select the unallocated space, and Windows will create the required partitions automatically.
Why is my SSD not showing during Windows installation?
The SSD may be incompatible with the slot, poorly connected, disabled in firmware, or controlled by a storage mode that needs a driver. Check UEFI detection first, then review the computer manufacturer’s storage driver instructions.
Can I install Windows to an SSD while keeping my old hard drive?
Yes, but disconnecting the old drive during a clean installation can prevent boot files from being placed on the wrong disk. Reconnect it after Windows starts correctly from the SSD.
Do I need a new Windows license for the SSD?
Usually, no. Replacing a storage drive normally does not require a new license if the computer has a valid digital license. Activation may require troubleshooting after major hardware changes.
Is NVMe better than SATA for Windows?
NVMe SSDs can offer higher transfer speeds and lower access times than SATA SSDs. For everyday tasks, both are much faster than a mechanical hard drive, so compatibility and price also matter.
How do I make the SSD the main boot drive?
Enter UEFI firmware or the one-time boot menu and select Windows Boot Manager on the SSD. After Windows starts from the SSD, set that entry as the first boot option.
Conclusion
To install Windows to an SSD, prepare a backup, create an official bootable USB, confirm that the SSD is detected, start the installer in UEFI mode, and select the correct drive. A clean installation gives you a fresh system, while cloning can preserve an existing setup when the source drive is healthy.
Take your time at the partition screen, keep the old drive untouched until the new system works, and install updates and drivers after reaching the desktop. With these steps, you can complete the upgrade safely and enjoy faster startup and smoother everyday performance. Share your installation experience or explore more Windows maintenance guides for your next upgrade.

Everett Ashford is a tech reviewer at mytechgrid.com specializing in SSDs, cameras, TVs, earbuds, headphones, and other consumer electronics. He provides honest, data-driven reviews based on hands-on testing and real-world performance analysis. Everett simplifies complex tech details to help readers make smart, confident buying decisions.