You can make sound canceling headphones with passive ear cups, microphones, an audio circuit, and careful noise testing.
Learning how to make sound canceling headphones is a rewarding electronics project, but true active noise cancellation is more complex than adding foam to ear cups. The best results come from combining a tight seal, low-latency microphones, correct signal processing, and safe volume control. This guide explains the parts, design choices, build steps, common mistakes, and realistic limits of a DIY noise-canceling headset.

What sound canceling headphones actually do
Sound canceling headphones use two methods to reduce unwanted noise:
• Passive noise isolation blocks sound with ear cup seals, foam, and dense materials.
• Active noise cancellation, or ANC, uses microphones and speakers to create an opposite sound wave.
Think of ANC as two waves meeting in a pool. If one wave rises while the other falls, they can reduce each other. In headphones, the system hears outside noise, creates an inverted copy, and plays that copy through the speakers.
This works best with steady, low sounds. Engine hum, air conditioners, bus noise, and fan noise are good examples. Sudden sounds, speech, claps, and high-pitched tones are harder to cancel because the system has very little time to react.
When learning how to make sound canceling headphones, it helps to understand that ANC does not “erase” sound in the room. It reduces the sound at a specific listening position, usually near the user’s ears. Small changes in fit can affect the result.
A good DIY design combines:
• A strong passive seal
• A low-noise microphone
• A fast audio processor
• A stable speaker driver
• Correct microphone placement
• A safe and adjustable listening level
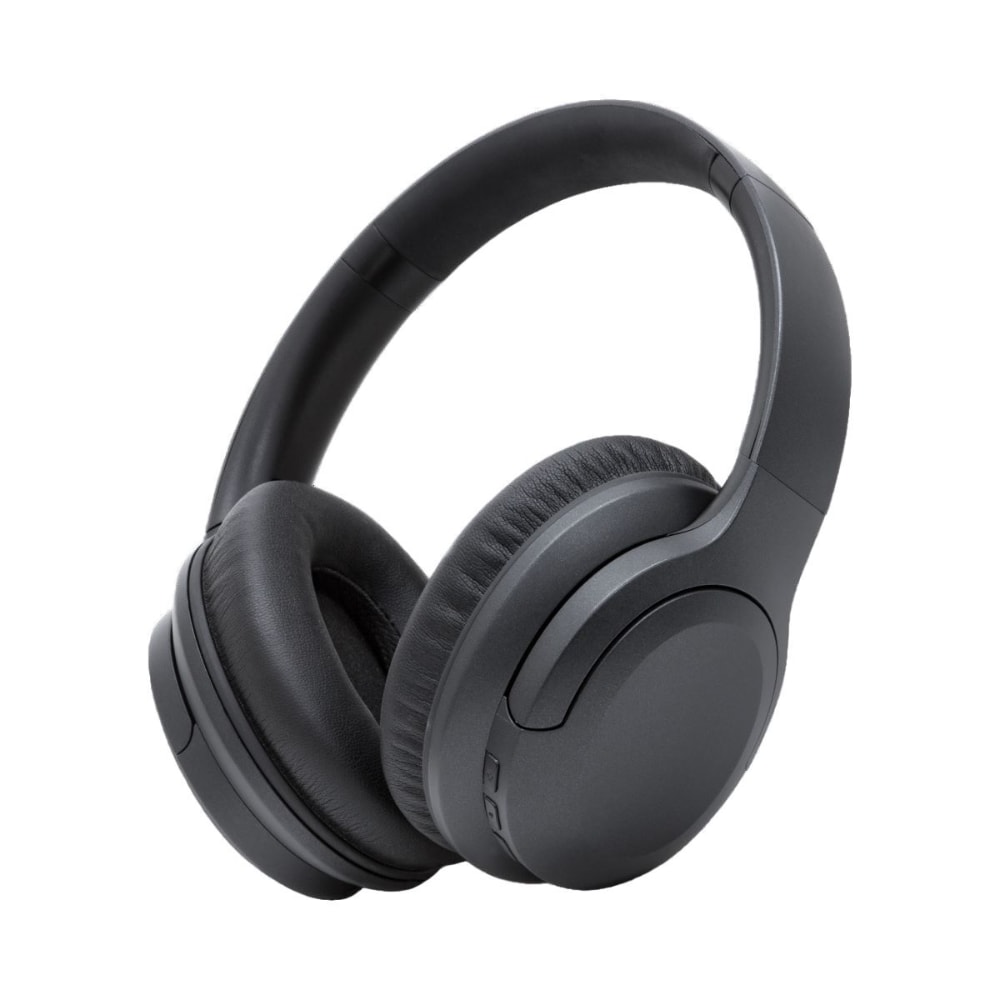
Choose between passive isolation and active noise cancellation
Before learning how to make sound canceling headphones, decide what kind of project you want to build. Passive headphones are much easier, safer, and cheaper. Active headphones can perform better against low-frequency noise, but they require more testing and electronic skill.
Passive noise-reducing headphones
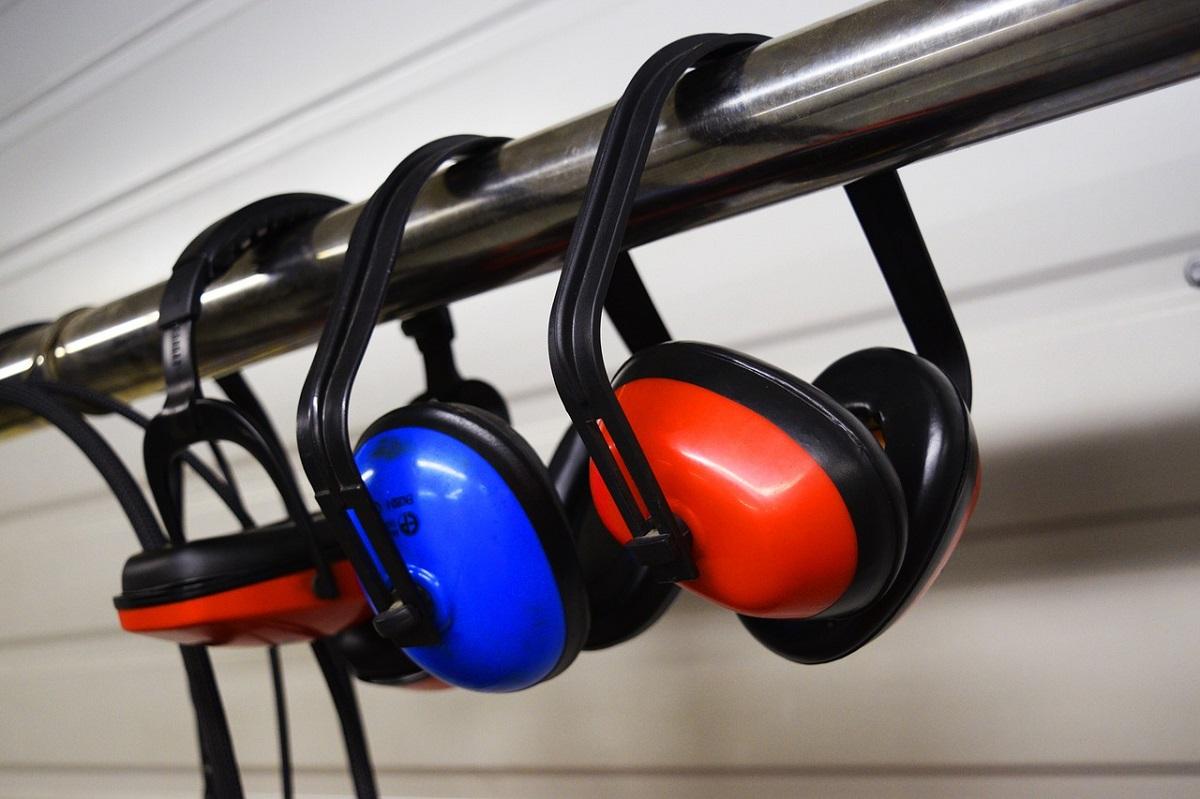
A passive design uses physical materials to block sound. You can build one from hearing-protection earmuffs, old headphones, memory foam, and soft sealing fabric.
This approach is useful for:
• Workshop noise
• Lawn equipment
• Loud office equipment
• Travel
• Study rooms
• Basic hearing protection
Passive isolation does not need batteries, microphones, or software. It also cannot create feedback or produce an unwanted tone. For many beginners, this is the best first step in learning how to make sound canceling headphones.
Active noise-canceling headphones
An active design adds an electronic cancellation system. The microphone measures unwanted sound, and a circuit sends an opposite signal to the speaker.
There are two common layouts:
• Feedforward ANC places the microphone outside the ear cup.
• Feedback ANC places the microphone inside the ear cup near the ear.
Some commercial headphones use hybrid ANC, which combines both layouts. A DIY hybrid design can work well, but it is harder to tune because the system has more feedback paths.
My practical advice is simple: build a strong passive headset first. If the ear cups leak air, even an excellent ANC circuit will struggle. A poor seal is like trying to cool a room with an open window.
Materials and tools you will need
The parts depend on your skill level and the type of system you want to build. A simple passive model needs only mechanical parts. An active model needs audio electronics and careful wiring.
Basic materials
For the headset body, gather:
• Over-ear headphones or hearing-protection earmuffs
• Closed-cell foam or replacement ear pads
• Thin acoustic felt
• Flexible sealing material
• Small screws or strong two-part epoxy
• A battery holder or rechargeable battery pack
• Heat-shrink tubing
• Thin, shielded audio wire
Use closed-cell foam for the seal because it keeps its shape better than soft open-cell foam. The ear cup should fit around your ear without pressing hard against it.
Electronic parts for active cancellation
For a basic ANC prototype, you may need:
• Two small electret or MEMS microphones
• Two headphone speaker drivers
• An audio amplifier
• An analog filter or digital signal processor
• A microcontroller with fast audio input and output
• A low-noise power supply
• A volume control
• A power switch
• A battery protection board
• Capacitors and resistors for signal filtering
A digital signal processor is usually easier to adjust than a fully analog circuit. A board designed for real-time audio can help you control delay, gain, and filtering.
Tools
Useful tools include:
• Soldering iron
• Multimeter
• Small screwdriver set
• Wire cutters and strippers
• Drill or rotary tool
• Computer for programming
• Phone or audio player for test sounds
• Sound-level meter, if available
Do not depend on a phone microphone for accurate safety testing. Phone readings can be useful for comparison, but they are not a replacement for calibrated hearing-protection equipment.

How to make sound canceling headphones with a passive design
A passive model is the safest place to start. It also teaches you how fit and material choice affect noise reduction.
Step 1: Select the ear cups
Choose over-ear cups that fully surround your ears. Hearing-protection earmuffs often provide a better starting shell than lightweight music headphones because they are built to block sound.
Check the cup depth. Your ears should not touch the inside speaker or hard plastic. Pressure points can cause discomfort during long use.
Step 2: Improve the seal
Remove the old pads if they are thin or cracked. Cut a ring of closed-cell foam that fits around each ear cup. Cover the foam with soft fabric or synthetic leather.
The seal should touch your head all around the ear. Hair, glasses, and uneven foam can create small gaps. Even a narrow gap can let in a surprising amount of high-frequency sound.
Step 3: Add internal absorption
Place a thin layer of acoustic felt inside the cup. Do not cover the speaker opening or press material against the driver. The felt can reduce reflections inside the cup and make the sound less harsh.
Avoid filling the entire cup with loose cotton. It can move, touch the driver, trap heat, and change the sound in an uncontrolled way.
Step 4: Install or retain the speaker drivers
If you are converting earmuffs into listening headphones, mount small drivers in the center of each cup. Use a firm bracket or a thin support plate.
The driver should face the ear but should not touch it. Seal wire openings with flexible adhesive so sound cannot leak through the holes.
Step 5: Test the fit
Play a steady low tone at a moderate level. Then compare the sound with and without the headset. Test the headset while turning your head, wearing glasses, and moving your jaw.
When I tested early DIY ear cups, the biggest improvement did not come from thicker foam. It came from fixing a small gap near the temple. This is a common lesson in how to make sound canceling headphones: fit often matters more than bulk.
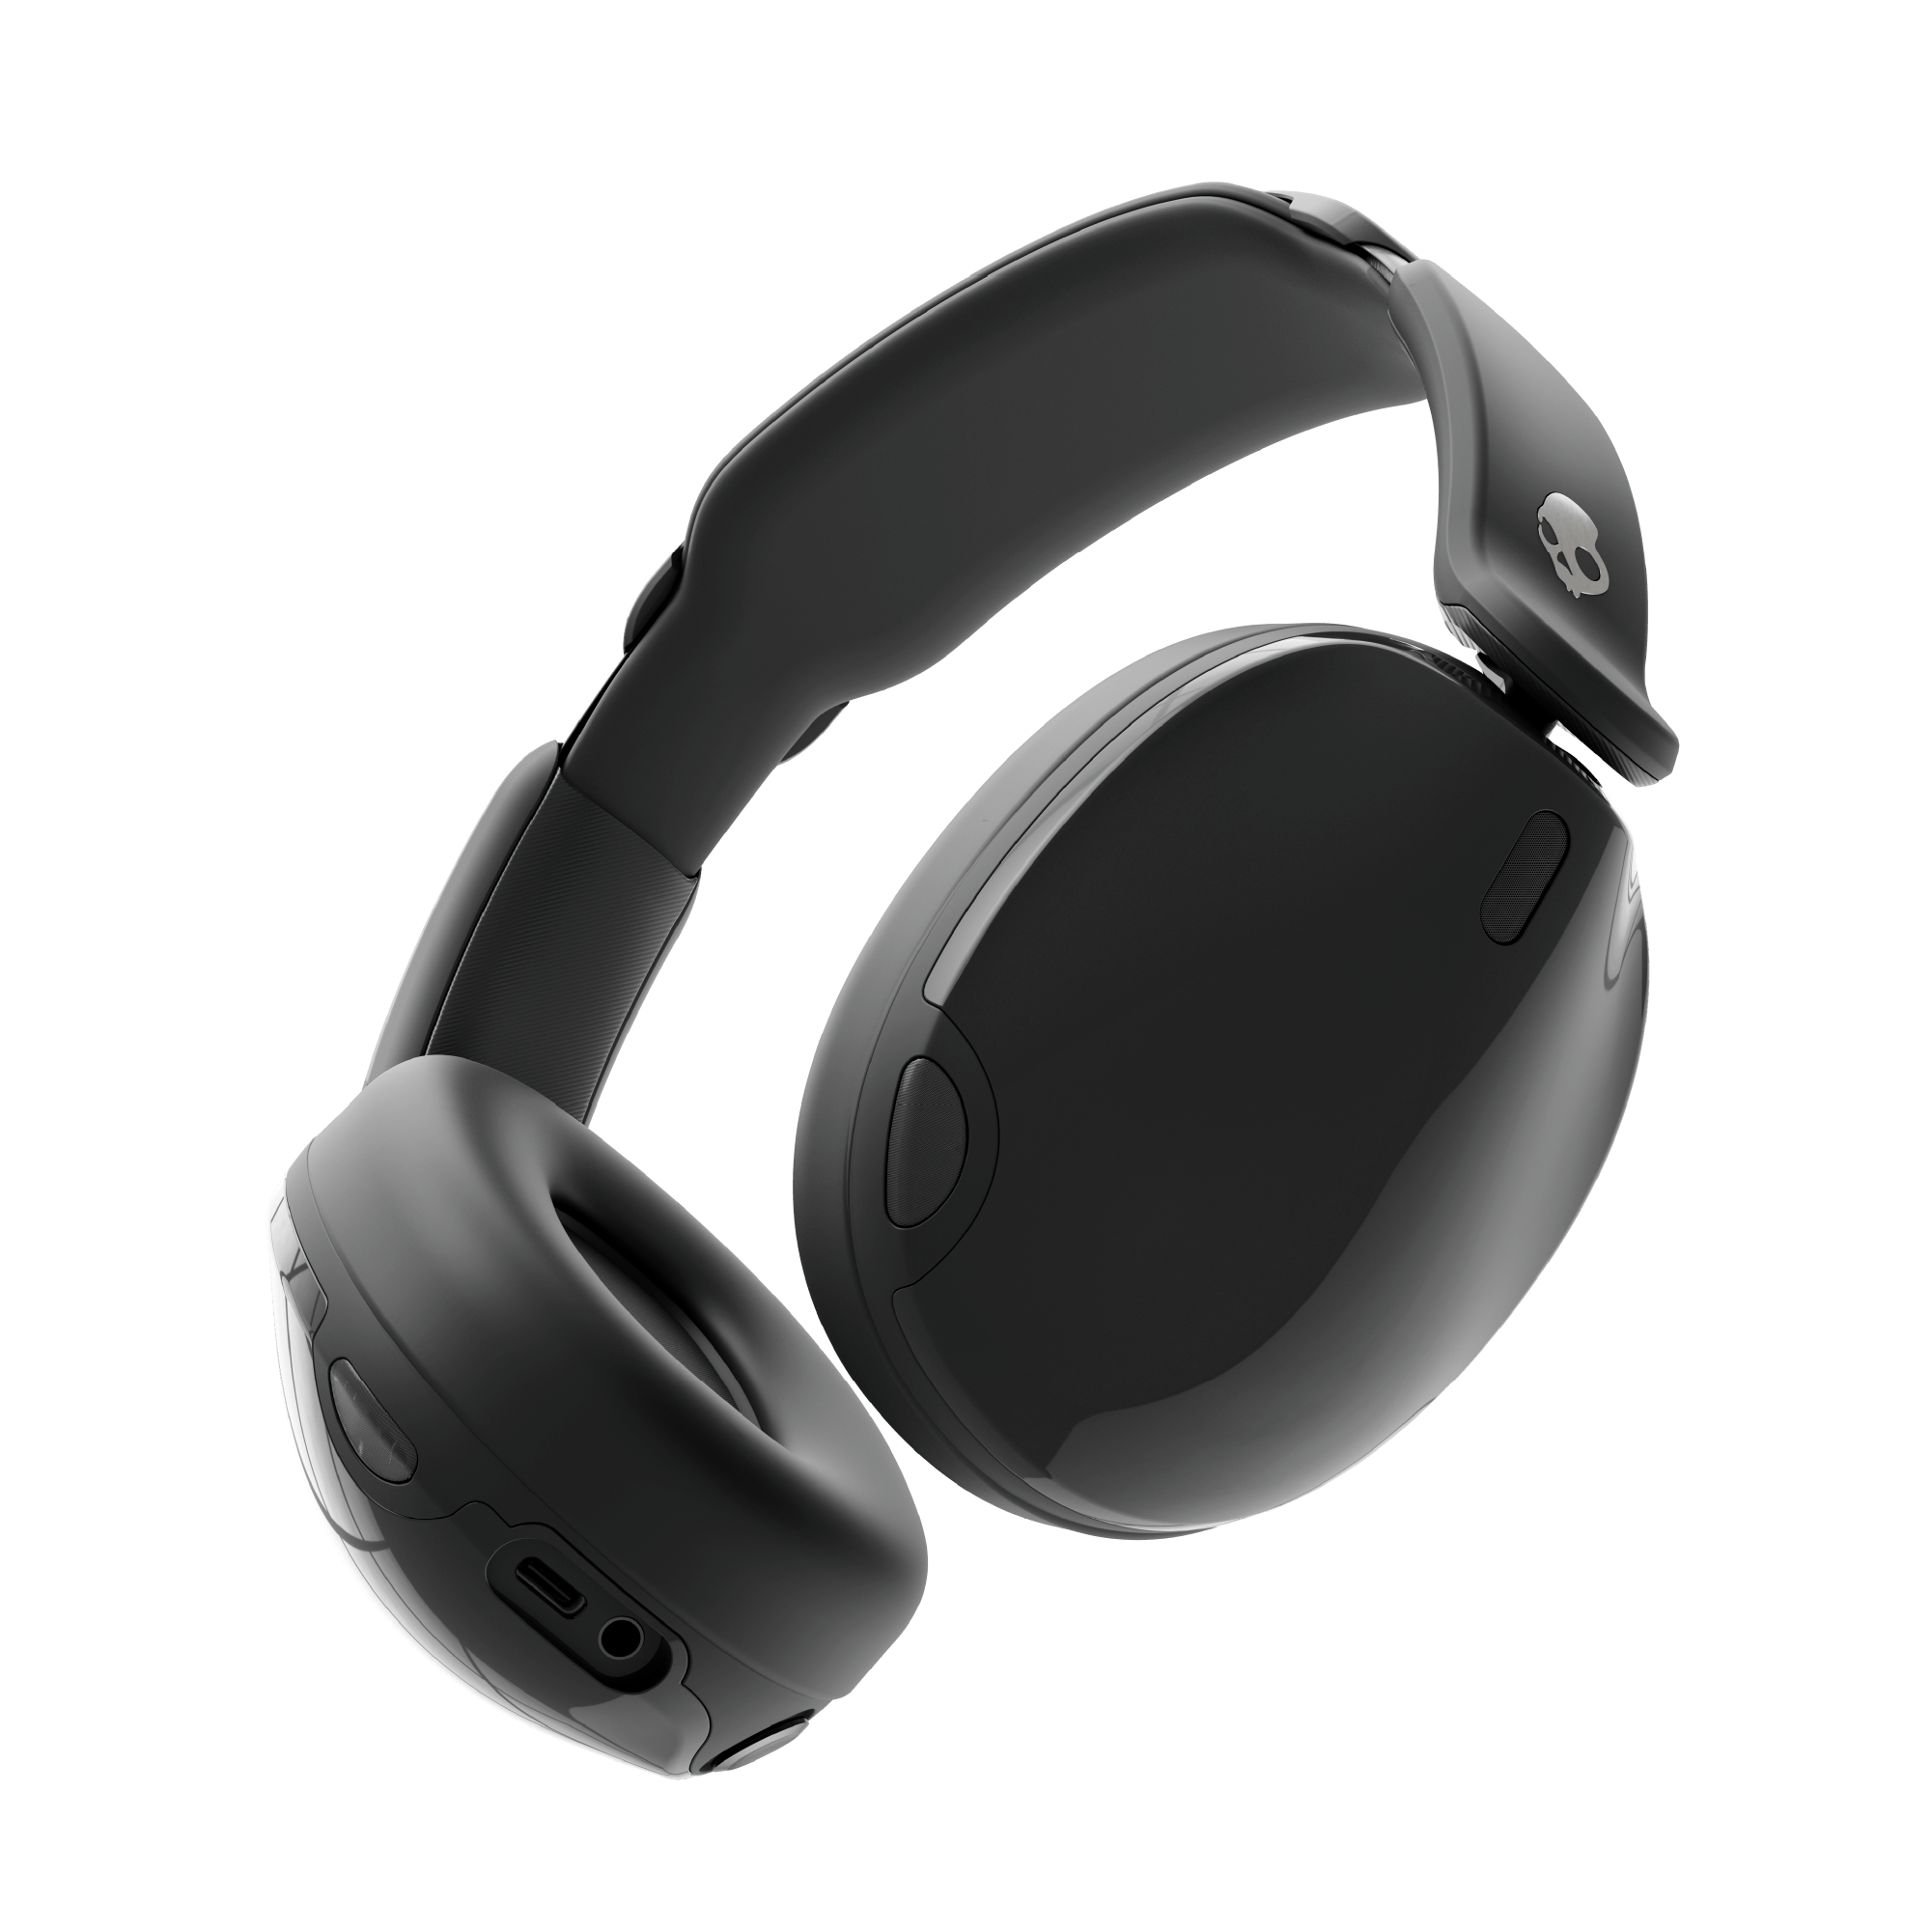
How to make sound canceling headphones with active electronics
The active version adds a second sound path. That path must be quick, stable, and carefully controlled.
Step 1: Choose the microphone position
For a feedforward system, mount the microphone on the outside of the ear cup. It should face the main noise source but remain protected from wind.
For a feedback system, mount the microphone inside the cup near the ear. This allows the circuit to measure the sound that reaches the ear, but it increases the risk of feedback.
Do not place the microphone directly beside the speaker opening. The speaker signal may leak into the microphone and cause a loud squeal.
Step 2: Build the microphone input
Connect each microphone to a clean preamplifier. Keep the microphone wires short and use shielded cable where possible.
The input stage should have:
• Stable bias voltage
• Low electrical noise
• Moderate gain
• A high-pass filter for handling very low rumble
• Protection from battery voltage spikes
A microphone that clips will produce poor cancellation. Set the gain so normal background noise stays below the circuit’s maximum input level.
Step 3: Add filtering
Most DIY ANC systems work best when they focus on lower frequencies. A low-pass filter can remove very high sounds that are difficult to cancel and may create instability.
A starting range might limit the active system to roughly 20 to 500 Hz. The exact range depends on the ear cups, drivers, microphone, and processing delay.
This is not a universal setting. The correct filter must be measured and tuned. A filter that is too wide can make speech sound strange or create feedback.
Step 4: Invert and delay the signal
The circuit must create an opposite-phase signal. It must also account for the time needed for the microphone, processor, amplifier, and speaker to respond.
In a simple analog circuit, an operational amplifier can invert the signal. In a digital circuit, software can invert and filter the signal. Digital control is more flexible, but even a small delay can reduce cancellation at higher frequencies.
The cancellation signal should not be sent directly to full volume. Start with very low gain. Increase it in small steps while listening for ringing, whistling, or pressure-like sounds.
Step 5: Drive the speaker safely
The speaker driver needs an amplifier that matches its impedance and power rating. Do not assume that a larger amplifier will improve ANC. Excess power can damage the driver or hearing.
Add a volume limiter in the signal chain. A limiter can reduce sudden peaks caused by microphone handling, circuit faults, or feedback.
A simple DIY ANC signal path
A basic active design can follow this signal path:
-
Outside microphone captures background noise.
-
Microphone preamplifier raises the signal level.
-
Filter removes unwanted frequencies.
-
Inverter or processor creates an opposite-phase signal.
-
Gain control sets the cancellation level.
-
Mixer combines cancellation with music or voice.
-
Headphone amplifier powers the driver.
-
Speaker produces the final audio near the ear.
The signal path may look simple, but each stage affects the next one. A noisy preamplifier can make the headset hiss. Too much gain can cause feedback. Too much delay can turn cancellation into added noise.
For a first active prototype, build one ear cup only. This reduces the number of variables and makes testing easier. Once one side is stable, copy the design for the other side.
A useful test method is to play a steady tone through a speaker in front of you. Measure the sound near the ear with the system off and on. Move the microphone a few millimeters at a time and compare the result.
Do not judge the design only by how it feels. Some ANC systems create a “quiet” sensation without reducing sound evenly. Measurements and listening tests should support each other.

How to tune and test the headphones
Tuning is the most important part of learning how to make sound canceling headphones. A circuit that works on a workbench may fail when placed on your head.
Start with low volume
Begin with no music playing. Use a quiet room first, then test with a fan or air conditioner. Keep the cancellation gain low.
Listen for:
• Whistling
• Pulsing
• Rattling
• A bass boost
• A hollow voice sound
• Sudden loud bursts
Turn the system off immediately if you hear a sharp squeal. Feedback can become loud in a fraction of a second.
Check different noise types
Test several sounds:
• Low fan hum
• Vehicle engine noise
• Airplane cabin noise
• Speech
• Keyboard clicks
• Door closing
• High-pitched alarms
A good DIY ANC system may reduce fan hum while doing little against speech or clicks. That result is normal. Active cancellation is strongest when the noise is steady and predictable.
Check movement
Walk, turn your head, open your mouth, and adjust the headband. If the sound changes sharply, the ear seal or microphone position may be unstable.
Wind can also cause problems. A small foam windscreen over an outside microphone may help, but it can also change the microphone response. Test it instead of assuming it will work.
Use measurement carefully
A measurement microphone can show changes across different frequencies. However, measurements near the ear are difficult because the ear cup creates a small acoustic space.
Use measurements to compare versions of the same headset. Do not treat a low reading as proof that the headphones provide certified hearing protection.
Organizations such as NIOSH and OSHA distinguish between hearing-protection ratings and ordinary consumer noise reduction. A homemade headset has no certified rating unless it has passed the required laboratory tests.

Common mistakes to avoid
Many first attempts fail for mechanical reasons, not because the electronics are wrong.
Weak ear seals
A soft pad can feel comfortable but still leak sound. Check the seal around glasses, hair, and the jawline.
Too much cancellation gain
More gain does not always mean more silence. It can produce feedback, distortion, or added noise.
Excessive processing delay
If the circuit reacts too slowly, the opposite wave arrives late. Instead of reducing the noise, it may strengthen part of it.
Poor microphone isolation
The microphone may hear the speaker more strongly than the outside noise. This creates a feedback loop.
Unstable power
A weak battery or poor voltage regulator can add hum and sudden signal changes. Use a regulated supply and add basic power filtering.
Blocking the sound port
Foam, glue, or fabric can cover the microphone or driver opening. This changes the sound and may make the system unstable.
Testing at high volume
A loud test is not a better test. It increases the risk of hearing damage and can hide small problems behind distortion.
Treating ANC as hearing protection
DIY sound canceling headphones should not replace certified earplugs or earmuffs in construction zones, shooting ranges, factories, or other hazardous areas.

How to improve comfort, battery life, and sound quality
A usable headset needs more than noise reduction. It should remain comfortable for hours and operate reliably.
Use lightweight parts near the head. Place the battery on the headband or in a small external case instead of putting heavy cells inside the ear cups.
Add a physical bypass switch. This lets you compare normal audio with ANC and gives you a safe way to disable the circuit if it behaves badly.
Keep music and cancellation signals separate during early testing. First stabilize the cancellation path. Then add music through a mixer with independent level controls.
For better comfort:
• Use breathable ear-pad covers.
• Round sharp foam edges.
• Reduce headband pressure.
• Leave space around the ears.
• Keep the cups cool and dry.
For better battery life:
• Turn off microphones when the headset is not in use.
• Use low-power processing hardware.
• Avoid unnecessary amplifier gain.
• Add an automatic sleep mode.
• Use a protected rechargeable battery.
Never charge a homemade lithium battery pack without a proper charging circuit. Do not use damaged cells or leave an untested battery charging unattended.
How much does a DIY noise-canceling headset cost?
A basic passive project may cost $20 to $60 if you reuse old headphones or earmuffs. An active prototype can cost $60 to $200, depending on the processor, microphones, battery, amplifier, and enclosure.
The most expensive part is often not the circuit. It is the time spent testing and correcting the design. Commercial ANC headphones benefit from acoustic modeling, custom firmware, controlled testing, and carefully matched drivers.
A DIY model can still be valuable. You can learn audio electronics, signal processing, acoustic design, and practical testing. You may also create a headset for a special use, such as reducing a workshop fan or a desktop computer’s cooling noise.
The goal should not be to copy a premium commercial product on the first attempt. Build a stable, comfortable, low-risk prototype and improve it in stages.
Safety rules for a homemade ANC headset
Safety matters more than silence. A fault in the circuit can send a loud signal directly into your ears.
Follow these rules:
• Keep the first tests at low volume.
• Add a volume limit and a physical power switch.
• Stop testing if you hear squealing or sharp clicks.
• Insulate all exposed wires.
• Secure the battery so it cannot move or short.
• Keep lithium batteries away from heat and damage.
• Do not use the headset as certified hearing protection.
• Take breaks during long listening sessions.
• Test one ear cup at a time when tuning feedback.
The World Health Organization warns that repeated exposure to loud sound can harm hearing. Noise cancellation can make listening more comfortable, but it does not make loud music safe at any volume.
Frequently Asked Questions About How to Make Sound Canceling Headphones
Can I make sound canceling headphones without programming?
Yes. You can build passive noise-reducing headphones with earmuffs, foam, and speaker drivers without writing code. Analog ANC is also possible, but it is harder to adjust than a digital system.
Is active noise cancellation difficult to build?
Yes, especially for a stereo headset. The circuit must manage microphone noise, phase, delay, gain, feedback, and speaker response. A passive design is a better first project.
What sounds can DIY ANC headphones cancel best?
They usually work best against steady, low-frequency sounds such as fans, engines, and air-conditioning systems. Speech, claps, traffic horns, and sudden high-frequency sounds are much harder to cancel.
Can I use homemade headphones for hearing protection?
No. Homemade sound canceling headphones should not replace certified earplugs or earmuffs. Use approved protection in workplaces and other areas with dangerous noise.
Why do my ANC headphones whistle?
Whistling usually means the microphone is picking up sound from the speaker, creating feedback. Lower the gain, move the microphone, improve the cup seal, or narrow the filter range.
Does thicker foam always improve noise cancellation?
No. Thick foam may improve passive isolation, but it can also reduce comfort and change the sound. A complete seal with the right material usually matters more than thickness alone.
Can I add ANC to old headphones?
You can add external microphones and an audio circuit, but the result depends on the driver, ear cup, wiring space, and seal. Old headphones with damaged pads may need mechanical repairs first.
Conclusion
Learning how to make sound canceling headphones starts with a good seal and realistic expectations. Build passive ear cups first, then add microphones, filtering, phase control, and low-gain amplification one step at a time. Test slowly, measure when possible, and never treat a homemade headset as certified hearing protection.
A careful DIY project can teach you a great deal about acoustics and electronics while producing useful noise reduction for everyday sounds. Start with one ear cup, keep the volume low, and improve the design through small tests. If you build your own version, share your results and lessons with other audio enthusiasts.

Everett Ashford is a tech reviewer at mytechgrid.com specializing in SSDs, cameras, TVs, earbuds, headphones, and other consumer electronics. He provides honest, data-driven reviews based on hands-on testing and real-world performance analysis. Everett simplifies complex tech details to help readers make smart, confident buying decisions.