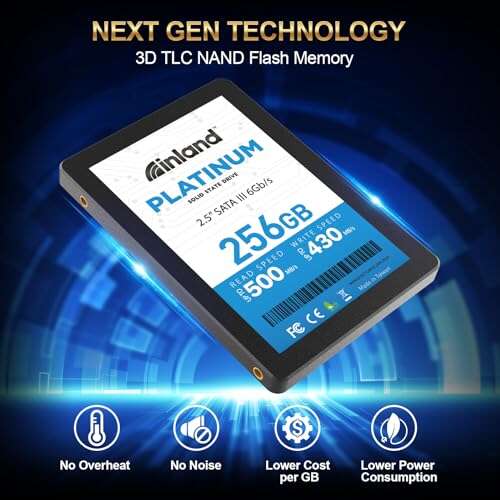
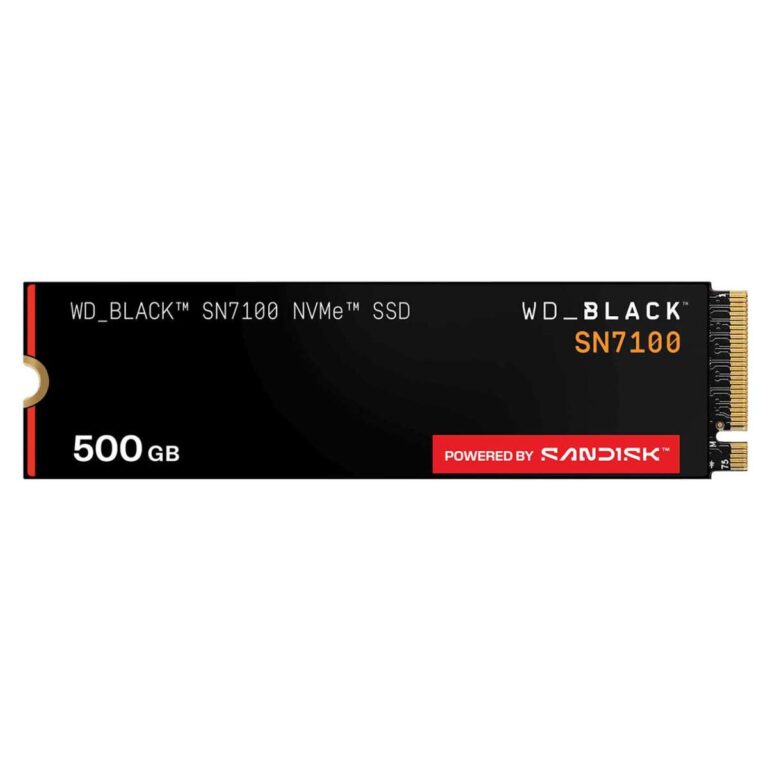
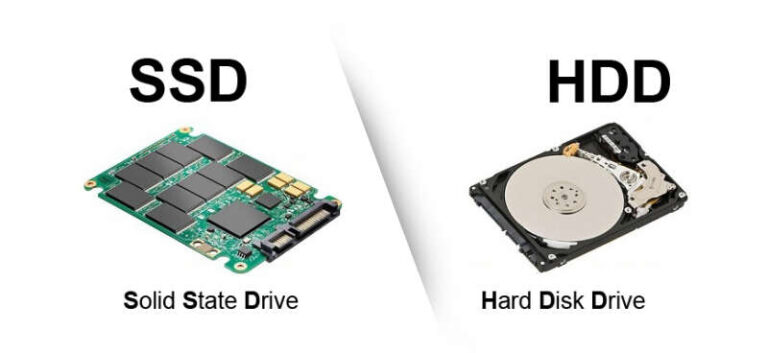
Mount an SSD from the Raspberry Pi terminal in a few clear, copy-and-paste commands.
I’ve mounted many SSDs on Raspberry Pi systems. This guide teaches how to mount SSD from rpi terminal safely and reliably. I write as someone who has done this in labs and at home, and I will walk you step-by-step. You’ll learn to detect the drive, partition and format it, mount it temporarily, and make the mount persistent. Follow along and you’ll be mounting an SSD from rpi terminal with confidence in minutes.

Why mount an SSD from RPi terminal
Mounting storage by terminal gives full control. When you mount SSD from rpi terminal you skip GUI tools and fix issues faster. Terminal commands are repeatable and scriptable. You can automate backups, tune performance, and set precise mount options. This guide covers the commands, reasons, and practical tips so you can mount SSD from rpi terminal like a pro.

Prerequisites and safety checks
Before you mount SSD from rpi terminal, do a quick checklist.
- 1: Ensure your Raspberry Pi model supports your SSD interface. USB 3 is best on Pi 4 and later.
- 2: Use a powered USB hub if the SSD draws more than the Pi’s port can supply.
- 3: Back up any important data on the SSD. Formatting will erase data.
- 4: Have a terminal session with sudo access ready.
Keep power stable while mounting. A sudden power cut can corrupt the disk. With these safety steps done, you are ready to mount SSD from rpi terminal.
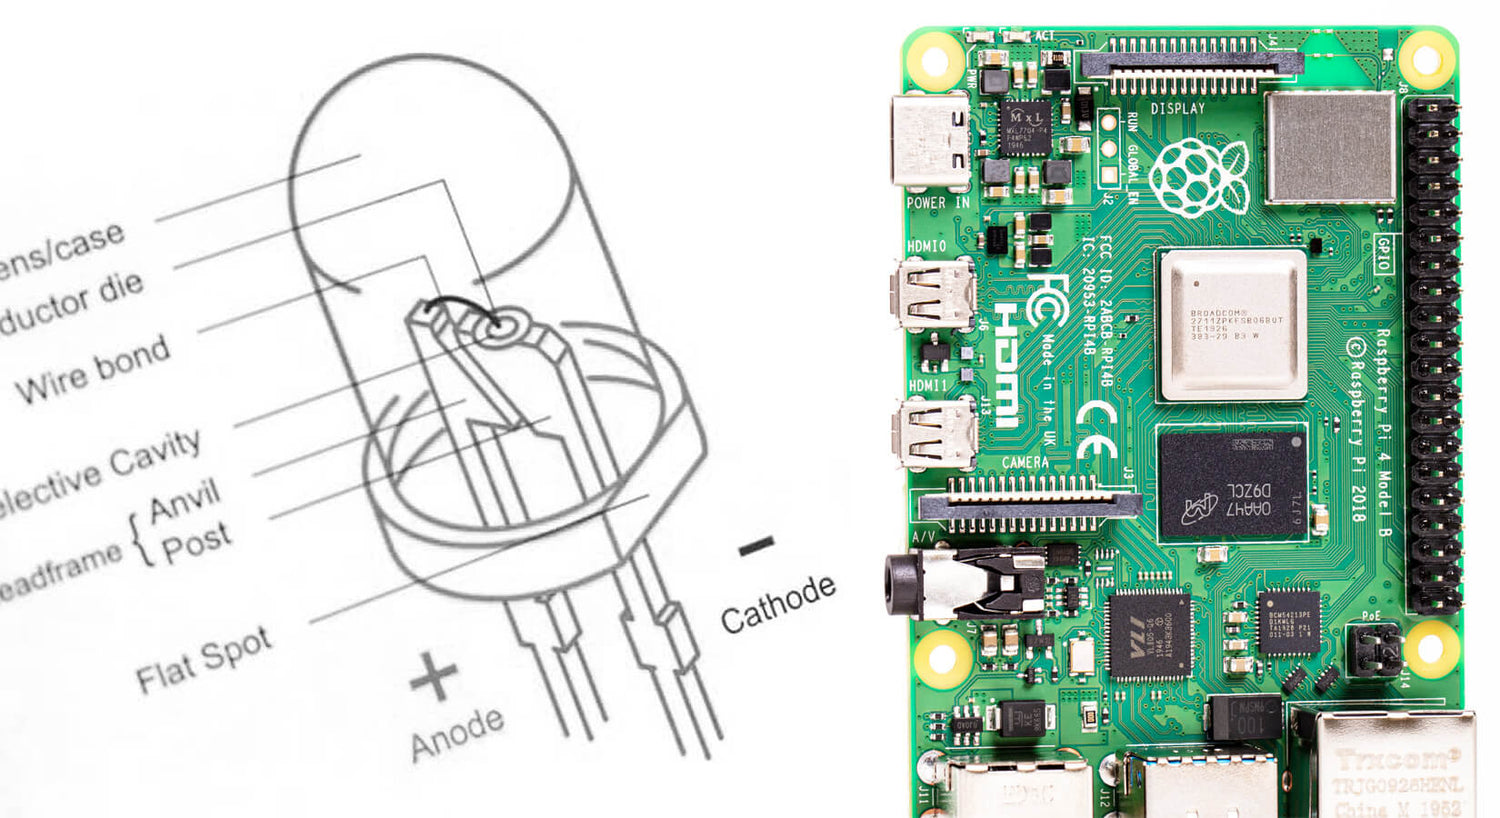
Connect and power the SSD
Connecting correctly matters. A weak or unsupported USB adapter can cause errors.
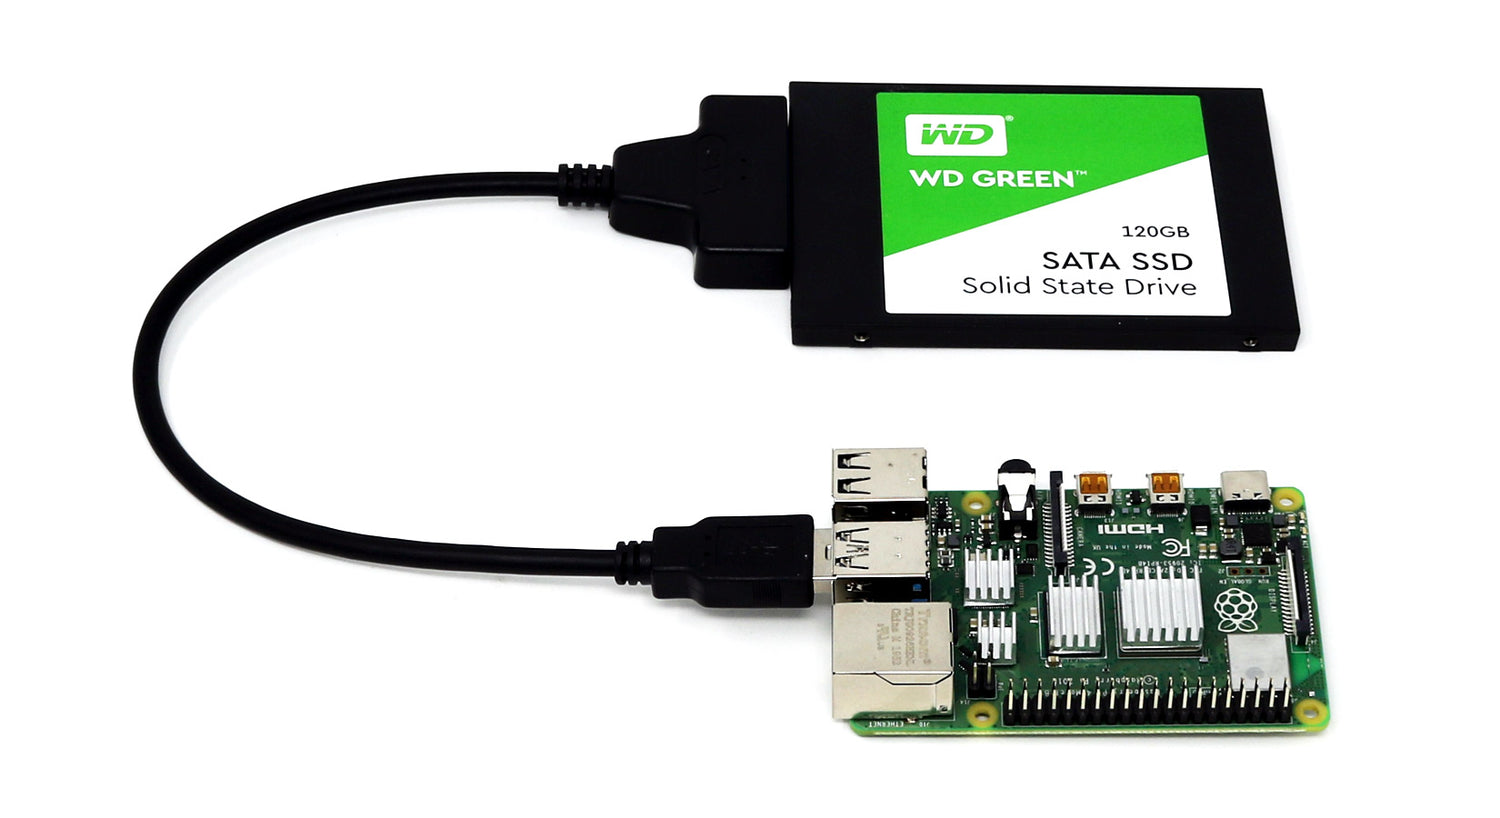
- Use a USB 3.0 adapter or enclosure for SATA SSDs.
- Connect directly to a USB 3 port on Pi 4 or later for best speed.
- If power is an issue, use a powered USB hub or a dedicated power supply for the drive.
- For NVMe, use a USB-NVMe adapter that supports UASP for faster transfers.
After connecting, wait a few seconds and then identify the device from the rpi terminal. This is the next step to mount SSD from rpi terminal.

Identify the SSD from RPi terminal
Find the device name before formatting or mounting. Common commands:
- Run lsblk to list block devices:
- sudo lsblk -o NAME,FSTYPE,SIZE,MOUNTPOINT,LABEL
- Check dmesg for recent USB events:
- dmesg | tail -n 20
- Or use sudo fdisk -l to see partition tables.
Look for devices like /dev/sda, /dev/sdb, or nvme0n1. Confirm size and model to avoid touching the wrong drive. Accurate identification is key when you mount SSD from rpi terminal.
Partition and format the SSD
Decide the filesystem and partition scheme. Ext4 is common for Linux. Steps to partition and format:
- Create a partition table with fdisk or parted:
- sudo fdisk /dev/sda
- Use n to add a partition, w to write changes.
- Format the partition (example ext4):
- sudo mkfs.ext4 /dev/sda1
- Optionally add a label for easier identification:
- sudo e2label /dev/sda1 myssd
If you plan to share with Windows, use exFAT (requires exfat-utils). If you want encryption, consider LUKS before formatting. After these steps you can mount SSD from rpi terminal.
Mount SSD temporarily (quick test)
A temporary mount is fast for tests. Use a mount point in /mnt or /media. Example commands:
- Create mount point:
- sudo mkdir -p /mnt/ssd
- Mount the partition:
- sudo mount /dev/sda1 /mnt/ssd
- Check usage and verify read/write:
- df -h /mnt/ssd
- sudo touch /mnt/ssd/testfile && ls -l /mnt/ssd/testfile
This temporary mount will disappear after reboot. Use this when you just need to mount SSD from rpi terminal to test speed or integrity.

Mount SSD persistently using /etc/fstab
To keep the SSD mounted after reboots, add an entry to /etc/fstab. Use UUIDs to avoid device name changes. Steps:
- Find UUID:
- sudo blkid /dev/sda1
- Open fstab for editing:
- sudo nano /etc/fstab
- Add a line using the UUID and options. Example entry for ext4:
- UUID=your-uuid-here /mnt/ssd ext4 defaults,noatime 0 2
- Test the fstab entry without reboot:
- sudo mount -a
- Check mount with df -h /mnt/ssd
Avoid using /dev/sda1 directly in fstab. Using UUID makes the mount robust when you mount SSD from rpi terminal and you add or remove other drives.

NVMe and USB adapter notes
NVMe drives behave differently than USB-SATA. Key notes when you mount SSD from rpi terminal:
- NVMe devices show as /dev/nvme0n1 and partitions as /dev/nvme0n1p1.
- Use an adapter that supports UASP for best throughput.
- For very large SSDs, confirm the Pi’s kernel and firmware support the device.
- Some cheap adapters do not pass SMART data; use a proper enclosure if you need drive health info.
If booting from SSD is your goal, check your Pi model’s bootloader support. But for mounting purposes, these tips help you mount SSD from rpi terminal correctly.
Troubleshooting common issues
Mounting can fail. Here are quick fixes I use personally.
- Device not visible: unplug and replug, check lsusb and dmesg.
- Mount permission denied: use sudo or set owner and permissions with chown and chmod.
- Read-only mount: check filesystem with sudo fsck /dev/sda1.
- Slow speeds: confirm USB 3 connection and enable UASP if supported.
- fstab prevents boot: add nofail to the fstab options so Pi still boots if disk is missing.
If you still cannot mount SSD from rpi terminal, reboot after checking cables and power. A controlled reboot often clears adapter state.
Performance tips and best practices
Small tweaks improve lifespan and speed when you mount SSD from rpi terminal.
- Use noatime in fstab to reduce writes.
- Prefer ext4 with journaling tuned, or use fstrim regularly to enable TRIM:
- sudo systemctl enable fstrim.timer && sudo systemctl start fstrim.timer
- For heavy writes, consider an external power source for the SSD.
- Monitor SMART where possible for early signs of wear.
- Keep backups; SSDs can fail and recovery is harder once formatted.
These steps helped me keep stable long-running Pi file servers after I learned to mount SSD from rpi terminal the right way.
Personal experience and lessons learned
I once bricked an SSD by using a cheap adapter and abrupt unplug while writing. Since then I always:
- Use powered hubs for large drives.
- Verify device identity with lsblk before formatting.
- Add nofail to fstab for removable SSDs.
Mounting SSD from rpi terminal becomes routine once you follow safe steps. My real-world tests cut boot times and improved reliability when I switched Pi projects to SSD-based storage.
Frequently Asked Questions of how to mount ssd from rpi terminal
How do I find my SSD device name on Raspberry Pi?
Use sudo lsblk or sudo fdisk -l to list devices. Check dmesg after plugging in to see the kernel messages and confirm the device name.
Which filesystem should I use when I mount SSD from rpi terminal?
For Linux-only use ext4 for reliability and speed. Use exFAT for cross-platform compatibility with Windows and macOS, but install exfat utilities first.
How do I make the mount persistent after reboot?
Find the partition UUID with sudo blkid and add an entry to /etc/fstab using that UUID and desired mount options, then test with sudo mount -a.
What if my SSD shows as read-only after mounting?
Run sudo fsck /dev/sda1 to check and repair the filesystem. If the drive still mounts read-only, check dmesg for hardware errors.
Can I enable TRIM on an SSD mounted on Raspberry Pi?
Yes. Use fstrim manually or enable the fstrim.timer systemd service. Don’t rely on mount option discard unless your adapter supports online TRIM reliably.
Conclusion
You now have a clear path to mount SSD from rpi terminal: connect safely, identify the device, partition and format, test with a temporary mount, and make the mount persistent with /etc/fstab. Apply the power and adapter tips to avoid common pitfalls. Try these commands on a spare drive first, and then automate the setup for your projects. If this helped, try mounting an SSD on a second Pi or leave a comment with your setup and results.

Everett Ashford is a tech reviewer at mytechgrid.com specializing in SSDs, cameras, TVs, earbuds, headphones, and other consumer electronics. He provides honest, data-driven reviews based on hands-on testing and real-world performance analysis. Everett simplifies complex tech details to help readers make smart, confident buying decisions.