Move BlueStacks by reinstalling to the HDD or by moving its data and creating a junction from SSD to HDD.
I’ve moved BlueStacks between drives many times for gamers and app testers. This guide explains exactly how to move bluestacks from ssd to hdd, step by step, with safe options, commands, and tips. I will show a recommended reinstall method, an advanced symbolic-link method, backups, and troubleshooting. Read on to pick the right path for your setup and keep your apps, instances, and settings intact.
Why move BlueStacks from SSD to HDD
Moving BlueStacks can free up SSD space for your OS and games. It can also consolidate large app storage onto a cheaper HDD. Many users want to keep performance-sensitive files on SSD while moving bulk app data to HDD.
Common reasons to move bluestacks from ssd to hdd:
- SSD running low on free space.
- Wanting to keep the system drive lean for Windows and core apps.
- Cost savings by using larger HDD storage.
I recommend choosing the reinstall method if you prefer safety and simplicity. Use the symbolic link method when you need to preserve an existing, big installation without redownloading everything.
Before you start: backups, checks, and preparation
Back up your BlueStacks instances and settings before any move. Create a Windows system restore point or a full backup of the BlueStacks folders. Verify which BlueStacks version you run (BlueStacks 5, 4, etc.), since folder names and tools vary by version.
Checklist:
- Free up at least twice the data size on the target HDD for temp files.
- Note current BlueStacks paths. Check Program Files, ProgramData, and AppData for BlueStacks folders.
- Turn off antivirus or add exclusions for the move to avoid blocked file operations.
- Close BlueStacks and end related processes in Task Manager.
This prep reduces the risk of corruption and lost data.
Method 1: Reinstall BlueStacks to HDD (Recommended for most users)
Reinstalling to the HDD is the simplest and safest way to move bluestacks from ssd to hdd. It avoids risky file moves and keeps the installation clean.
Steps:
- Export instances and data
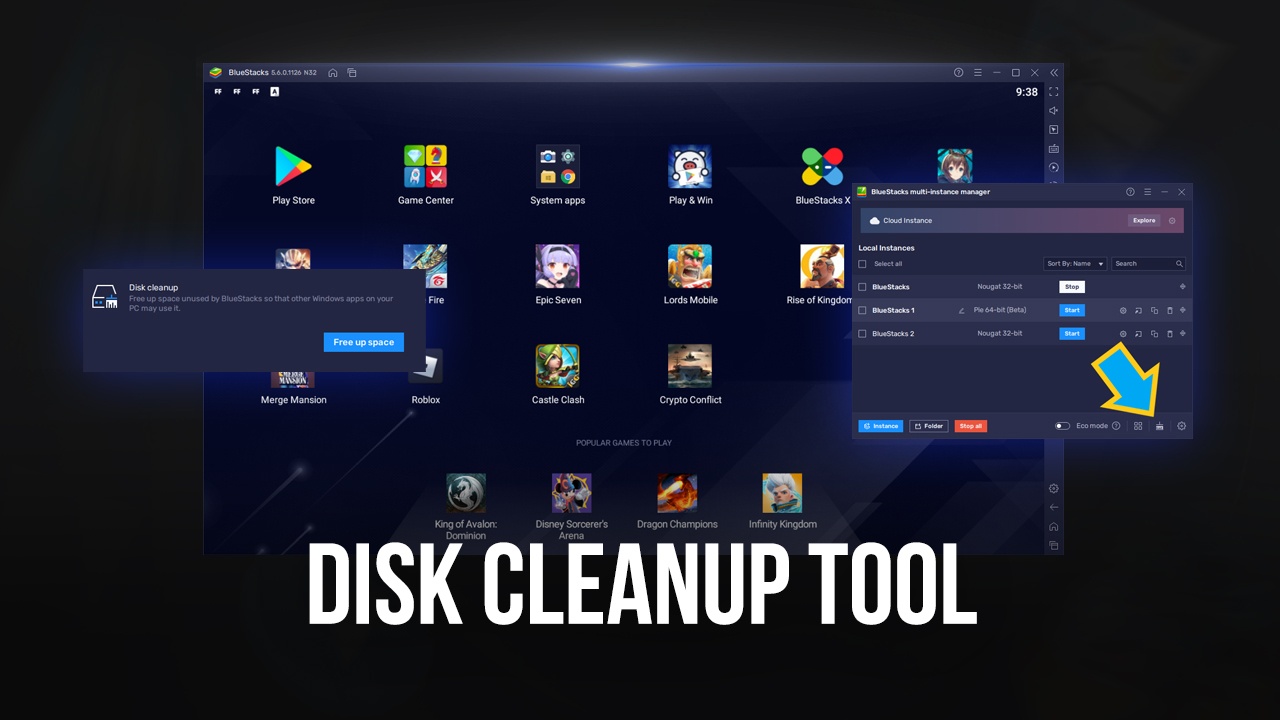
- Open BlueStacks Multi-Instance Manager (if you use instances).
- Export or snapshot important instances and note installed app accounts and data.
- Uninstall BlueStacks
- Use Windows Settings > Apps to uninstall BlueStacks.
- If the uninstaller leaves files, manually delete leftover BlueStacks folders from Program Files and ProgramData.
- Clean registry and leftover files (optional but helpful)
- Use a trusted cleanup tool or manually remove leftover folders. Backup the registry before changes.
- Install BlueStacks to your HDD
- Download the latest installer.
- During setup choose the advanced or custom install path and set it to a folder on your HDD like D:\BlueStacks.
- Restore data
- Use Multi-Instance Manager to import any exported instances.
- Reinstall apps and sign in.
Why this method works
- Fresh install ensures correct permissions and tidy configuration.
- It avoids potential issues with hidden files or locked handles.
Drawback
- You will need to redownload some apps and reconfigure instances if you did not export them.

Method 2: Move BlueStacks data with a symbolic link (Advanced)
This method moves the large data folders to an HDD and keeps BlueStacks pointing to the new location. It works well when you want to preserve installed apps without reinstalling.
Warning and prerequisites:
- Only do this if you are comfortable with command-line commands and folder permissions.
- Close BlueStacks and stop all BlueStacks services first.
- Create a backup copy of the BlueStacks folders.
Typical Windows folders used by BlueStacks (paths vary by version):
- C:\ProgramData\BlueStacks
- C:\Program Files\BlueStacks
- C:\Users<YourUser>\AppData\Local\BlueStacks
Steps (example moving ProgramData):
- Copy the data
- Copy C:\ProgramData\BlueStacks to D:\BlueStacksData. Keep copies until verified.
- Rename original folder
- Rename C:\ProgramData\BlueStacks to BlueStacks_old.
- Create a junction
- Open an elevated Command Prompt (Run as administrator).
- Run: mklink /J "C:\ProgramData\BlueStacks" "D:\BlueStacksData"
- This creates a junction so Windows and BlueStacks still see the folder at C:\ProgramData\BlueStacks.
- Start BlueStacks and test
- Launch BlueStacks and check apps, instances, and settings.
- Remove backups
- After confirming everything works, delete BlueStacks_old and the copied backup if you need space.
Notes and variations:
- If BlueStacks uses AppData or Program Files locations, repeat the same process for those paths.
- If a folder is in use, restart Windows into Safe Mode or stop related services.
Why use this method
- It avoids reinstallation and keeps app data intact.
- It is faster when you have large game data.
Risks
- Junctions can confuse some apps or updates.
- If the HDD disconnects, BlueStacks will fail to start.

Troubleshooting and common issues
BlueStacks will fail to start or behave oddly if links or paths are wrong. Here are fixes I use often.
If BlueStacks won’t start:
- Check the junction paths with dir commands.
- Make sure the HDD is healthy and mounted with the same drive letter.
- Reboot and try running as administrator.
If apps crash or data is missing:
- Restore from your backup and try the reinstall method.
- Reimport instances from Multi-Instance Manager.
If performance is poor on HDD:
- Move only large, non-latency-sensitive data to HDD. Keep core VM images on SSD if you need speed.
- Consider a hybrid approach: keep BlueStacks core on SSD and move large game caches to HDD.
Personal tip
- I once moved a 120 GB BlueStacks folder with a junction. I left a copy on SSD until I verified everything for 48 hours. That saved me from data loss when one app failed and needed a quick restore.
Performance trade-offs and best practices
Moving bluestacks from ssd to hdd will affect app load times. HDDs have slower random access and lower IOPS. Plan accordingly.
Best practices:
- Keep BlueStacks core executables and VM image on SSD for speed. Move large asset caches to HDD.
- Use an external SSD if you need portability and space.
- Defragment the HDD before moving large files for slightly better performance on older drives.
- Monitor CPU, RAM, and disk usage with Task Manager to spot bottlenecks.
When HDD is fine
- Use HDD for bulk storage like media and large game downloads that don’t require fast seek times.
When SSD is needed
- Use SSD for fast app launch, smoother gameplay, and better emulator responsiveness.

Frequently Asked Questions about how to move bluestacks from ssd to hdd
How do I safely move BlueStacks without losing apps?
Export instances using the Multi-Instance Manager, back up BlueStacks folders, then reinstall or use a junction. Always verify backups before deleting the original data.
Can I just copy the BlueStacks folder to HDD and run it?
You can copy, but simple copying often fails because of locked system files and registry entries. Use reinstall or a symbolic link to keep paths correct.
Will moving BlueStacks to HDD hurt performance?
Yes, moving to HDD can slow startup and load times because HDDs are slower than SSDs. Keep critical files on SSD if you need top performance.
Is the symbolic link method reversible?
Yes, you can delete the junction, move files back, and restore the original folder if you kept backups. Make sure BlueStacks is closed before reversing.
Do I need admin rights to move BlueStacks?
Yes. Creating junctions and changing ProgramData or Program Files requires administrator privileges. Also disable antivirus temporarily to avoid blocked operations.
What if the HDD drive letter changes?
If the HDD letter changes after creating a junction, BlueStacks will fail to find its files. Keep the disk letter stable or recreate the junction with the new path.
Can I move only game files and keep the emulator on SSD?
Yes. You can selectively move large cache or download folders to HDD and leave the core emulator files on SSD for balance.
Conclusion
Moving bluestacks from ssd to hdd is a practical way to reclaim SSD space. Choose the reinstall method for safety and simplicity, or use the symbolic link method when you must preserve an existing installation. Back up everything, test thoroughly, and keep critical files on SSD if performance matters. Try the steps that best match your comfort level and needs, and don’t hesitate to restore from backup if something goes wrong. If this guide helped, try the method on a small test instance first, then share your results or ask questions below.

Everett Ashford is a tech reviewer at mytechgrid.com specializing in SSDs, cameras, TVs, earbuds, headphones, and other consumer electronics. He provides honest, data-driven reviews based on hands-on testing and real-world performance analysis. Everett simplifies complex tech details to help readers make smart, confident buying decisions.