Replacing an SSD in a PC means backing up your files, removing the old drive, installing a compatible SSD, and restoring or reinstalling Windows.
Learning how to replace SSD in PC hardware can make an old computer feel new again. A faster solid-state drive can reduce boot times, speed up apps, and give you more room for photos, games, and work files.
This guide explains how to replace SSD in PC systems safely, whether your computer uses a 2.5-inch SATA SSD or a compact M.2 NVMe drive. You will also learn how to move Windows, avoid common mistakes, and confirm that the new drive works correctly.

Before you replace an SSD in a PC
Before learning how to replace SSD in PC hardware, identify the drive type inside your computer. Most desktop PCs use one of two common formats:
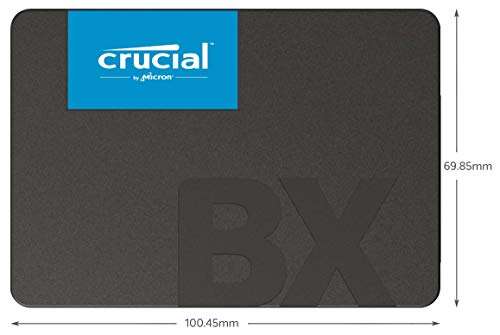
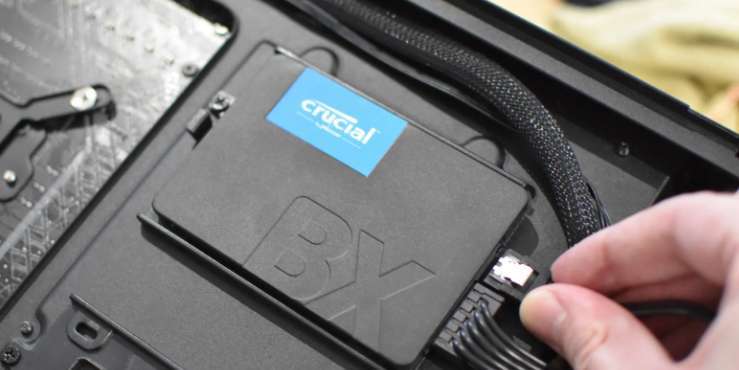
- 2.5-inch SATA SSD: This drive connects with a SATA data cable and a SATA power cable.
- M.2 SATA SSD: This slim drive fits into an M.2 slot but uses the SATA protocol.
- M.2 NVMe SSD: This compact drive also fits into an M.2 slot but uses PCIe for much higher speed.
A SATA SSD may reach around 500 to 550 MB/s in normal use. A PCIe 3.0 NVMe SSD can reach roughly 3,000 to 3,500 MB/s, while newer PCIe 4.0 and PCIe 5.0 models can be much faster. These figures are maximum ratings, not guaranteed results in every PC.
Check your motherboard manual or the manufacturer’s support page before buying a replacement. Confirm the supported M.2 length, such as 2280, and check whether the slot supports SATA, NVMe, or both. Not every M.2 slot supports every type of SSD.
Find out which drive you have
You can inspect the drive without removing it:
- Press Windows + X and choose Disk Management.
- Look for the disk that contains the C: drive.
- Note its capacity and partition layout.
- Open your PC case only after shutting down and unplugging the system.
- Look for a 2.5-inch drive with cables or a small stick-shaped M.2 drive on the motherboard.
Windows may show the disk capacity, but it may not clearly tell you whether an M.2 drive is SATA or NVMe. The model number can help. Search that model in the manufacturer’s product documentation.
What you need
Gather these items before starting:
- A compatible replacement SSD
- A small Phillips screwdriver
- A USB flash drive with at least 8 GB of space if you plan a clean Windows install
- A second drive or cloud storage for backups
- A SATA data cable if your desktop does not have one available
- An M.2 screw if your motherboard does not include one
- A clean, well-lit work area
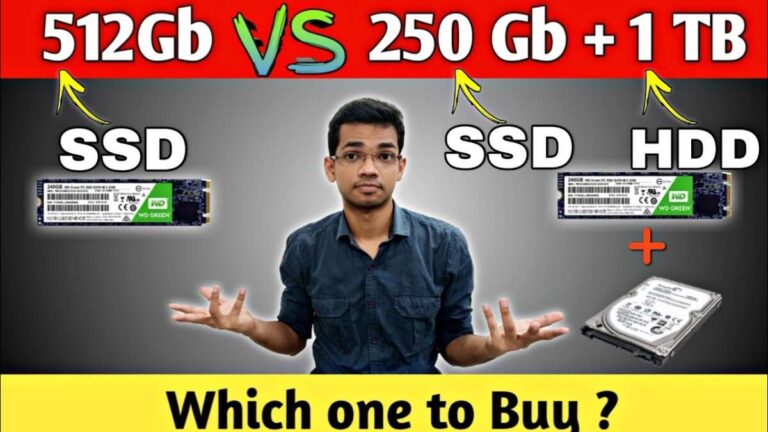
A 1 TB SSD is a practical choice for many users. It provides enough space for Windows, common apps, and a useful game or media library. If your current drive is nearly full, choose a larger replacement rather than buying a drive that will soon reach the same limit.
Back up your data before replacing the SSD
The most important part of how to replace SSD in PC work is protecting your data. SSD replacement is usually safe, but one wrong selection during cloning or installation can erase the wrong disk.
Back up files from the old SSD before you open the case. Save documents, photos, videos, browser bookmarks, game saves, project folders, and password recovery codes. A backup is only useful if you can access it, so check a few files after copying them.
Use at least one of these backup methods:
- Copy important folders to an external hard drive.
- Sync essential files with a trusted cloud service.
- Create a full disk image if you need to preserve programs and settings.
- Export browser bookmarks and password data when required.
- Save your Windows product key or confirm that Windows activation is linked to your Microsoft account.
Do not treat cloud sync as a complete backup by itself. If a file is deleted or encrypted by malware, that change may sync across devices. A separate external copy gives you another layer of protection.
Check drive health
Before cloning an old SSD, check its health with a trusted drive monitoring tool. Look for warnings such as critical temperature, media errors, or a failing health status.
If the old SSD is failing, cloning may stop or copy damaged files. In that case, copy personal files first. A sector-by-sector recovery tool or professional data recovery service may be safer than repeatedly stressing the old drive.
A lesson I have seen many times in PC repair is simple: people often wait to back up until the computer stops working. Do not wait for the warning signs. Back up while the old SSD still starts normally.
.JPG?width=1920&height=1920&fit=bounds&quality=80&format=jpg&auto=webp)
Choose between cloning and a clean Windows installation
When you replace an SSD, you can clone the old drive or install Windows from scratch. Both methods work, but they suit different situations.
Cloning the old SSD
Cloning creates a near-exact copy of the old drive. Windows, applications, settings, partitions, and many personal files move to the new SSD.
Choose cloning when:
- The old Windows installation works well.
- You want to keep your programs and settings.
- You are replacing a smaller SSD with a larger one.
- You want the shortest setup time.
You need cloning software and a way to connect both drives at the same time. A desktop PC often has room for both drives. An NVMe SSD may require an M.2-to-USB enclosure if the motherboard has only one M.2 slot.
After cloning, shut down the PC and disconnect the old drive before the first boot. This prevents Windows from starting from the wrong disk. It also makes it easier to confirm that the new SSD contains the correct boot files.
Performing a clean installation
A clean Windows installation erases the target drive and installs a fresh operating system. It removes old drivers, unwanted programs, temporary files, and years of accumulated clutter.
Choose a clean installation when:
- Windows has crashes, malware, or serious performance problems.
- You want a completely fresh start.
- The old drive has many corrupted files.
- You are changing major hardware and want fewer software conflicts.
A clean install takes more time because you must reinstall applications, restore files, adjust settings, and download updates. Make sure you have installation files and license information for important software before erasing the old drive.
Microsoft’s installation media tools can create a bootable USB drive for Windows. Your PC may also need a valid digital license, a product key, or a Microsoft account linked to activation.

How to replace SSD in PC with a SATA SSD
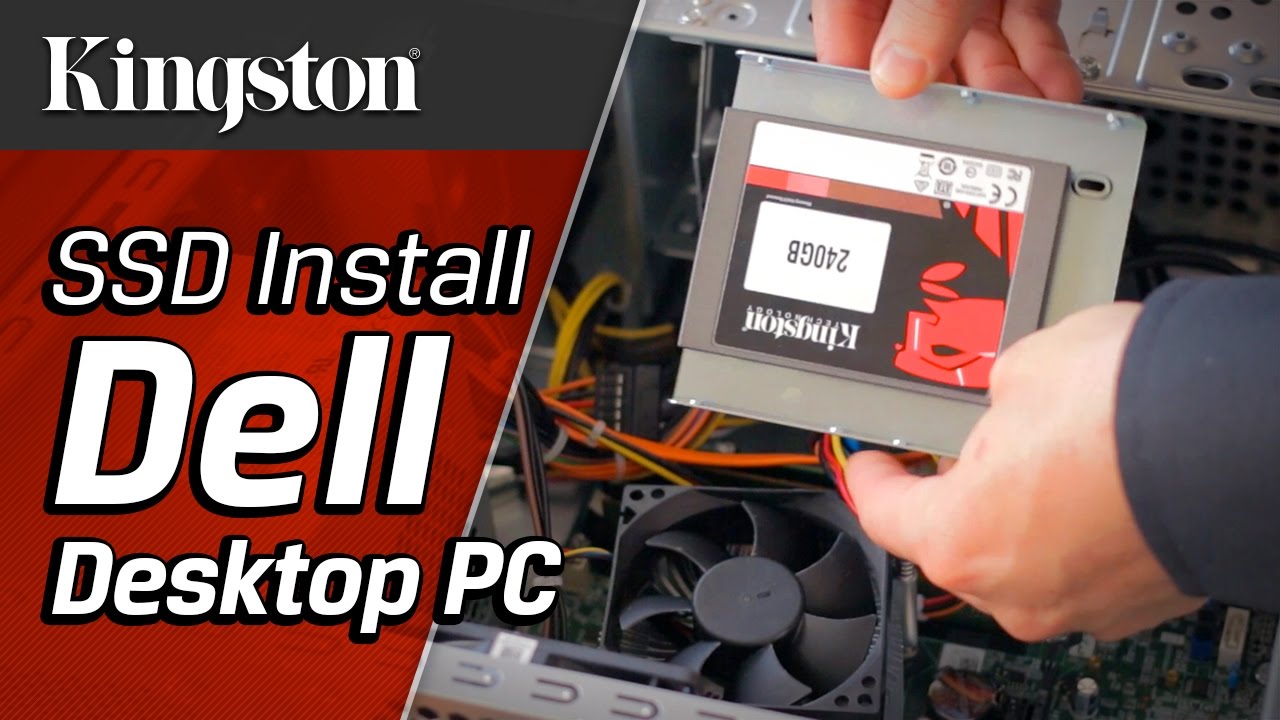
A 2.5-inch SATA SSD is common in older desktop computers. It is easy to install because it uses separate data and power connections.
Follow these steps:
- Shut down Windows completely.
- Turn off the power supply switch if your PC has one.
- Unplug the power cable and all other connected cables.
- Press the PC’s power button for a few seconds to discharge remaining power.
- Remove the side panel.
- Touch an unpainted metal part of the case to reduce static electricity.
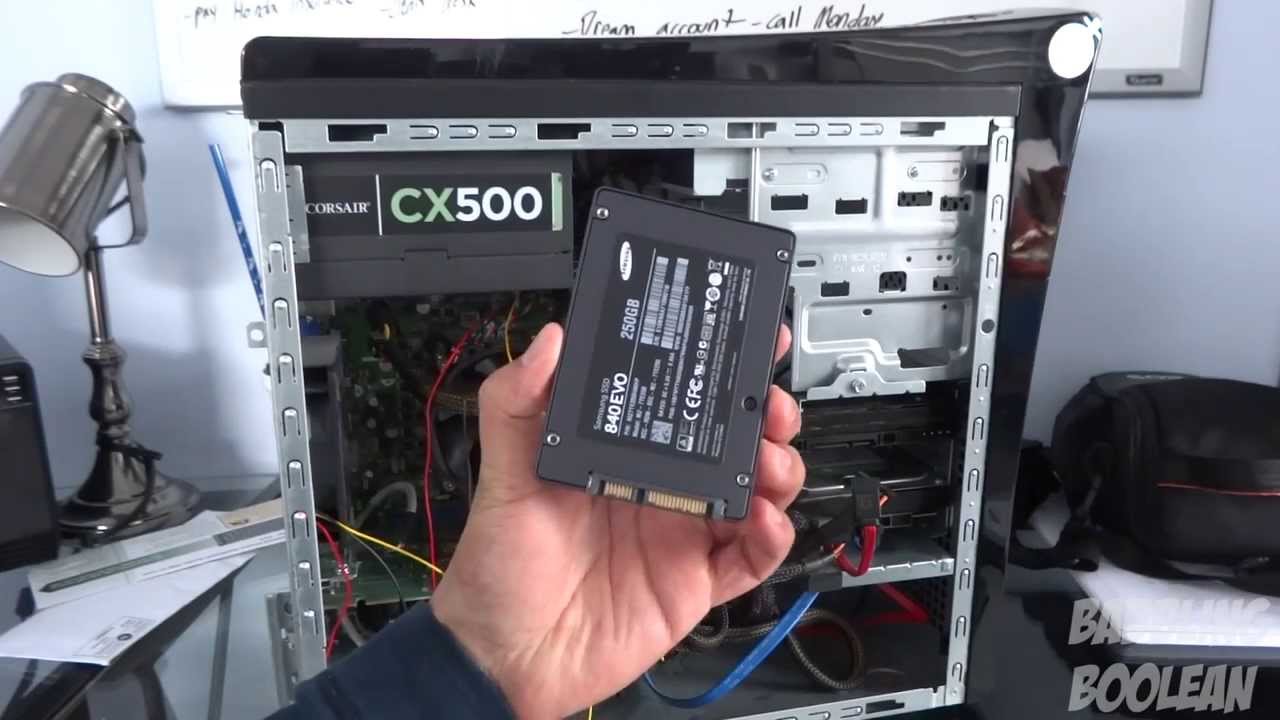
- Locate the old 2.5-inch SSD.
- Disconnect the SATA data cable and SATA power cable.
- Remove the drive mounting screws or release the drive tray.
- Install the new SSD in the same position.
- Connect the SATA data cable to the motherboard.
- Connect the SATA power cable from the power supply.
- Reinstall the side panel.
- Reconnect the power cable and monitor.
SATA connectors are keyed, so they should fit in only one direction. Never force a connector. If the cable feels loose, check the angle and alignment.
A SATA SSD does not need a special heatsink in most desktop systems. Keep the drive secure and avoid placing it where a fan cable or sharp case edge can damage the connectors.
SATA port limitations
Some motherboards disable certain SATA ports when an M.2 drive is installed. This is normal on many systems because the M.2 slot and SATA ports may share motherboard resources.
If the new drive does not appear, move the SATA cable to another motherboard port. Your motherboard manual will show which ports may be disabled.

How to replace SSD in PC with an M.2 NVMe drive
M.2 NVMe drives install directly on the motherboard. They have no separate power or data cable, but the installation requires careful handling.
Use this process:
- Shut down the PC and unplug it.
- Remove the case panel.
- Find the M.2 slot on the motherboard.
- Remove the small M.2 screw or heatsink cover.
- Hold the SSD by its edges.
- Insert the drive into the slot at about a 30-degree angle.
- Press the free end down toward the motherboard.
- Secure it with the correct screw.
- Reinstall the heatsink if the motherboard includes one.
- Close the case and reconnect the cables.
The gold contacts should slide into the slot smoothly. Do not push the drive straight down into the connector. That can damage the slot or the SSD.
Check the M.2 heatsink
Some NVMe SSDs include a heatsink. Others use a motherboard heatsink with a thermal pad. Remove any protective plastic from the thermal pad before replacing the cover.
The thermal pad must touch the SSD controller or memory chips as designed. If the plastic remains in place, heat transfer will be poor. Excess heat can reduce sustained performance through a process called thermal throttling.
For basic office work, an M.2 heatsink may not be essential. It is more useful for long file transfers, video editing, 3D work, and demanding games.

How to clone Windows to the new SSD
Cloning is one of the most useful parts of how to replace SSD in PC upgrades. It lets you move your existing system without reinstalling every application.
First, connect the new SSD while the old drive remains installed. Start Windows and open Disk Management. If Windows asks you to initialize the new disk, use the partition style that matches your system. Modern UEFI computers normally use GPT.
Next, open your cloning software and select:
- The old SSD as the source drive.
- The new SSD as the destination drive.
- All required system and recovery partitions.
- The option to expand the main partition if the new SSD is larger.
Read the source and destination labels twice. This is the point where a mistake can erase the original drive. Many repair technicians use a simple rule: source means old, destination means new.
Start the clone and wait for it to finish. Do not use the computer heavily during the process. A large drive may take from several minutes to a few hours, depending on how much data must be copied and how the drives are connected.
When the clone finishes:
- Shut down the PC.
- Disconnect the old SSD or remove it temporarily.
- Start the PC with only the new SSD connected.
- Enter the firmware setup if Windows does not start.
- Set the new SSD or Windows Boot Manager as the first boot option.
If the new drive has more space but Windows still shows the old capacity, open Disk Management. You may need to extend the C: partition into the unallocated space.

How to perform a clean Windows installation
A clean installation is another reliable answer to how to replace SSD in PC systems. It gives you a fresh software base and can solve problems that cloning would copy to the new drive.
Create a Windows installation USB on another working computer. Then follow these steps:
- Insert the Windows installation USB.
- Start the PC and open the boot menu.
- Select the USB drive.
- Choose your language, time, and keyboard settings.
- Select Install Windows.
- Enter your product key if asked, or choose the activation option that applies to your license.
- Select the correct Windows edition.
- Choose Custom installation.
- Select the new SSD.
- Delete old partitions on the target drive only.
- Select the unallocated space.
- Start the installation.
Be extremely careful when selecting the drive. If the old SSD is still connected, the installer may show several disks with similar names. Disconnect the old drive when possible. This reduces the risk of deleting your personal files.
After installation, connect to the internet and run Windows Update. Install motherboard chipset drivers, graphics drivers, Wi-Fi drivers, and storage-related drivers from reliable sources when Windows does not provide them automatically.
Then reinstall your applications and restore your personal files. A clean install may take longer on the first day, but it often produces a calmer and more responsive system.

Configure BIOS and confirm the SSD works
After you replace an SSD, the PC must recognize it in firmware and Windows. Start by entering the BIOS or UEFI setup. Common keys include Delete, F2, F10, and F12, but the correct key depends on the motherboard.
Check whether the new SSD appears in the storage or NVMe information screen. If it does not appear, shut down the PC and check the installation again.
If the drive is visible in BIOS but Windows does not show it:
- Press Windows + X.
- Open Disk Management.
- Look for the new disk.
- Initialize it if required.
- Create a simple volume.
- Format it with NTFS if it is for Windows use.
- Assign a drive letter.
Do not format the new drive if it contains your cloned Windows installation and you have not confirmed that it boots. Formatting can remove the files you need.
Check performance and health
After Windows starts from the new SSD, verify these items:
- The C: drive has the expected capacity.
- Your important files open correctly.
- Windows is activated.
- Device Manager shows no unknown devices.
- The SSD model appears in a drive health tool.
- TRIM is enabled.
- The PC starts without the old drive attached.
Windows normally manages TRIM automatically. You can check it by opening Command Prompt as an administrator and running:
fsutil behavior query DisableDeleteNotify
A result of 0 usually means TRIM commands are enabled. TRIM helps an SSD manage deleted data and maintain performance over time.
Avoid defragmenting an SSD manually as you would a traditional hard drive. Modern Windows storage optimization handles SSD maintenance differently and may send an appropriate retrim command.
Common problems when replacing an SSD
Even when you know how to replace SSD in PC hardware, a few problems can appear. Most are easy to solve if you work through them in order.
The PC does not detect the SSD
Check the physical connection first. For a SATA SSD, reseat both cables and try another SATA port. For an M.2 SSD, remove it and reinstall it at the correct angle.
Also confirm compatibility. An M.2 SATA drive may not work in an NVMe-only slot, and an NVMe drive may not work in a SATA-only M.2 slot.
Windows starts from the old drive
Shut down the computer and disconnect the old SSD. Then enter BIOS and select Windows Boot Manager on the new SSD as the first boot option.
If the new SSD does not boot alone, the clone may not have copied the EFI system partition correctly. A Windows startup repair tool may fix the boot files, but restoring from a verified backup or repeating the clone may be safer.
The new SSD is smaller than expected
Manufacturers use decimal units, while Windows reports storage using binary measurements. A drive sold as 1 TB may appear closer to 931 GB in Windows. This difference is normal.
If the displayed size is much lower, check whether the remaining capacity is unallocated in Disk Management. You may be able to extend the main partition.
The computer feels no faster
Storage speed is only one part of PC performance. A slow processor, limited memory, background programs, overheating, or an old operating system can still hold the computer back.
An SSD usually improves boot and app loading times. It will not turn an older dual-core processor into a modern gaming CPU. This limitation is important when setting upgrade expectations.
The SSD runs hot
Check whether the M.2 heatsink is installed correctly and whether the case has good airflow. Update the motherboard firmware if the manufacturer lists storage compatibility or thermal improvements.
High temperatures during short bursts may be normal. Constant high temperatures during ordinary use deserve attention.
Tips for a safer and faster SSD upgrade
The best results from how to replace SSD in PC projects come from preparation, not speed. Keep the old SSD untouched until you know the new system works.
Use these practical tips:
- Take a photo of cable connections before removing anything.
- Label SATA cables if several drives are installed.
- Keep screws in a small container.
- Hold SSDs by their edges.
- Never touch the gold contacts.
- Disconnect the old drive before testing a clone.
- Keep the old SSD as a temporary backup.
- Update firmware only when necessary and follow the manufacturer’s instructions.
- Leave some free space on the new SSD for normal operation.
- Use a surge protector or uninterruptible power supply during cloning.
A useful rule is to avoid filling an SSD completely. Keeping roughly 10% to 20% free can provide room for temporary files, updates, and internal maintenance. The exact amount is not a strict requirement, but a nearly full drive can feel slower and becomes harder to manage.
If you use the PC for gaming, move only large games to the new drive after Windows is stable. If you use it for work, test your most important application and open several real project files before wiping the old disk.
How much does it cost to replace an SSD in a PC?
The cost depends on the SSD capacity, interface, speed, and whether you install it yourself. SATA SSDs are often affordable and work well for older systems. NVMe SSDs may cost more, but they offer better performance when the motherboard supports them.
You may also need to budget for:
- A USB-to-SATA adapter
- An M.2 enclosure for cloning
- A replacement SATA cable
- A Windows license if you do not have an existing activation
- Professional installation or data recovery
- A larger case or heatsink in unusual systems
DIY installation can save labor costs, but professional help makes sense when the old drive contains valuable data, the PC has complex storage arrays, or you are not comfortable working inside the case.
The fastest SSD is not always the best purchase. A reliable 1 TB PCIe 4.0 drive may offer better value than an expensive PCIe 5.0 model that your motherboard cannot use fully.
Frequently asked questions about how to replace SSD in PC
Can I replace my PC SSD without reinstalling Windows?
Yes. You can clone the old SSD to the new one and keep Windows, applications, and settings. Always verify the clone before erasing or selling the old drive.
Do I need to format a new SSD before installing it?
You may need to initialize and format a new SSD when using it as a secondary storage drive. If you are cloning Windows, the cloning software usually creates or copies the needed partitions for you.
Can I install an NVMe SSD in any PC?
No. The motherboard must have an M.2 slot that supports NVMe over PCIe. Check the motherboard manual because an M.2 slot may support SATA, NVMe, or only one of those interfaces.
Will replacing an SSD delete my files?
Removing the old SSD does not delete its data, but formatting, cloning in the wrong direction, or deleting partitions can erase files. Create a verified backup before starting the upgrade.
How do I make the new SSD the boot drive?
Disconnect the old drive during the first test boot, then select Windows Boot Manager on the new SSD in BIOS or UEFI. Reconnect the old drive only after the new installation starts correctly.
Should I choose a SATA SSD or NVMe SSD?
Choose a SATA SSD for broad compatibility and a simple upgrade in older PCs. Choose NVMe when your motherboard supports it and you need faster transfers for tasks such as video editing, large file work, or demanding games.
How long does it take to replace an SSD in a PC?
The physical installation often takes 15 to 30 minutes. Cloning, Windows setup, updates, and file restoration can take anywhere from an hour to several hours.
Conclusion
Learning how to replace SSD in PC hardware is a practical upgrade that most careful users can complete. Start by checking compatibility, backing up your files, and choosing between cloning and a clean Windows installation.
Install SATA drives with the correct cables, install M.2 drives at the proper angle, and test the new SSD before removing your backup. Take your time when selecting disks in cloning and Windows setup tools.
Once the new drive boots and your files are safe, you can enjoy faster startup times and smoother daily use. Follow the steps above, consult your motherboard manual when needed, and share your upgrade experience or questions in the comments.

Everett Ashford is a tech reviewer at mytechgrid.com specializing in SSDs, cameras, TVs, earbuds, headphones, and other consumer electronics. He provides honest, data-driven reviews based on hands-on testing and real-world performance analysis. Everett simplifies complex tech details to help readers make smart, confident buying decisions.