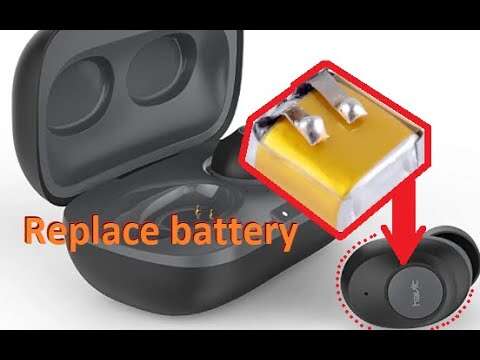
Replacing an earbud battery can restore short play time, but it requires careful tools, steady hands, and lithium battery safety.
Wireless earbuds are small, tightly sealed devices. Inside each one are a tiny lithium-ion or lithium-polymer battery, delicate wires, microphones, speakers, and charging parts. Learning how to replace earbuds battery can save money, but it is not the right repair for every model.
Some earbuds open with gentle heat and plastic tools. Others are glued shut and may be damaged during disassembly. This guide explains how to replace earbuds battery safely, how to choose the right cell, when professional repair is better, and how to avoid common mistakes.

Can You Replace an Earbuds Battery?
Yes, you can replace an earbud battery in some models. The repair is most practical when the earbud has a removable battery connector or enough internal space for safe soldering.
Many modern earbuds are not designed for battery replacement. They use strong adhesive, welded battery tabs, or very compact circuit boards. Opening them can damage the shell, speaker, charging coil, microphone, or water seal.
Before learning how to replace earbuds battery, check these points:
• The earbud must have a replaceable battery with matching voltage and size.
• The replacement cell must have the correct polarity.
• The new battery should include protection if the original battery had protection.
• The earbud must be possible to open without crushing the battery.
• You should have basic soldering and electronic repair skills.
If the battery is swollen, hot, leaking, or damaged, do not open the earbud. Place it away from flammable items and contact a battery recycling or repair service.

Why Earbud Batteries Stop Holding a Charge
Earbuds use rechargeable lithium cells. These cells slowly lose capacity after repeated charging cycles, long periods at full charge, heat exposure, and normal aging.
A battery may still show 100% in the app but provide only a short listening time. This happens because the battery can reach its voltage limit while holding far less energy than it did when new.
Common signs of a worn earbud battery include:
• One earbud dies much sooner than the other.
• Playback lasts less than 30 to 60 minutes.
• The earbud shuts off even when the app shows charge remaining.
• The case charges the earbud very often.
• The earbud becomes warm during charging.
• Battery life drops sharply after a software update, even after resetting and testing the device.
Before deciding how to replace earbuds battery, clean the charging contacts and test another charging cable. Dirt, poor contact, or a worn charging case can look like a dead battery.

Check the Earbud Before Opening It
A quick diagnosis can prevent an unnecessary repair. First, fully charge both earbuds and the case. Then test each earbud alone at a medium volume level.
Try these checks:
-
Clean the metal charging contacts with a dry cotton swab.
-
Inspect the charging pins in the case. They should move freely and spring back.
-
Reset and pair the earbuds again.
-
Turn off features that use extra power, such as active noise cancellation and transparency mode.
-
Test the earbuds with another phone.
-
Compare the battery drain of the left and right earbuds.
If both earbuds lose power quickly, the case or charger may be part of the problem. If only one side fails, that earbud battery is more likely to be worn.
Do not rely on battery percentage alone. A faulty battery sensor can report an incorrect level, so real playback time is the better test.

Tools You May Need
The tools depend on the earbud design. Use small, clean tools and work on a bright table.
Useful tools include:
• A plastic opening pick
• A thin plastic spudger
• A precision screwdriver set
• Fine-tip tweezers
• A temperature-controlled soldering iron
• Lead-free electronics solder
• Flux made for electronics
• Solder wick
• Kapton tape or another heat-resistant insulating tape
• A multimeter
• Eye protection
• A small heat source, such as a controlled heat pad
• A replacement battery with the correct specifications
Avoid using a kitchen knife, metal pry tool, or open flame. A sharp metal tool can puncture a lithium battery or short the circuit board.
A multimeter is useful for checking polarity and voltage. However, never probe a damaged or swollen lithium cell. If you are unsure about electrical testing, skip the repair and use a professional service.
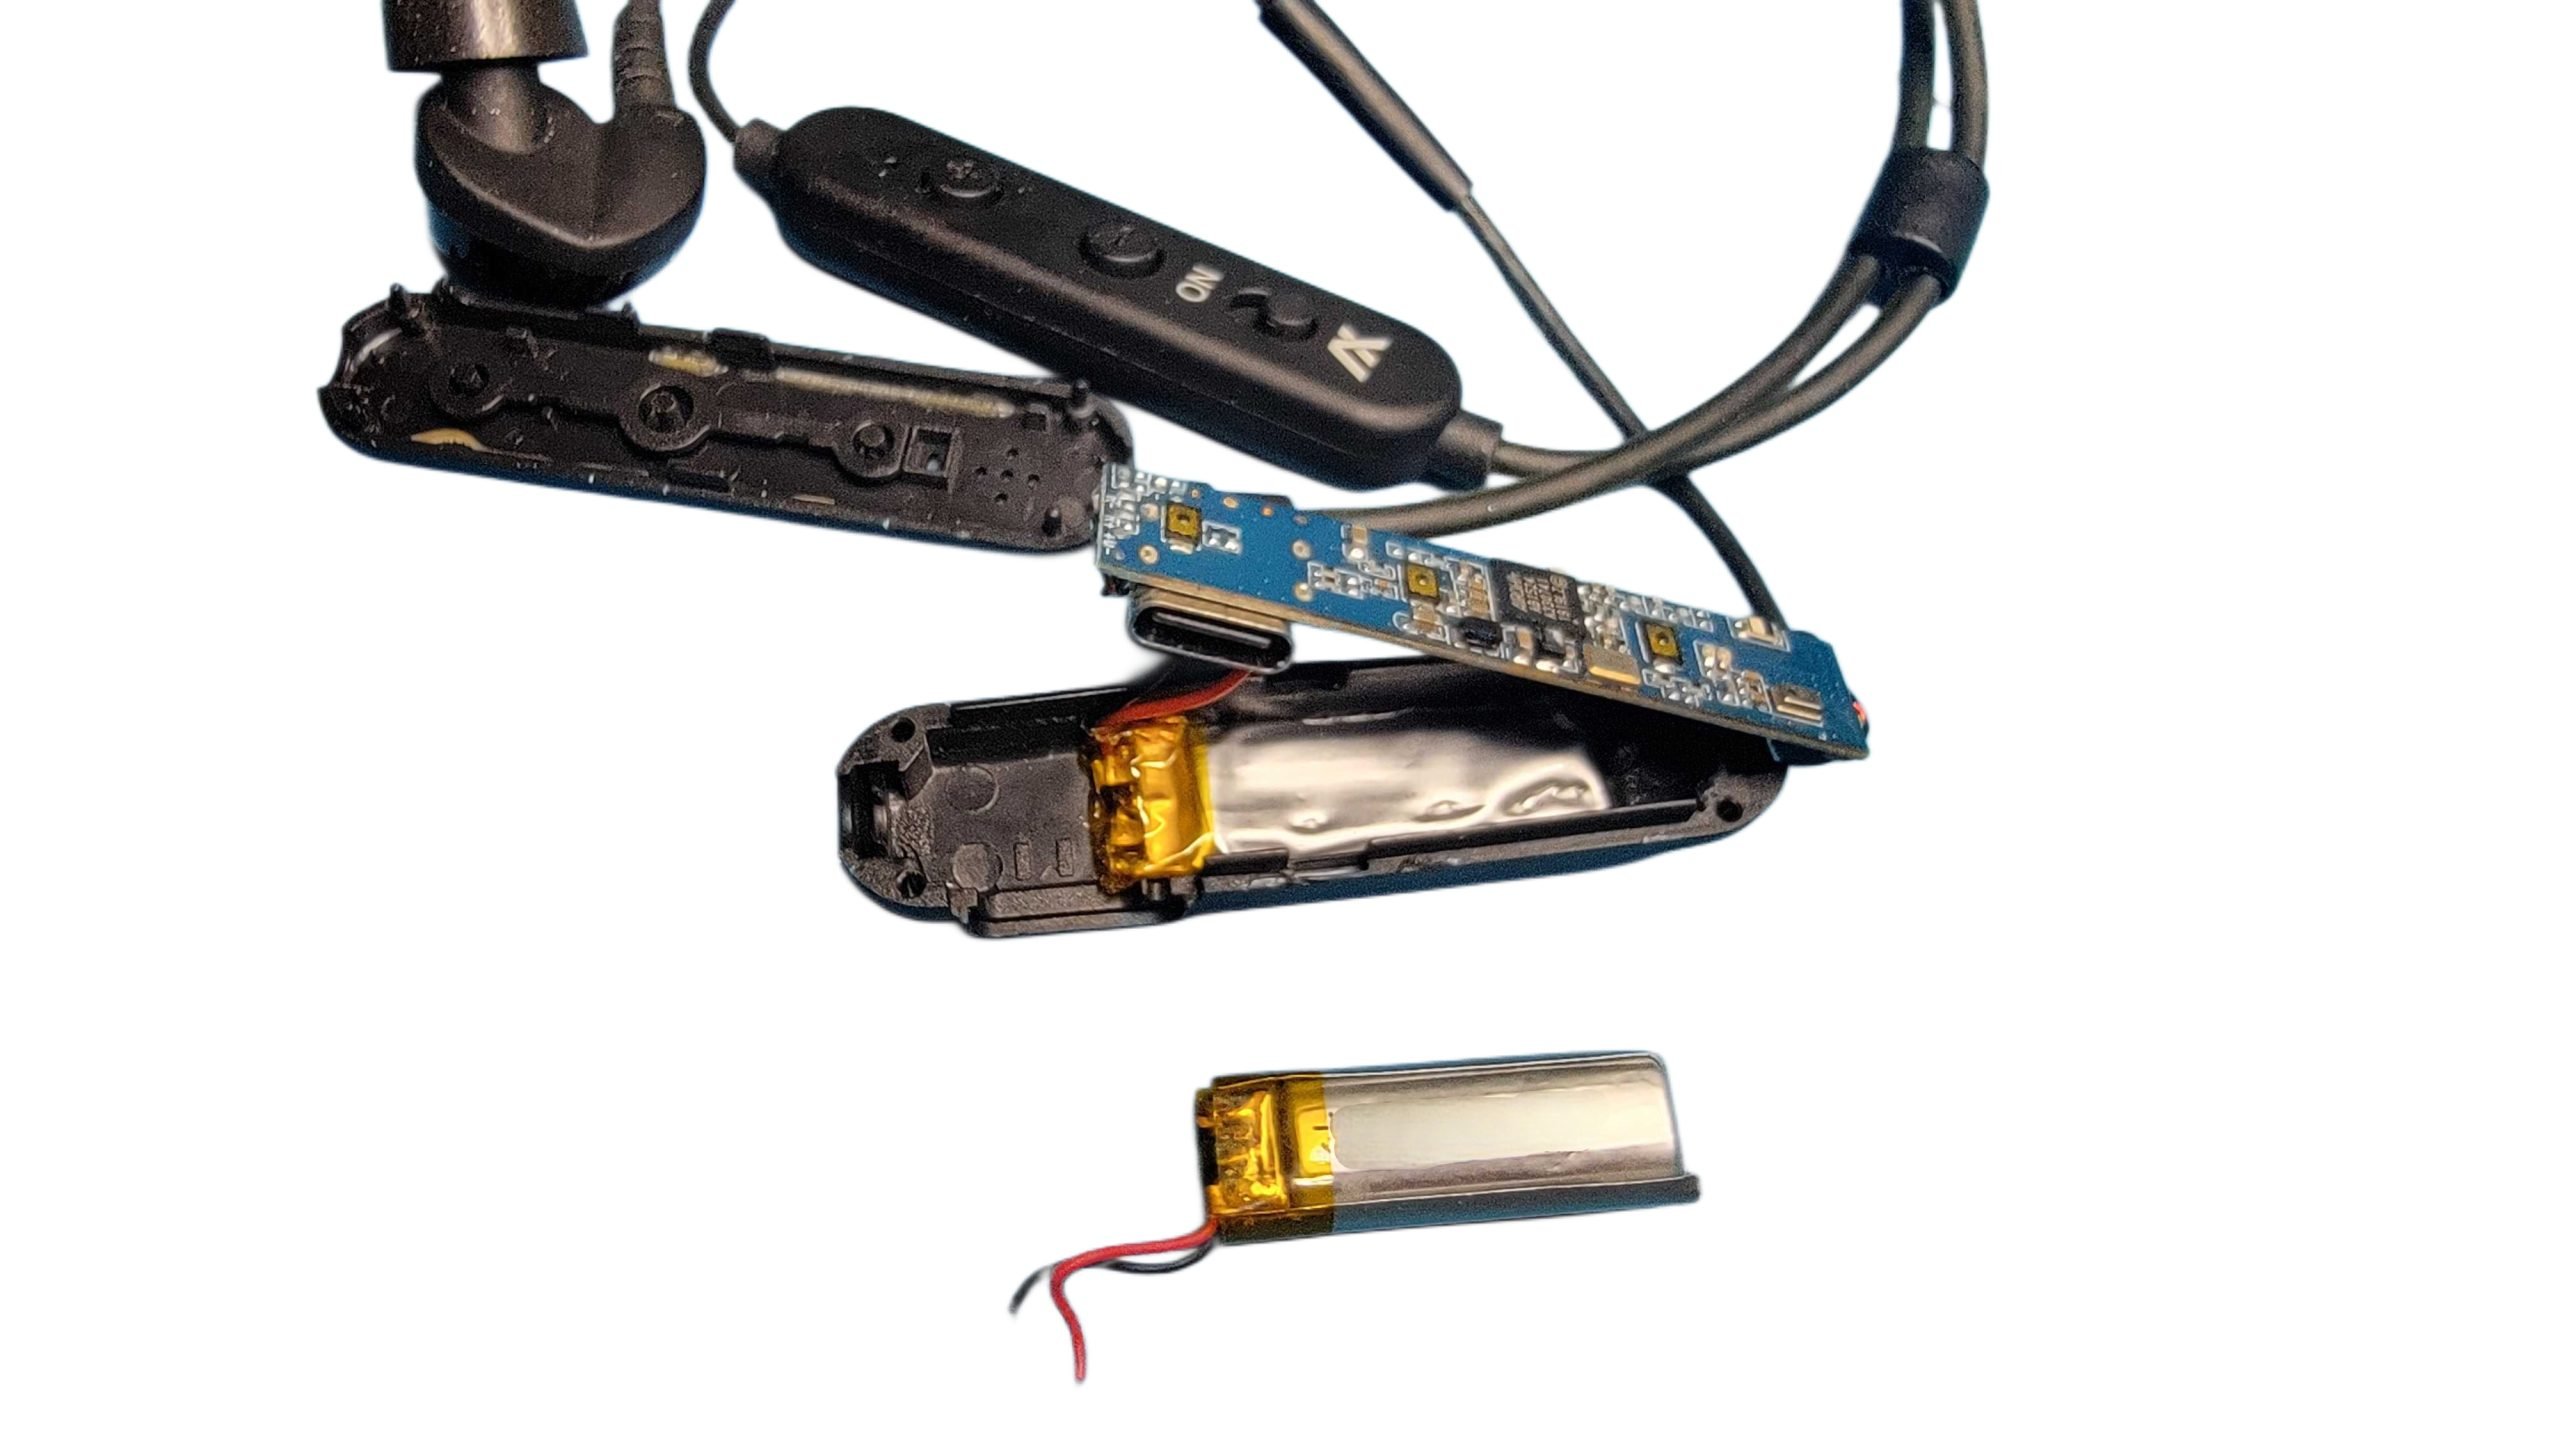
How to Choose a Replacement Earbud Battery
Choosing the correct battery is the most important part of learning how to replace earbuds battery. A battery that fits physically may still be unsafe or incompatible.
Match the following details:
• Nominal voltage, often about 3.7 volts for a single lithium cell
• Fully charged voltage, often about 4.2 volts
• Physical length, width, and thickness
• Capacity in milliamp-hours