Upgrade your PC SSD by choosing the right drive, cloning or clean-installing Windows, and swapping it in.
I’ve upgraded dozens of PCs, from old desktops to modern laptops, and this guide shows you exactly how to upgrade SSD on PC with clear steps, real-world tips, and pitfalls to avoid. Read on for a practical, authoritative walkthrough covering compatibility, cloning, installation, BIOS tweaks, and testing so your upgrade is smooth and rewarding.
Why upgrade your SSD on PC: benefits and signs it’s time
Upgrading your drive can make your PC feel like new. SSDs boost boot speed, load times, and app responsiveness. They also use less power and are quieter than HDDs.
Common signs you should upgrade:
- Slow boot and long app loads.
- Running out of space often.
- Old SATA SSD near end-of-life or small capacity.
- Wanting better performance for gaming or video editing.
When you decide to upgrade SSD on PC, think about capacity, speed, and form factor. A good upgrade can extend your PC’s useful life by years.
Types of SSDs and how to pick the right one
Know the main types before you buy:
- SATA 2.5-inch SSD: Widest compatibility, good speed for older PCs.
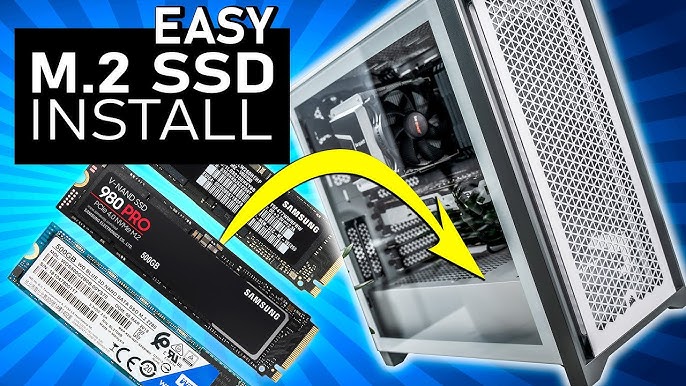
- NVMe M.2 SSD: Much faster, uses PCIe lanes. Great for modern motherboards.
- PCIe add-in SSD: High-end option for desktops with PCIe slots.
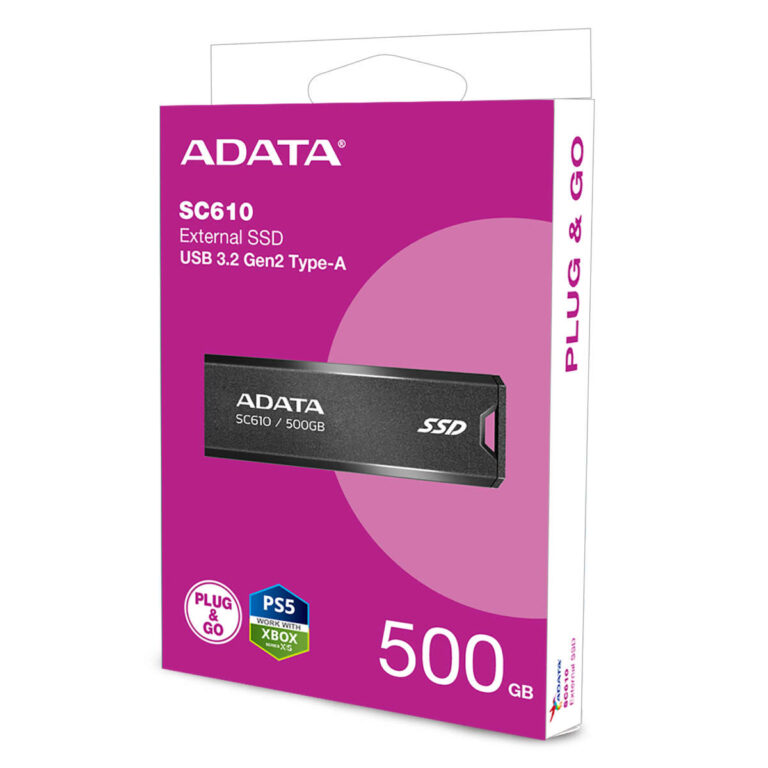
- External SSD: For backups or portable use, not an internal upgrade.
How to choose:
- Check physical slot and interface on your motherboard.
- Match form factor: 2.5-inch vs M.2 2280 vs other lengths.
- Choose capacity based on use: 500 GB for everyday, 1 TB+ for gaming or editing.
- Consider endurance (TBW) for heavy writes.
If you’re unsure how to upgrade SSD on PC, open your manual or look up the motherboard model to see compatible interfaces.

Compatibility checklist before you buy
Quick steps to confirm compatibility:
- Identify current drive type and slot.
- Check motherboard manual for M.2 key (M-key vs B-key).
- Verify BIOS supports NVMe if choosing M.2 NVMe.
- Confirm physical clearance in laptops for M.2 length and screw position.
Also check power and cable needs for 2.5-inch SSDs. Many desktop cases and PSUs already support them, but some laptops require specific adapters.
Backups and data migration strategies
Always back up before you change drives. Here are safe options:
- Full disk image: Best if you want an exact copy.
- File backup: Copy important files to external drive or cloud.
- Fresh install: Clean slate, fewer legacy issues, but you must reinstall apps.
Two main migration methods when you upgrade SSD on PC:
- Clone the old drive to the new SSD using cloning software (keeps Windows and apps).
- Install Windows fresh on the new SSD and restore files from backup.
Cloning is faster and simpler for most users. I clone drives often, but I prefer a fresh install for long-term stability on older systems.
Tools and software you’ll need
Essential tools:
- Screwdrivers for case and drive brackets.
- SATA cable and power cable (for 2.5-inch).
- M.2 screw (usually with motherboard or SSD).
- External USB-to-SATA or NVMe enclosure or adapter if cloning from a laptop.
Recommended software:
- Disk cloning tools (many SSD makers provide free utilities).
- Disk management utility that can resize partitions.
- Benchmark tool to verify performance after upgrade.
I keep a small kit in my toolbox: magnetic screwdriver set, spare M.2 screws, and a USB-to-SATA adapter. It saves time.
Step-by-step: how to upgrade SSD on PC (physical install and cloning)
Follow these steps for a smooth upgrade:
- Prepare and back up
- Back up important files or make a full disk image.
- Create bootable recovery media if you need to reinstall Windows.
- Connect the new SSD externally for cloning (optional)
- Use a USB-to-SATA or NVMe adapter.
- Initialize the drive in Disk Management on Windows if needed.
- Clone or install
- Run cloning software and select source and destination disks.
- If installing fresh, boot from Windows USB and install to the new SSD.
- Power down and replace physically
- Shut down and unplug the PC.
- Ground yourself to avoid static.
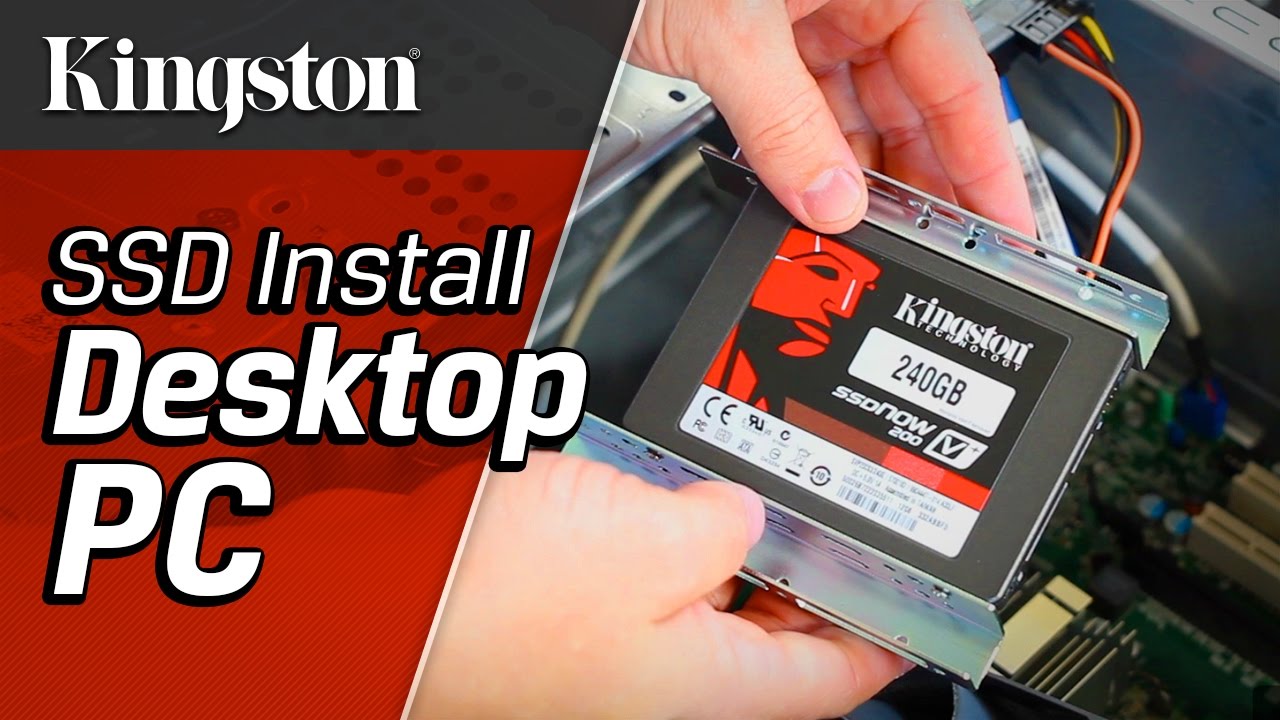
- For 2.5-inch: mount the SSD in a bracket, connect SATA and power.
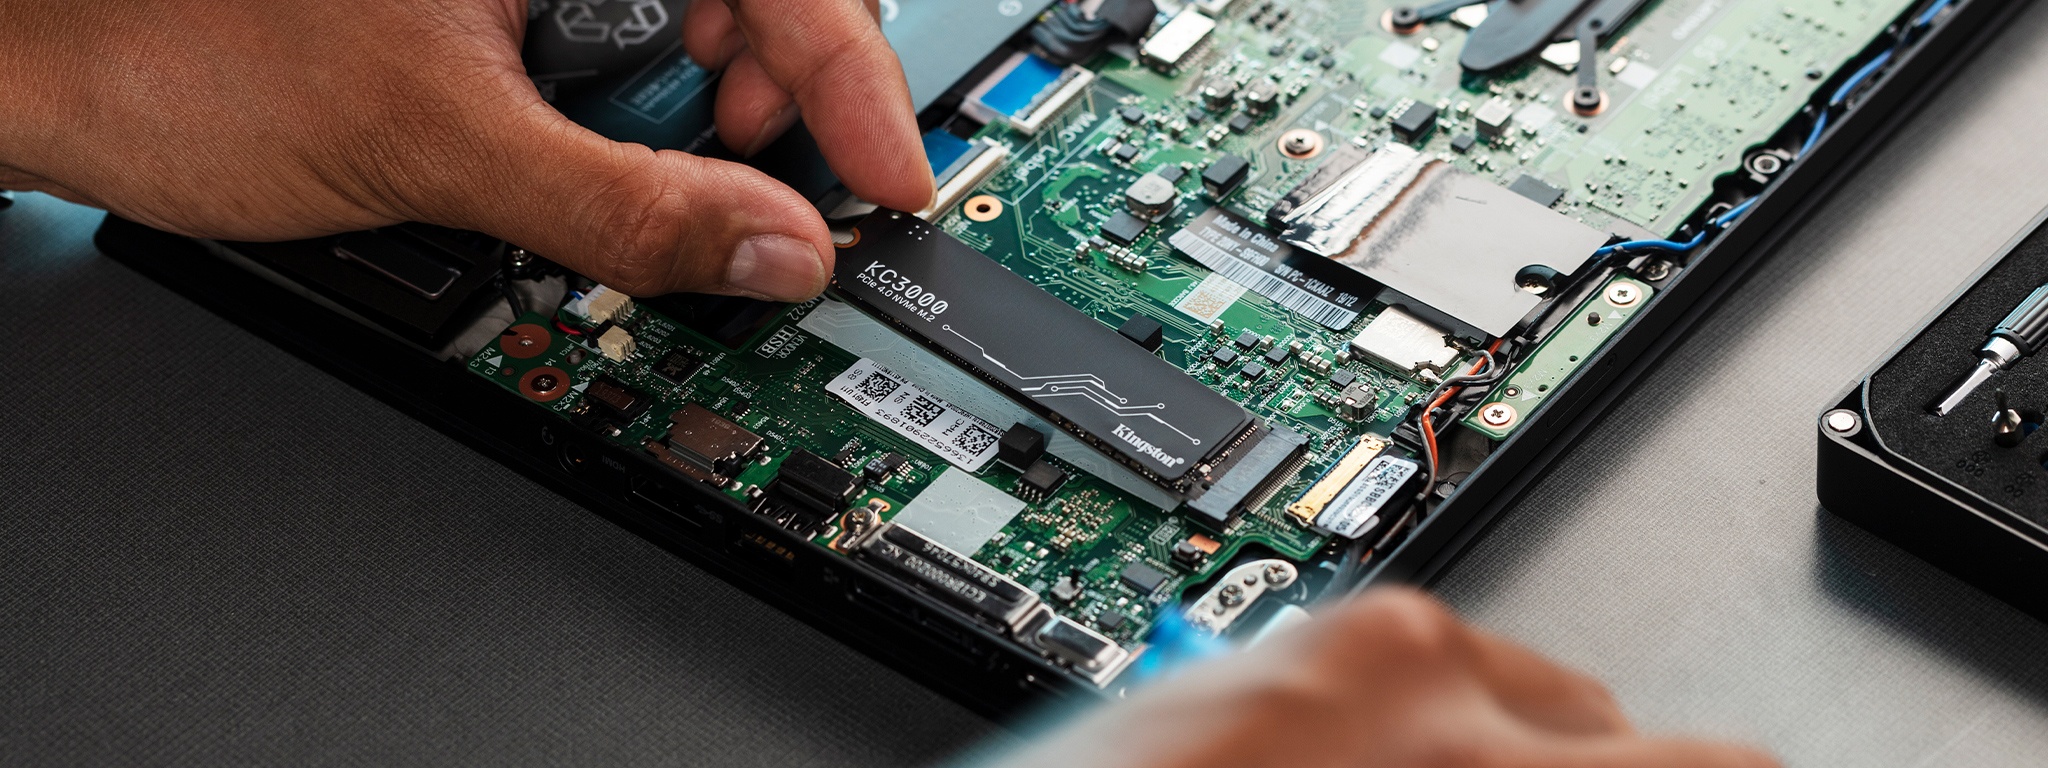
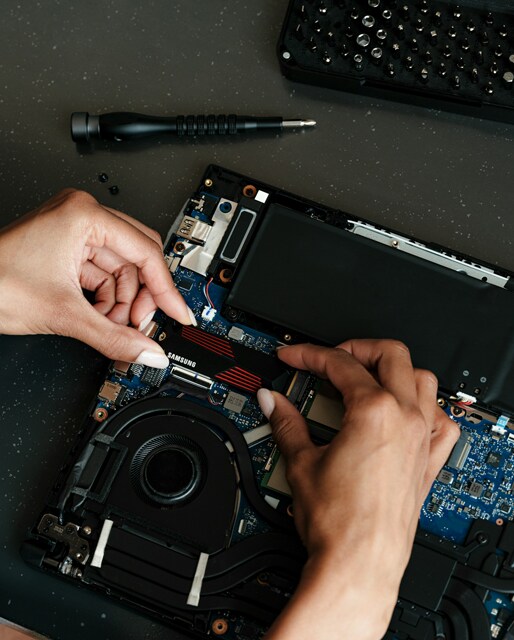
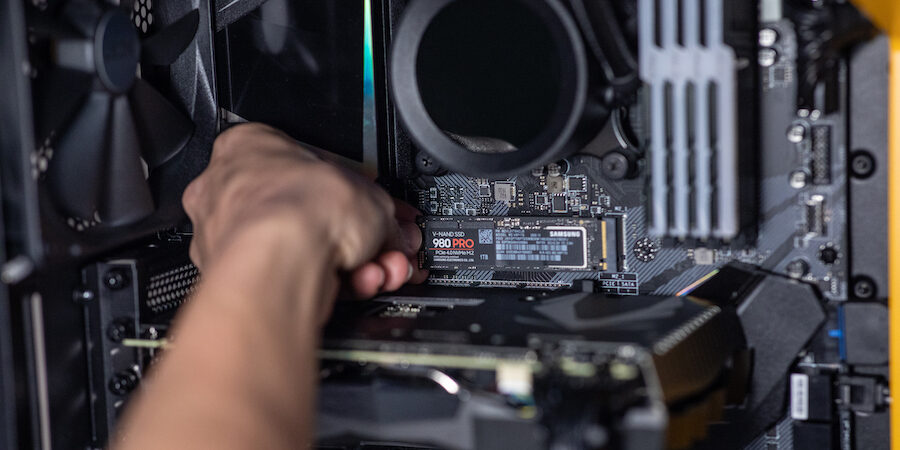
- For M.2: insert at an angle into the M.2 slot and fasten with screw.
- Boot and set boot order
- Enter BIOS/UEFI and set the new SSD as primary boot device.
- Disable legacy modes if changing from SATA to NVMe in some cases.
- Verify
- Boot into Windows, check drive letters and capacity.
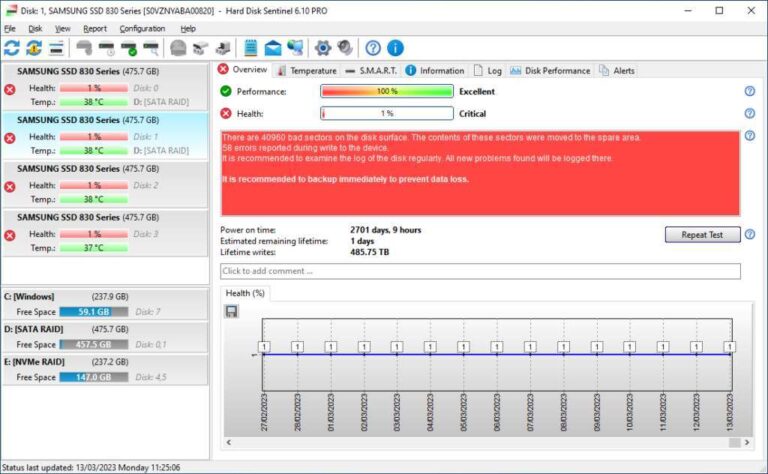
- Run benchmarks and check health with SSD tools.
Cloning retains your system exactly. If cloning fails, do a fresh install and restore files. I had one clone fail due to a dirty sector; a clean install fixed it quickly.

BIOS/UEFI settings and common gotchas
Things to check in BIOS:
- Boot order: set your new SSD as first.
- SATA mode: AHCI should be enabled for best SSD performance.
- NVMe settings: some boards have options for M.2 bandwidth sharing with SATA ports.
- Secure Boot: usually fine, but note when doing OS reinstall.
Common issues:
- Drive not detected: check power and data cables, reseat M.2.
- Slow speeds: ensure AHCI or correct PCIe lanes are enabled.
- Boot errors after cloning: repair the bootloader with recovery media.
These checks prevent common headaches when you upgrade SSD on PC.
Performance tuning and testing
After the upgrade, verify performance:
- Run a simple benchmark to confirm sequential and random speeds.
- Enable TRIM (Windows does this by default for SSDs).
- Check firmware: update SSD firmware using vendor tools.
- Move pagefile, temp folders, or cache to larger SSD if needed.
Tips:
- Leave 10–25% free space for consistent performance.
- Disable disk defragmentation for SSDs; keep optimization set to TRIM.
I test each upgraded machine with a short benchmark. If speeds are below expected, I recheck BIOS and driver updates.
Troubleshooting common problems
If things go wrong, try these fixes:
- New drive not visible: initialize it in Disk Management or check connections.
- System won’t boot after clone: run automatic repair from Windows recovery.
- Reduced performance: check SATA port version (use SATA 3), update chipset drivers.
- Overheating M.2: add heatsink or ensure case airflow.
If you still have problems, re-clone the drive or perform a fresh install. That often resolves lingering issues.
Costs, lifespan, and limitations
Costs vary by capacity and type:
- 2.5-inch SATA SSDs are cheapest per GB.
- NVMe M.2 offers more speed for a higher price.
- Expect better price-per-GB over time but quality matters.
Lifespan:
- SSDs have write limits measured in TBW. For most users, this isn’t a concern for years.
- Check endurance ratings if you do heavy write workloads.
Limitations:
- Older PCs may not support NVMe.
- Laptops may have only one drive slot.
- Cloning can carry over old issues; fresh installs are cleaner.
Personal experiences, lessons, and tips
I upgraded my own laptop from a 256 GB SATA SSD to a 1 TB NVMe drive and saw boot times drop from 40 seconds to 10 seconds. Key lessons:
- Always back up first. I once lost a week of work when I skipped a backup.
- Keep spare tools and an adapter for cloning. It saves a service trip.
- If your system is older, a SATA SSD still brings a big boost and is often the best value.
When you upgrade SSD on PC, plan for a little troubleshooting time. It usually takes one hour for desktops and a bit more for laptops.
Related concepts and next steps
After upgrading:
- Consider adding more RAM if multitasking is still slow.
- Move large media libraries to a secondary drive.
- Use cloud backup to protect data beyond local drives.
If you want maximal speed, pair a fast NVMe boot drive with a large SATA drive for storage. For gaming, install frequently played games on the SSD for fast load times.
Frequently Asked Questions of how to upgrade ssd on pc
How long does upgrading an SSD on a PC take?
A typical desktop upgrade with cloning can take 1–2 hours, including cloning and BIOS checks. Fresh installs can take a similar time depending on driver and app reinstall.
Will cloning my SSD copy Windows and programs?
Yes, cloning copies Windows, programs, and settings exactly as they are. Sometimes drivers or activation may need a quick recheck after cloning.
Can I upgrade to NVMe if my motherboard only has SATA ports?
No, NVMe requires an M.2 slot with PCIe lanes or a PCIe adapter. If your board lacks these, a SATA SSD is your upgrade path.
Do I need to reinstall Windows after installing a new SSD?
Not if you clone the old drive correctly. A fresh install is optional and can improve long-term stability.
How do I ensure my SSD runs at full speed?
Use an M.2 NVMe slot with PCIe x4 lanes, enable AHCI for SATA drives, update drivers, and make sure no bandwidth is shared with other ports.
Conclusion
Upgrading SSD on PC is one of the best moves for faster boot times and smoother computing. Choose the right SSD, back up your data, clone or install cleanly, and check BIOS and firmware after the swap. Start small if you’re unsure: a 500 GB SATA SSD often gives a major speed boost without breaking the bank.
Take action today: pick the right drive, schedule a backup, and try the upgrade. Share your experience or questions below — I'd love to help you troubleshoot or plan your next upgrade.

Everett Ashford is a tech reviewer at mytechgrid.com specializing in SSDs, cameras, TVs, earbuds, headphones, and other consumer electronics. He provides honest, data-driven reviews based on hands-on testing and real-world performance analysis. Everett simplifies complex tech details to help readers make smart, confident buying decisions.