To format an M.2 SSD, back up your data, remove old partitions, and create a new file system.
Learning how to format M.2 SSD storage is simple when you choose the right tool and file system first. This guide explains safe methods for Windows, macOS, and Linux, plus BIOS checks, partition styles, common errors, and practical tips to avoid deleting the wrong drive.
What Formatting an M.2 SSD Does
Formatting an M.2 SSD prepares it for use by creating a file system, such as NTFS, exFAT, APFS, or ext4. It may also remove old partitions, boot files, and data stored on the drive.
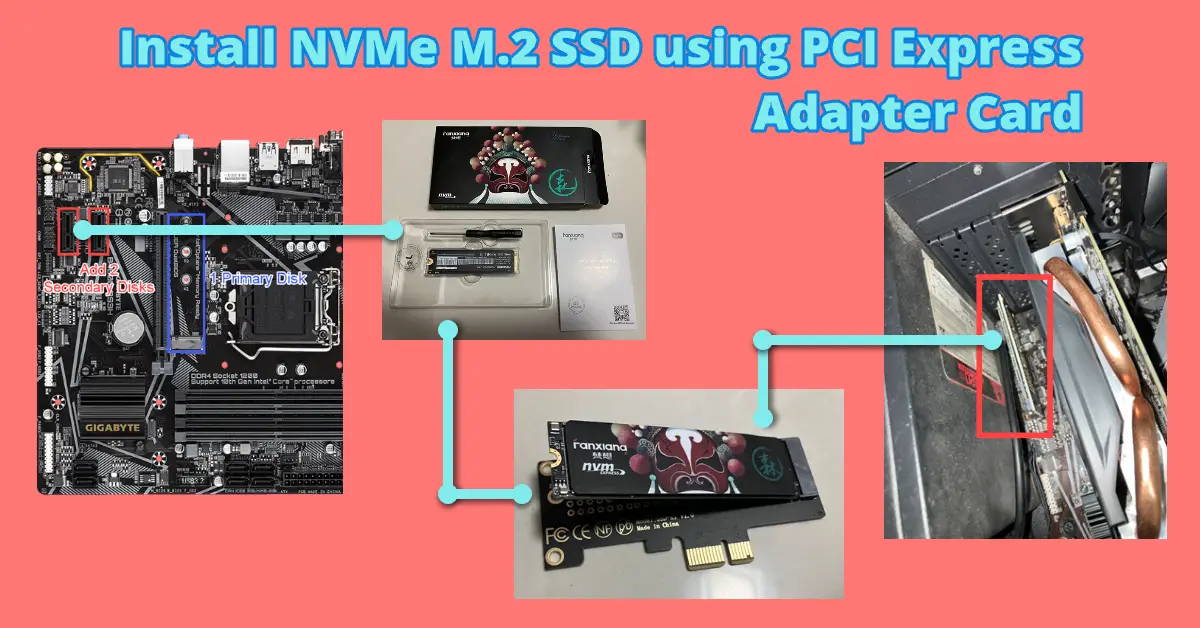
An M.2 drive can use either the NVMe or SATA interface. The physical shape may look similar, but the connection type affects how your computer detects the drive. Check your motherboard or laptop manual before troubleshooting a missing SSD.
Formatting is not the same as securely erasing every memory cell. A quick format removes file system records and makes space appear available. Old data may still be recoverable with specialist tools until new data overwrites it or the drive receives a secure erase command.
When you format an M.2 SSD, the process can:
• Delete files and folders
• Remove existing partitions
• Create a new file system
• Prepare the drive for Windows, macOS, Linux, or shared use
• Fix some file system errors
• Make the drive ready for a clean operating system installation

What to Do Before You Format an M.2 SSD
Before you format an M.2 SSD, confirm that you have selected the correct drive. Formatting the wrong disk can permanently remove personal files, photos, applications, or an operating system.
Back Up Important Files
Copy important files to another SSD, hard drive, cloud account, or network location. Open a few copied files to confirm that the backup works. A backup is useful only when you can restore the data.
If the M.2 SSD contains Windows, create a bootable Windows installer before you begin. If it contains Linux, save your home folder and any encryption recovery keys.
Check the Drive Size
Look at the SSD capacity in your computer’s storage tool. A 1 TB SSD may appear as about 931 GB in Windows because manufacturers and operating systems calculate capacity differently.
Use the model number as another check. The model shown in Disk Management, Disk Utility, or a Linux terminal should match the label on the drive or its product box.
Decide on the File System
Choose a file system based on how you will use the drive:
• NTFS works well for Windows applications and internal Windows drives.
• exFAT works across Windows and macOS and supports large files.
• APFS is best for modern Mac systems.
• ext4 is a common choice for Linux.
• FAT32 supports older devices but limits individual files to 4 GB.
Understand GPT and MBR
GPT is the modern partition style. It supports large drives, many partitions, and UEFI booting. MBR is older and has limits, including a practical disk size limit of about 2 TB for common setups.
Use GPT for most new computers. Choose MBR only when an older computer or operating system requires it.
Disconnect Other Drives When Possible
If you are performing a clean operating system installation, disconnecting other internal drives can reduce confusion. It also lowers the risk of deleting the wrong partition during setup.
A mistake I often see during drive upgrades is choosing a partition by its position instead of checking its size and model. Take an extra minute to verify both.

How to Format an M.2 SSD in Windows
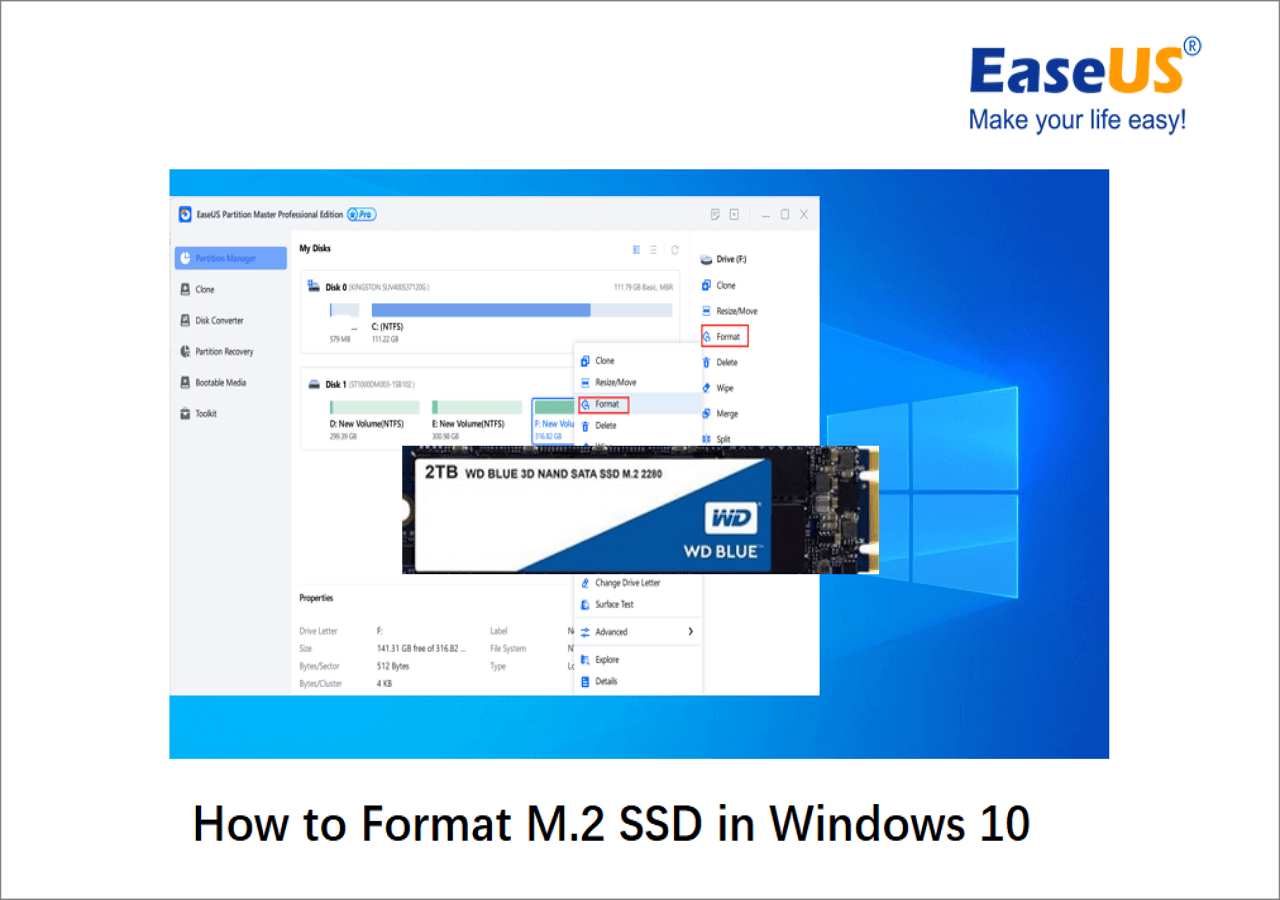
Windows provides several ways to format an M.2 SSD. Disk Management is the easiest choice when the drive already appears in Windows. File Explorer works for a simple existing partition, while DiskPart is useful when old partitions cause problems.
Format an M.2 SSD With Disk Management
Follow these steps:
- Press Windows + X.
- Select Disk Management.
- Find the M.2 SSD by checking its capacity and status.
- Right-click the partition you want to erase.
- Select Delete Volume if you want to remove the current partition.
- Right-click the unallocated space.
- Select New Simple Volume.
- Follow the wizard.
- Choose a drive letter.
- Select NTFS for a Windows-only drive or exFAT for cross-platform use.
- Enter a volume label, such as “Games” or “Projects.”
- Select Quick Format.
- Finish the process.
If the SSD is new, Windows may ask you to initialize it. Select GPT unless you have a specific reason to use MBR.
Format an M.2 SSD in File Explorer
This method works when the SSD already has a usable partition:
- Open File Explorer.
- Select This PC.
- Right-click the SSD.
- Choose Format.
- Select NTFS or exFAT.
- Leave Allocation unit size at Default.
- Keep Quick Format enabled.
- Enter a volume label if desired.
- Select Start.
File Explorer cannot always format a drive with damaged partition data or several hidden partitions. Use Disk Management or DiskPart in that situation.
Format an M.2 SSD With DiskPart
DiskPart is powerful and should be used carefully. One wrong disk number can erase the wrong drive.
- Open the Start menu.
- Search for Command Prompt.
- Select Run as administrator.
- Type
diskpartand press Enter. - Type
list diskand press Enter. - Identify the M.2 SSD by its size.
- Type
select disk X, replacing X with the correct disk number. - Type
cleanand press Enter. - Type
convert gptand press Enter. - Type
create partition primaryand press Enter. - Type
format fs=ntfs quickand press Enter. - Type
assignand press Enter. - Type
exitand press Enter.
The clean command removes partition information from the selected disk. It does not securely overwrite every block, but the old volumes will no longer appear normally.
Format an M.2 SSD During Windows Setup
Use this method when installing Windows on the SSD:
- Start the computer from a Windows installation USB drive.
- Select your language and keyboard settings.
- Choose Install now.
- Select Custom: Install Windows only.
- Identify the M.2 SSD by size.
- Select each partition on that SSD.
- Choose Delete until the disk shows unallocated space.
- Select the unallocated space.
- Choose Next.
Windows will create the required EFI, recovery, and system partitions. Do not delete partitions on another disk unless you have verified that disk carefully.
How to Format an M.2 SSD on macOS
macOS uses Disk Utility to format internal and external SSDs. The correct format depends on whether the drive will stay with a Mac or move between different systems.
Format an M.2 SSD With Disk Utility
- Connect the M.2 SSD through a compatible enclosure or adapter if needed.
- Open Applications.
- Open Utilities.
- Start Disk Utility.
- Select View, then Show All Devices.
- Select the physical M.2 SSD in the left panel.
- Choose Erase.
- Select GUID Partition Map as the scheme.
- Choose APFS for Mac-only use.
- Choose exFAT for Windows and Mac compatibility.
- Enter a name for the drive.
- Select Erase.
- Select Done when the process finishes.
Selecting the physical device instead of only a volume lets you change the partition scheme. This matters when the SSD was previously used in a Windows computer.
Choose the Right Mac File System
APFS is usually the best choice for a Mac startup drive or a Mac-only internal SSD. It supports modern macOS features and works well with SSD storage.
exFAT is a better choice for a drive used between macOS and Windows. However, it does not provide all the features of APFS or NTFS, and it should always be ejected properly.
macOS can read NTFS by default in many versions, but write support is limited without third-party software. Formatting an M.2 SSD as exFAT avoids that limitation for basic file transfers.
Format an M.2 SSD From macOS Recovery
If the M.2 SSD contains the current macOS installation, you cannot normally erase the active startup volume from within that same system. Start in macOS Recovery instead.
On Apple silicon Macs, shut down the Mac, then press and hold the power button until startup options appear. On Intel Macs, restart and hold Command + R. Open Disk Utility, erase the correct drive, and reinstall macOS if needed.
Always confirm the drive name and capacity before erasing. Recovery mode may show several system volumes, so selecting the physical device is important.

How to Format an M.2 SSD in Linux
Linux offers graphical and command-line tools for formatting an M.2 SSD. Disks, KDE Partition Manager, and GParted are common graphical choices.
Format an M.2 SSD With GNOME Disks
- Open the Applications menu.
- Search for Disks.
- Select the M.2 SSD.
- Confirm its model and capacity.
- Select the existing partition.
- Choose the settings menu.
- Select Format Partition.
- Choose ext4 for Linux use.
- Choose exFAT for Windows and Linux sharing.
- Confirm the warning.
- Create a new partition if needed.
- Mount the drive.
Do not format a mounted system partition. If the SSD contains your active Linux installation, use a live USB environment instead.
Format an M.2 SSD With the Terminal
The terminal method requires care. First, list available drives:
lsblk
Find the correct device by checking its size and model. Then unmount the target partition:
sudo umount /dev/nvme0n1p1
Create an ext4 file system:
sudo mkfs.ext4 /dev/nvme0n1p1
Replace the example device with the correct partition. A command such as mkfs.ext4 destroys data on the selected partition.
To create a new partition table, use a tool such as fdisk or parted. For most modern computers, select GPT. If you want a shared storage drive, create exFAT instead:
sudo mkfs.exfat /dev/nvme0n1p1
Some Linux distributions require an exFAT package before this command works.