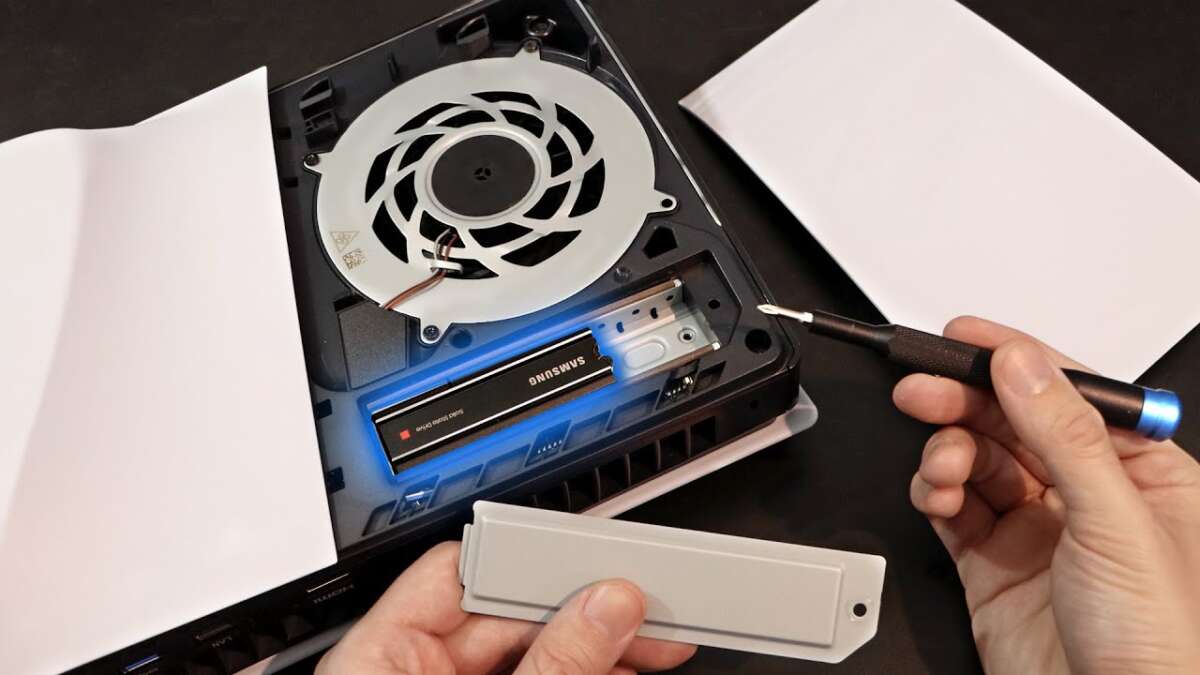
Installing an internal SSD in a PS5 adds fast storage for more games without replacing the built-in drive.
If your PS5 keeps warning that storage is full, learning how to install internal SSD PS5 storage is a smart upgrade. The process is safe when you use the right M.2 drive, fit a proper heatsink, and follow the console’s setup steps. This guide explains each part in simple terms, including compatibility, installation, formatting, common mistakes, and real-world tips that help avoid damage.

What You Need to Install an Internal SSD in a PS5
The PS5 uses an internal M.2 SSD expansion slot. This slot accepts a fast NVMe drive that meets Sony’s speed and size limits.
Before learning how to install internal SSD PS5 storage, gather these items:
• A compatible M.2 NVMe SSD
• A heatsink made for the SSD
• A small Phillips screwdriver
• A clean, flat work area
• A soft cloth or mat
• The latest PS5 system software
The SSD must use a PCIe Gen4 x4 interface. Sony recommends a read speed of at least 5,500 MB/s. A slower drive may work in some cases, but it may not provide the best PS5 gaming performance.
Your drive should also meet these limits:
• Storage capacity: 250GB to 8TB
• Form factor: M.2 2230, 2242, 2260, 2280, or 22110
• Interface: PCIe Gen4 x4 NVMe
• Maximum width: 22 mm
• Maximum length: 110 mm
• Maximum height with heatsink: 11.25 mm
A heatsink is required because the SSD can become hot during long game sessions. Some SSDs include a built-in heatsink. If yours does not, install a compatible low-profile heatsink before placing the drive in the PS5.
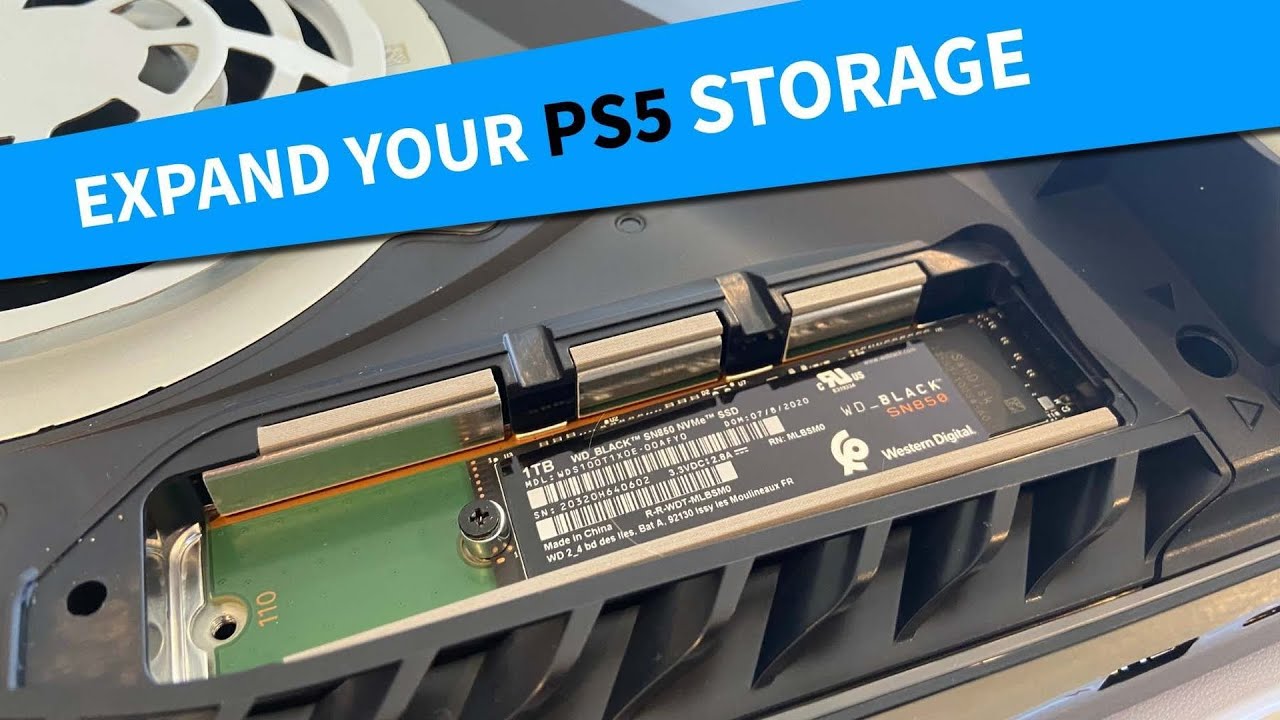
Choose the Right PS5-Compatible SSD
Choosing the right drive is the most important part of how to install internal SSD PS5 storage. The console does not accept every M.2 SSD, even if the drive fits inside the slot.
Look for a PCIe 4.0 NVMe SSD with strong sequential read performance. Popular examples often come from brands such as Samsung, WD, Seagate, Crucial, and Kingston. However, model support can change, so check the exact product specifications before buying.
Avoid these types of drives:
• M.2 SATA SSDs
• PCIe Gen3 SSDs
• SSDs wider than 22 mm
• SSDs with tall heatsinks
• Drives without enough cooling
• Used drives with an unknown history
The PS5’s SSD bay has limited room. A tall heatsink may stop the cover from closing. A heatsink that presses against the cover can also create unwanted pressure on the drive.
A good rule is to buy a drive that is clearly listed as PS5 compatible. Confirm its length, speed, interface, and total height. This small check can save you from returning the wrong product.
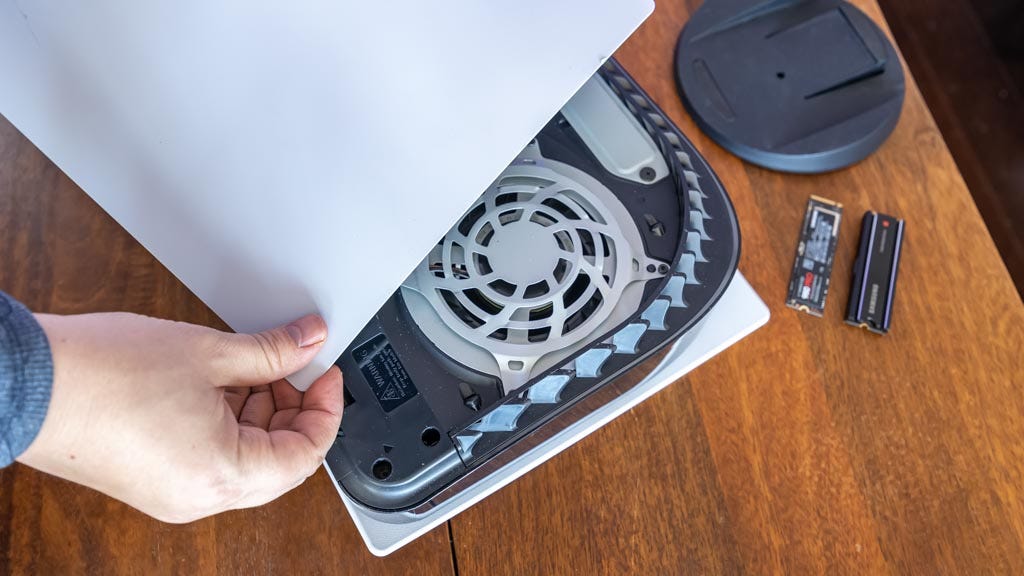
Prepare the PS5 Before Installation
Preparation makes how to install internal SSD PS5 storage much easier. First, update the console to the latest system software.
To check for an update:
-
Turn on the PS5.
-
Open Settings.
-
Select System.
-
Choose System Software.
-
Select System Software Update and Settings.
-
Install any available update.
After the update finishes, shut down the PS5 fully. Do not use Rest Mode. Wait until the power light stops flashing and turns off.
Unplug the power cable and remove all other cables. Let the console cool for several minutes if you were playing a game. A cool console is safer to handle and easier to open.
Move the PS5 to a table with good lighting. Avoid carpet, blankets, and areas with a lot of static. Touch a metal object before handling the SSD to reduce static buildup.
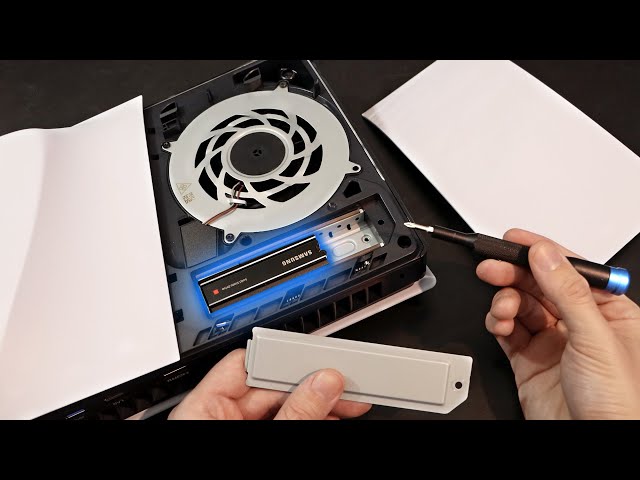
How to Install Internal SSD PS5 Storage
The basic installation process is similar on the standard PS5 and the PS5 Slim, but the outer cover is different. Never force a cover. If it does not move, check that you are lifting the correct edge.
1. Remove the PS5 stand
If your console uses the horizontal stand, remove it first. If you use a vertical stand, follow the stand maker’s removal instructions.
Place the console on a soft cloth. Keep the disc drive facing away from the surface if you have a disc model.