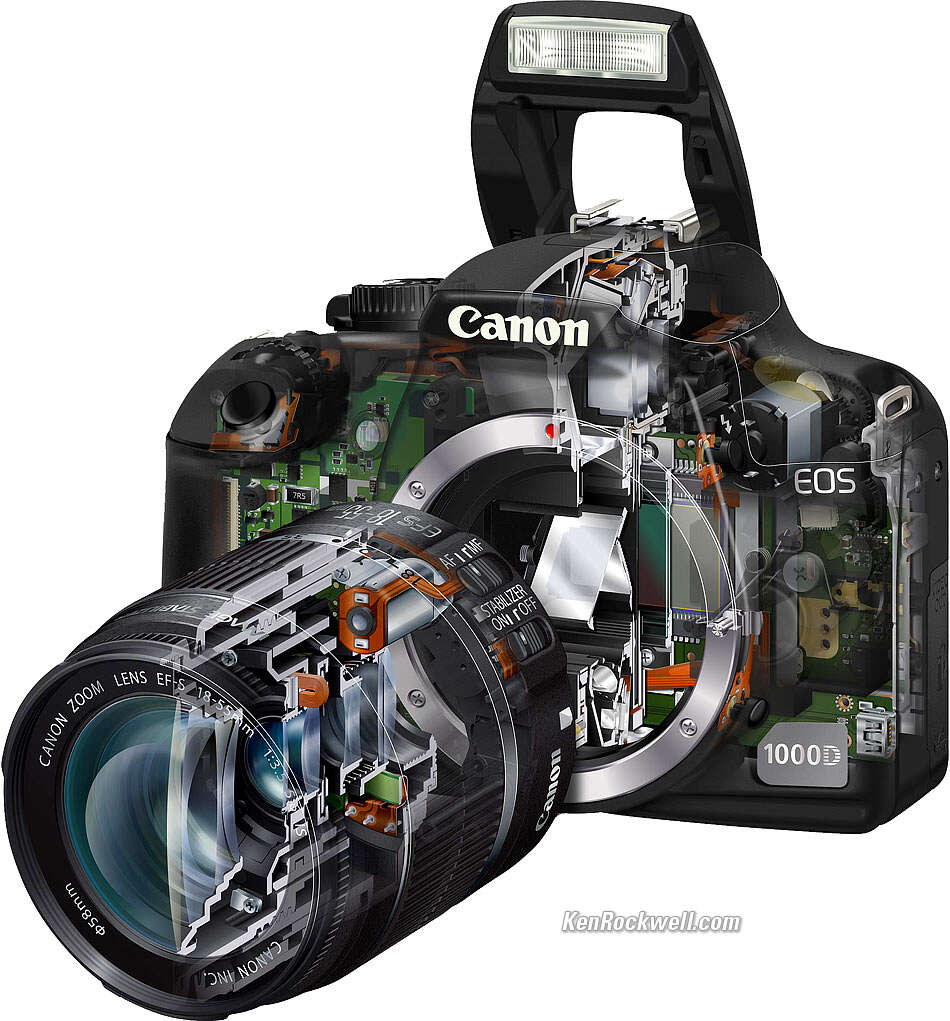
Taking apart a digital camera safely means removing the battery, documenting each step, and avoiding charged circuits and delicate optics.
Learning how to take apart a digital camera can help you clean a sensor, replace a screen, inspect a button, or recycle an old body. However, a camera is not like a simple toy. It has tiny screws, fragile ribbon cables, strong springs, sealed lens parts, and, in many models, a flash capacitor that can hold a dangerous charge. This guide explains the process in a careful, practical way, with clear limits on what most home users should attempt.
Before You Take Apart a Digital Camera
The first step in learning how to take apart a digital camera is knowing whether the repair is worth the risk. A simple battery-door repair may be reasonable at home. A flash circuit, image sensor, or zoom lens repair may require a trained technician.
Check the camera model before opening it. Search for its service manual, parts diagram, or repair guide. Camera designs vary widely, even within the same brand.
Before starting:
• Remove the battery, memory card, strap, and accessories.
• Turn off wireless features and disconnect any USB or charging cable.
• Work on a clean table with bright light.
• Use a small parts tray or several labeled containers.
• Take photos of the camera after every major step.
• Read the warranty terms. Opening the body may cancel warranty service.
A useful rule is simple: if the camera still has value, or if you need the flash to work, professional repair is often safer and cheaper than replacing damaged parts.
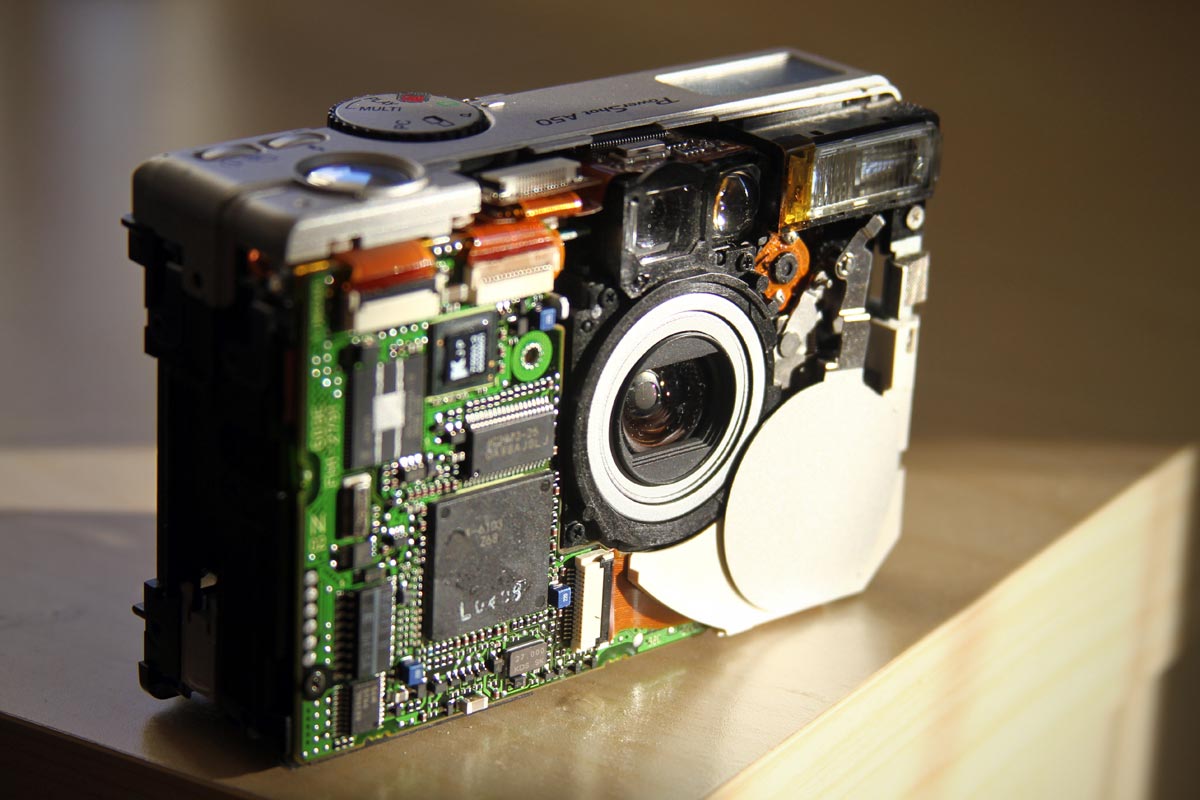
Tools You Need
Good tools make taking apart a digital camera much easier. The wrong screwdriver can strip a screw head in seconds, and a metal pick can scratch a circuit board or short two contacts.
Gather these items:
• Precision Phillips screwdrivers, often sizes PH00 and PH000
• Small flat screwdriver for gentle prying
• Plastic opening picks or guitar picks
• Fine-tip, nonmagnetic tweezers
• A magnetic parts tray
• Painter’s tape and a fine pen for labels
• A soft, lint-free cloth
• A camera-safe blower
• An anti-static wrist strap or grounded work surface
• A phone or camera for progress photos
• A bright desk lamp
Avoid using compressed air directly on the sensor or inside the lens. It can push dust deeper into the camera and may leave moisture or propellant behind.
Do not use a knife to split the camera shell. A plastic opening pick gives better control and reduces marks.
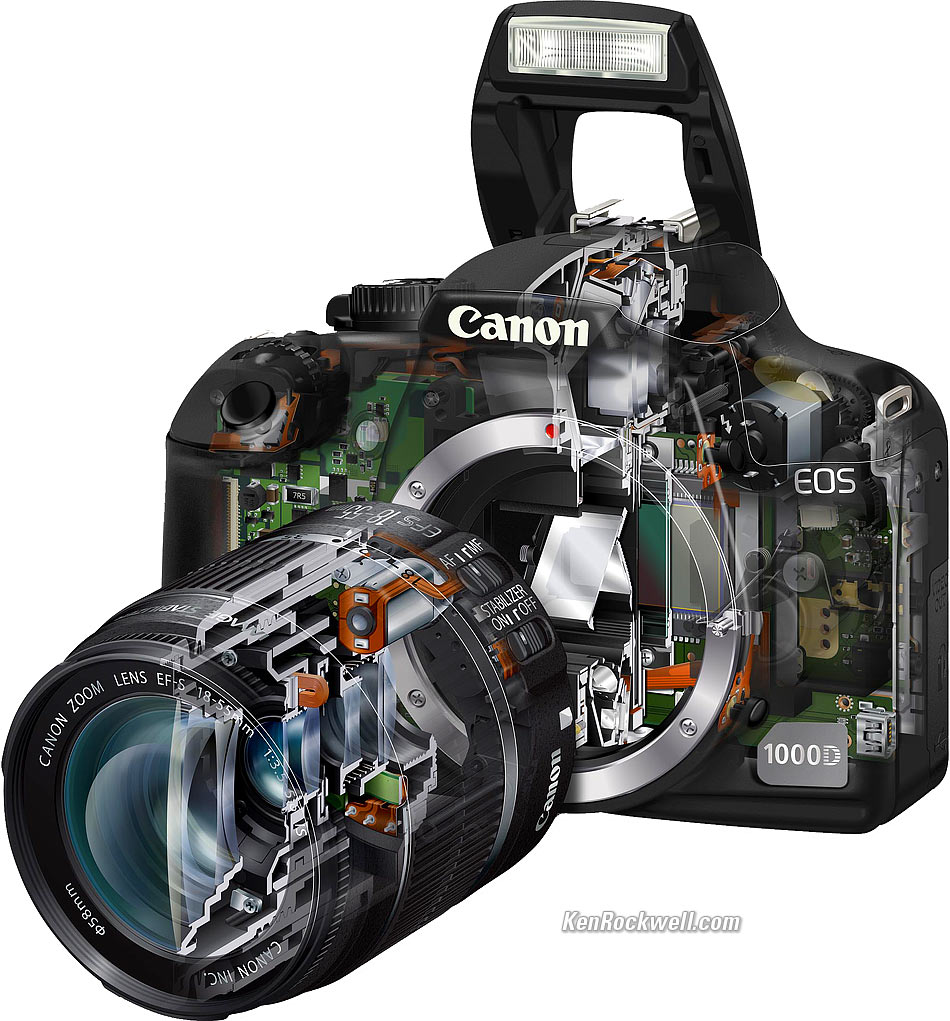
Important Safety Risks
Digital cameras contain several parts that can cause permanent damage or injury if handled poorly. The most serious risk is the flash capacitor. It can store a high voltage charge even after the battery is removed.
Never touch exposed flash circuitry unless you have proper electronics training and the correct discharge equipment. Do not short the capacitor with a screwdriver. That can create a spark, damage the board, or cause burns.
Other risks include:
• Lithium-ion batteries that can swell, leak, or ignite when punctured
• Sharp metal brackets inside the body
• Fragile flex cables and board connectors
• Static electricity that can damage the image sensor or processor
• Lens springs and gears that can move suddenly
• Glass filters that can crack or collect fingerprints
If the battery is swollen, hot, leaking, or damaged, stop immediately. Place the camera in a safe, nonflammable area and follow local battery recycling guidance.
A professional camera technician should handle flash capacitor work, power-board repair, sensor replacement, and lens-unit disassembly. This boundary is important. Taking apart a digital camera does not always mean taking apart every part inside it.

How to Prepare the Camera
Preparation prevents most mistakes. Before taking apart a digital camera, test and record its current condition.
Take a photo with the camera and check:
• The shutter
• The flash
• The display
• The buttons
• The zoom
• The memory card slot
• The lens cover
• The USB or charging port
Write down any fault. For example, note whether the lens is stuck, the screen is blank, or the camera shuts down. This record helps you compare the camera after reassembly.
Next, remove the battery and memory card. Open the battery door and leave it open for a few minutes. This does not guarantee that all stored electrical energy is gone, but it reduces the chance of accidental startup.
Place a clean cloth under the camera. It protects the body from scratches and keeps tiny screws from bouncing away.
Step-by-Step: How to Take Apart a Digital Camera
The exact screw layout differs by model, but most compact digital cameras follow a similar pattern. Move slowly, and never force a panel that does not release.
1. Remove the external screws
Inspect the bottom, sides, and front of the camera. Screws may hide under:
• Rubber grips
• Decorative covers
• Battery doors