Use a USB cable, Wi‑Fi app, SD card adapter, or cloud sync to move photos quickly and safely.
I’ve moved thousands of photos from cameras to phones in both casual and pro settings. This guide breaks down how to get pictures from digital camera to phone step by step, with clear options for any camera model and phone type. I’ll show practical methods, troubleshoot common snags, and share tips I learned on shoots to make your transfers fast, safe, and repeatable.
Why move photos from your camera to your phone
Moving photos from your camera to your phone helps you share, edit, and back up images faster. Phones make it easy to post to social media, send to clients, or review shots on the go. Knowing how to get pictures from digital camera to phone saves time and keeps your work safe.

What you need before you start
Get basic supplies and check settings first to avoid delays. Confirm your camera battery is charged and your phone has enough storage. Decide if you want original files or smaller JPEGs for quick sharing. These prep steps make any transfer method smoother and more reliable.

Main ways to get pictures from digital camera to phone
Below are the main methods I use, ordered by speed and ease. Pick the one that fits your gear and situation.
- USB cable direct connection to phone
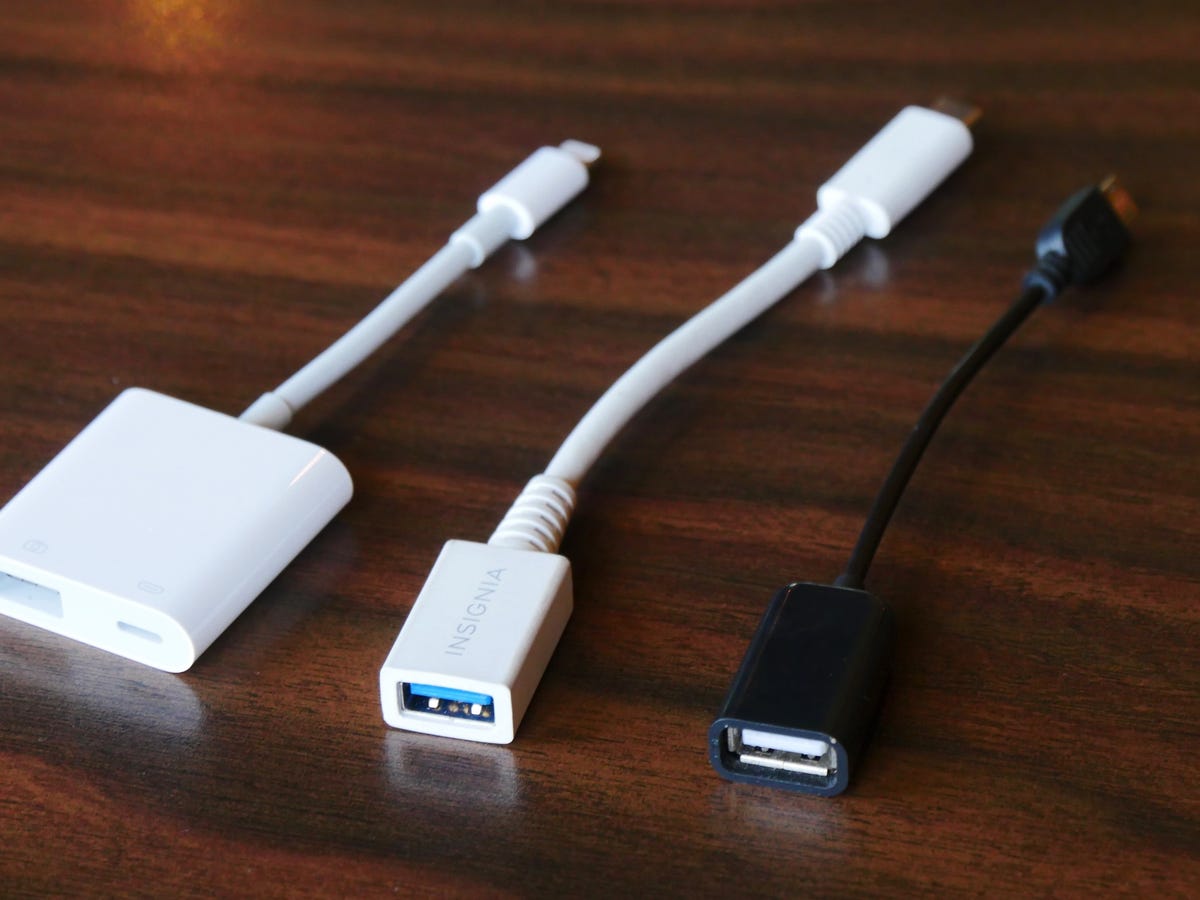
- Many cameras can connect to phones via USB or USB-C cable. Use the camera’s cable or a compatible one. On Android, enable file transfer mode when prompted. On iPhone, use a camera adapter for Lightning or USB-C, then import via Photos.
- SD card and card reader adapter
- Remove the SD card from the camera and insert it into a phone-compatible card reader. Plug the reader into the phone and import. This is often faster than Wi‑Fi and works with large files like RAW.
- Camera Wi‑Fi or Bluetooth and the maker’s app
- Most cameras offer a Wi‑Fi or Bluetooth pairing option and a free mobile app. Install the app, pair the devices, and download images. This is convenient for JPGs and quick previews.
- NFC tap (select cameras and phones)
- Tap-capable cameras and Android phones can pair via NFC, opening the camera app and starting transfers. This is quick for one-off shots.
- Use a computer as an intermediary
- Transfer photos to a computer first, then sync to your phone via cable, cloud, or a sync app. This is useful when you need to edit or batch rename files first.
- Cloud sync (Google Photos, iCloud, Dropbox)
- Upload from camera (via computer or Wi‑Fi) to a cloud service and then download to your phone. This works well if you want automatic backup plus phone access.
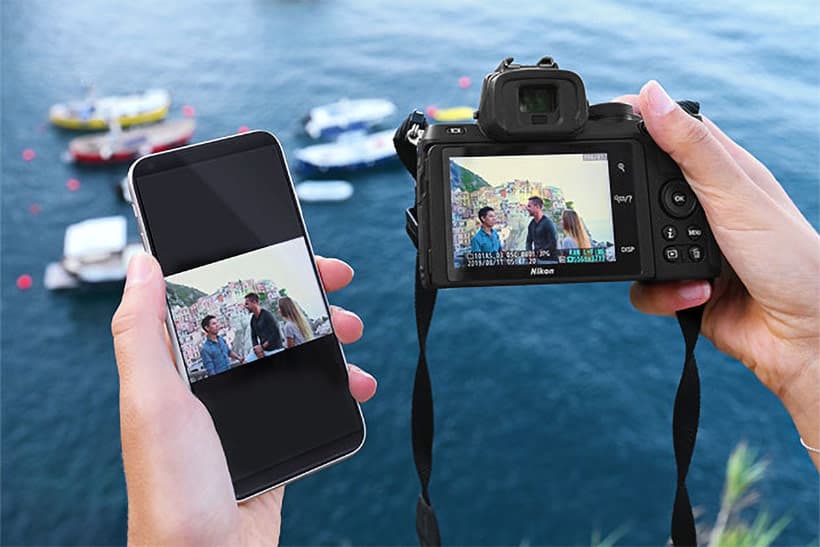
Step-by-step: USB cable transfer (most direct)
This method is simple and reliable for many setups.
- Connect camera to phone with USB cable or adapter.
- Turn the camera on and set it to playback or file transfer mode.
- On Android, tap the notification and choose File Transfer or USB storage. Open your phone’s file manager to copy images.
- On iPhone, use a Lightning-to-USB or USB-C adapter. The Photos app will prompt you to import images.
- Eject the device safely before unplugging.
I use this method when I need full-resolution files fast. It avoids Wi‑Fi hiccups and preserves metadata.

Step-by-step: SD card and adapter (fast for big files)
This is my go-to for shoots with many RAW files.
- Turn off the camera and remove the SD card.
- Insert the card into a USB or Lightning card reader that works with your phone.
- Plug the reader into the phone and open Files or Photos to import.
- Copy or move files into a phone folder or cloud folder for backup.
This method feels like plugging a drive into your phone. It’s fast, reliable, and keeps file structure intact.
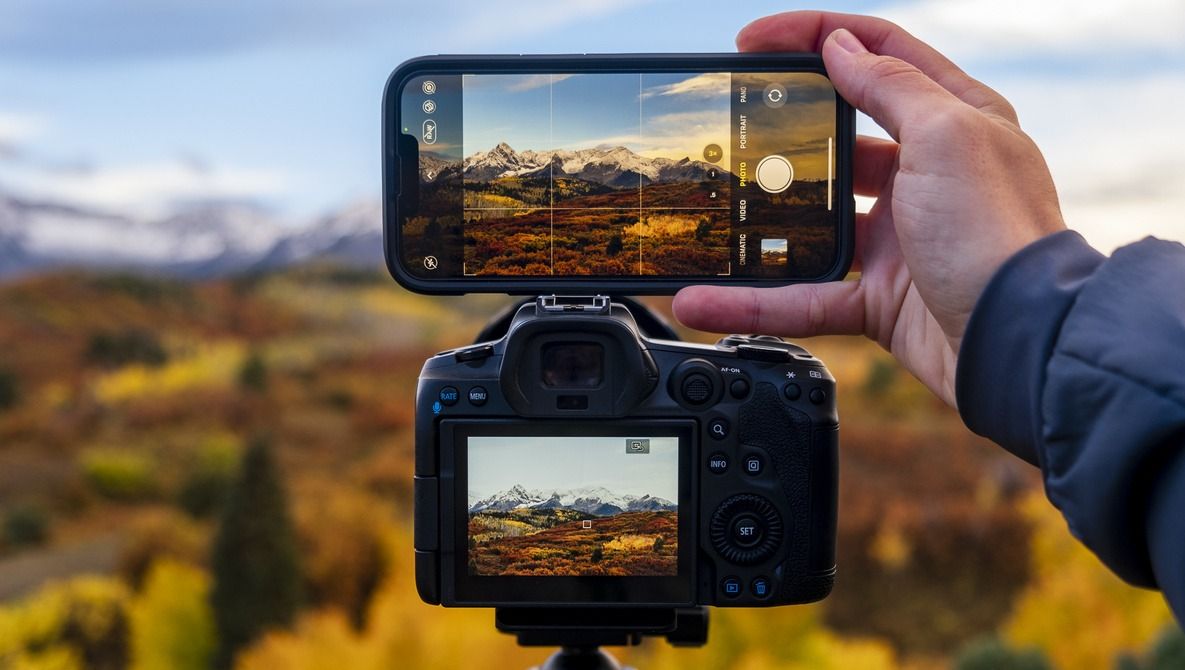
Step-by-step: Camera Wi‑Fi and maker apps (convenient)
Useful for quick sharing without cables or card removal.
- Turn on the camera’s Wi‑Fi or Bluetooth and enable pairing mode.
- Open the camera maker’s app on your phone and follow pairing instructions.
- Browse thumbnails on your phone and download selected images.
- Some apps allow remote shooting and GPS tagging.
This is great for sharing JPGs quickly, but large RAW files may transfer slowly. I use it for instant client previews.
Working with iPhone and Android specifics
Phones differ. Here are quick rules.
- iPhone users
- Use a Lightning or USB-C camera adapter for wired imports. Use AirDrop from a Mac for fast transfers if you use a laptop as an intermediary.
- Android users
- Android often supports USB OTG. Choose File Transfer mode to copy files. Many Android phones accept SD card readers via USB-C.
Knowing these differences helps you pick the fastest method.
File types, quality, and storage tips
Understand formats and how they affect transfers.
- JPEG vs RAW
- JPEGs are smaller and quicker to transfer. RAW files preserve detail but are much larger. Choose RAW if you plan heavy edits.
- Metadata and color profiles
- Transfers usually keep EXIF data. If color looks off, check the phone app’s color profile or use a raw editor.
- Storage planning
- Free up phone space before large imports. Consider external storage or cloud sync for large photo sets.
I once filled a phone mid-shoot by importing RAWs. Now I pre-clear space and use card readers when I need full files.
Troubleshooting common issues
Quick fixes for problems you will likely meet.
- Phone doesn’t detect camera
- Try a different cable or adapter, enable camera playback mode, or use a card reader.
- Slow Wi‑Fi transfers
- Switch to a wired method or move closer to the camera to improve signal.
- Failed import due to file type
- Convert or use a raw-capable app. Some phones need third-party apps to read RAW files.
These checks will save time on shoots and when traveling.
My real-world tips and mistakes to avoid
A few practical lessons from my experience.
- Always carry a small USB-C card reader. It’s compact and solves most problems.
- For client work, double-check that transfers keep EXIF data and file names.
- Avoid relying solely on camera Wi‑Fi for critical backups—use a wired method as a backup.
- Label folders by date on import to stay organized.
These habits cut stress and keep your workflow tidy.
PAA-style questions
What’s the fastest way to transfer many photos to a phone?
The fastest route is a direct SD card reader plugged into the phone or a high-speed USB cable in file transfer mode.
Can I transfer RAW files to my phone?
Yes. Use a card reader or USB cable and a raw-compatible app to view and edit RAW files on your phone.
Is Wi‑Fi transfer safe and reliable?
Wi‑Fi is convenient but can be slower and less reliable for large files; use it for quick JPGs, not critical RAW backups.
Frequently Asked Questions of how to get pictures from digital camera to phone
How do I transfer photos from my DSLR to my phone?
Use a USB cable and adapter or remove the SD card and insert it into a phone reader. Alternatively, pair your camera and phone via the camera maker’s app for wireless transfers.
Can I transfer RAW files directly to my phone?
Yes. Use a card reader or wired USB connection and open the files with a raw-capable app. Keep in mind RAW files take more space and transfer time.
Do I need a special adapter to connect my camera to my iPhone?
You may need a Lightning-to-USB or USB-C camera adapter depending on your iPhone model. These adapters let the Photos app import images directly.
Why won’t my phone see the camera over USB?
Check the cable, enable the camera’s file transfer or playback mode, and ensure your phone supports USB OTG. Try a different cable or use a card reader.
Is it better to use cloud services to move photos to phone?
Cloud services are great for backup and easy access from multiple devices, but they require upload time and data. For large files or tight deadlines, wired methods are faster.
Conclusion
You now have clear, practical ways to get pictures from digital camera to phone, whether you prefer wired speed, card-reader reliability, or wireless convenience. Start by choosing the method that fits your gear, practice a quick transfer workflow, and back up every shoot to avoid loss. Try one method today—test a card reader or cable transfer—and see how it improves your workflow. If this guide helped, share your results or leave a comment about your setup.

Everett Ashford is a tech reviewer at mytechgrid.com specializing in SSDs, cameras, TVs, earbuds, headphones, and other consumer electronics. He provides honest, data-driven reviews based on hands-on testing and real-world performance analysis. Everett simplifies complex tech details to help readers make smart, confident buying decisions.