Initialize an SSD in Windows 11 by initializing it, creating partitions, and formatting to GPT/NTFS.
I’ve set up dozens of SSDs for desktops and laptops, so I’ll walk you step by step through how to initialize SSD Windows 11 correctly and safely. This guide covers prep, simple Disk Management steps, PowerShell/DiskPart options, partition choices, performance tweaks, and troubleshooting so you can finish with a fast, stable drive.

Why initialize an SSD in Windows 11?
Initializing an SSD prepares the drive so Windows 11 can store files and install apps. Without initialization, the drive appears as unallocated and you can’t use it. Initializing also defines the partition style (GPT or MBR), which affects booting and compatibility when you install Windows or use the drive for data. Learning how to initialize ssd windows 11 helps you avoid mistakes and set the drive for best performance.

Preparation: what to check before you start
Take a moment to prepare. A little prep avoids data loss and makes the process fast.
- Back up any data on the SSD if it already contains files. Initializing can erase metadata.
- Check the SSD connection: SATA cable for SATA drives, M.2 slot for NVMe drives. Loose cables cause errors.
- Verify your PC is set to AHCI mode in BIOS for SATA SSDs. AHCI enables TRIM and better performance.
- If you plan to boot Windows from the SSD, confirm UEFI support and choose GPT. For older BIOS systems, you might pick MBR.
- Ensure you have admin rights on Windows 11. Disk operations require elevated permissions.
how to initialize ssd windows 11 starts easier when you do these steps first.

Step-by-step: Initialize SSD using Disk Management
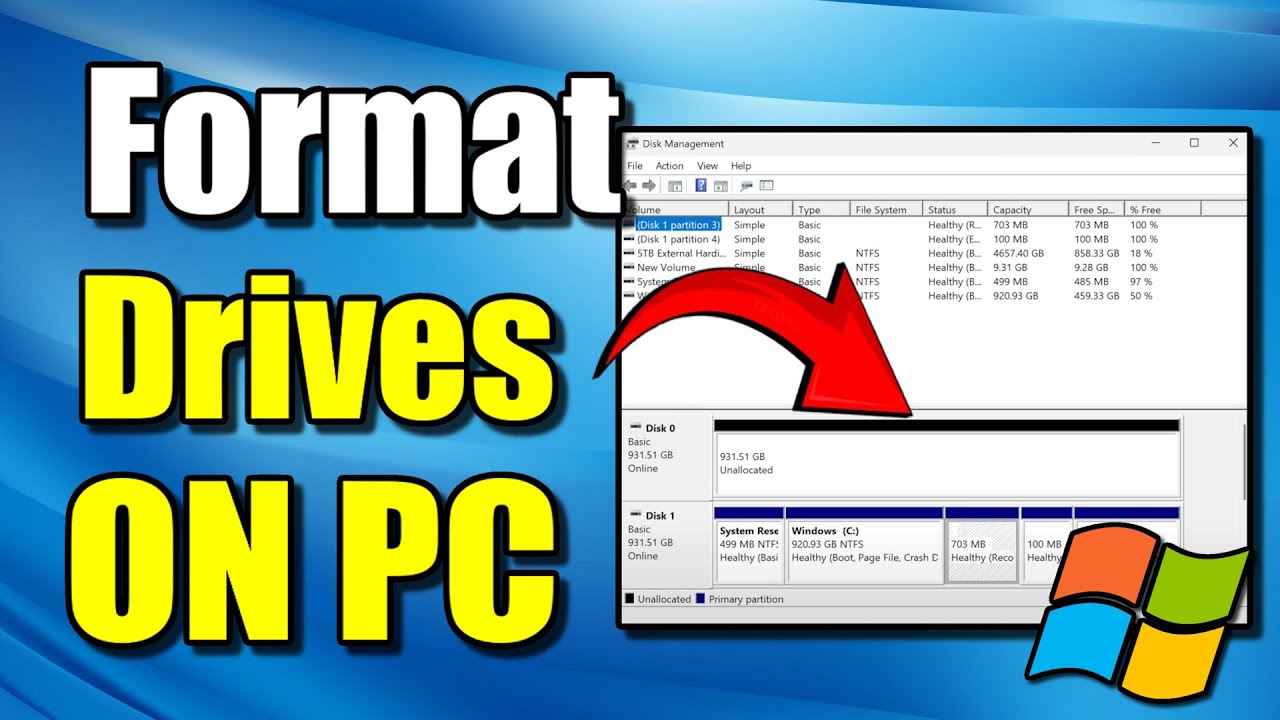
Disk Management is the easiest option for most users. It uses a simple graphical interface.
- Open Disk Management
- Press Windows key + X and choose Disk Management.
- Find the new SSD
- The SSD shows as "Disk 1" or another number. It will read as Uninitialized and Unallocated.
- Initialize the disk
- Right-click the disk label (left side) and choose Initialize Disk.
- Choose partition style: GPT (recommended for UEFI) or MBR (older systems).
- Create a new volume
- Right-click the Unallocated space and choose New Simple Volume.
- Follow the wizard to set size, assign a drive letter, and format (NTFS is common).
- Finish and verify
- After formatting, the drive appears in File Explorer ready to use.
If you want to know how to initialize ssd windows 11 quickly, Disk Management is the most user-friendly route.
Initialize SSD using PowerShell / DiskPart (advanced)
DiskPart or PowerShell is useful for automation or fixing odd issues. Use caution; one wrong command can erase the wrong drive.
- Open an elevated PowerShell or Command Prompt
- Right-click Start, choose Windows Terminal (Admin) or Command Prompt (Admin).
- Run DiskPart
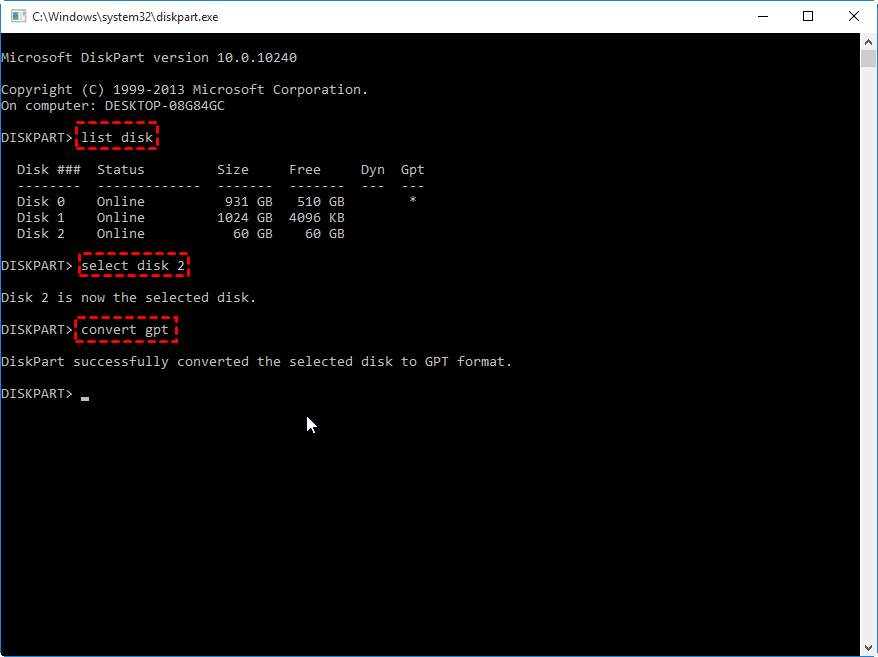
- Type diskpart and press Enter.
- List disks and select your SSD
- Type list disk
- Note the disk number for the SSD (size helps identify it).
- Type select disk X (replace X with the number).
- Clean and initialize
- To wipe the disk: type clean
- To convert to GPT: type convert gpt
- To create a partition: type create partition primary
- To format: type format fs=ntfs quick
- To assign letter: type assign letter=E (or choose another)
- Exit
- Type exit twice to leave DiskPart and the shell.
Using DiskPart shows power users how to initialize ssd windows 11 with exact control.

Partitioning and formatting: GPT vs MBR, NTFS vs exFAT
Choosing the right partition style and file system matters for booting and compatibility.
- GPT (GUID Partition Table)
- Recommended for UEFI systems and Windows 11. Supports large disks and more partitions.
- MBR (Master Boot Record)
- Works with legacy BIOS. Limited to 2 TB disks and four primary partitions.
- NTFS
- Best for Windows system drives and most data drives. Supports permissions and large files.
- exFAT
- Use if you need cross-OS compatibility with Macs and Windows for large files.
- Allocation unit size
- Keep default unless you have a special need (large files or databases).
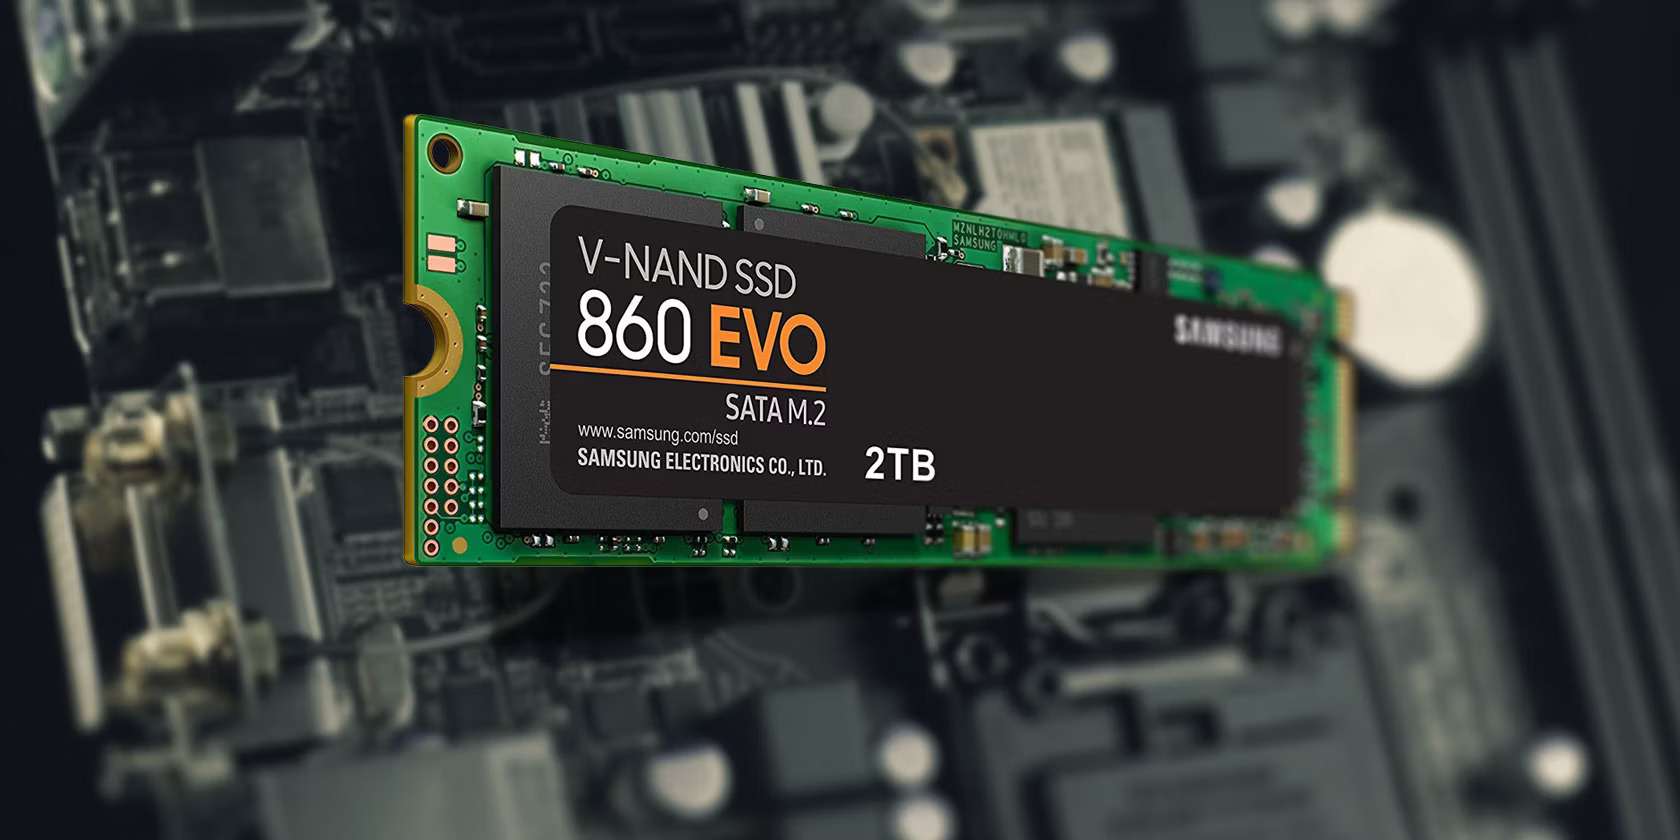
When you learn how to initialize ssd windows 11, pick GPT + NTFS for modern installs and best results.
Post-initialize steps: optimize Windows 11 for SSD
After initialization and formatting, apply a few tweaks to keep performance high and drive life long.
- Enable TRIM
- Windows 11 enables TRIM by default, but verify with: fsutil behavior query DisableDeleteNotify. A 0 means TRIM is active.
- Confirm AHCI or NVMe drivers
- Use AHCI for SATA SSDs; make sure NVMe drivers are current for M.2 drives.
- Disable disk defragmentation for SSDs
- Windows automatically treats SSDs differently, but you can check Optimize Drives to ensure Trim is scheduled.
- Move large write-heavy tasks
- Place downloads or temp folders on a secondary HDD if you want to reduce write wear on the SSD.
- Page file and hibernation
- Keep the page file unless you have lots of RAM; disabling can cause errors. You can move it but NTFS on SSD is fine.
- Update firmware
- Check the SSD maker’s tool for firmware updates that can improve stability and speed.
These steps finish the process and show how to initialize ssd windows 11 and keep it fast.
Common issues and troubleshooting
Many problems are simple to fix. Follow these checks before re-initializing.
- Disk not showing in Disk Management
- Check physical connection, BIOS detection, and driver updates. Reseat the SSD if needed.
- Disk reads as RAW or unallocated after initialization
- Reformat the partition. If errors persist, run a disk health check from the SSD vendor tool.
- “Access denied” or permission errors
- Make sure you run Disk Management or PowerShell as an administrator.
- Slow performance after setup
- Confirm AHCI/NVMe drivers, enable TRIM, and update firmware.
- Boot issues after installing Windows
- Check BIOS boot order and ensure you used GPT for UEFI installs.
If you still struggle, repeating how to initialize ssd windows 11 with DiskPart often clears format errors, but use care.
Personal experience and practical tips
I once installed an NVMe SSD into an older laptop and forgot to switch from IDE to AHCI in BIOS. Windows booted slowly and stuttered. Switching to AHCI and reinstalling the NVMe driver fixed it. Here are short tips from hands-on work.
- Always double-check the target disk number in DiskPart. I’ve seen admins wipe the wrong drive by mistake.
- Keep a bootable USB with Windows repair tools handy when re-installing Windows to an SSD.
- Use the SSD vendor’s utility for firmware and diagnostics; it often detects issues Windows misses.
- For system drives, clean installs perform better than cloning an old HDD image. Cloning works but can carry over legacy settings.
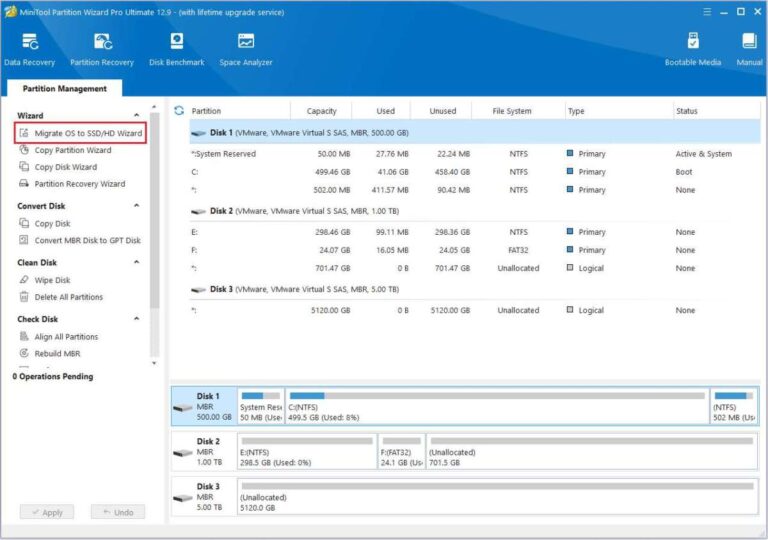
- If cloning, use the vendor’s migration tool for better alignment and avoid manual partition copying mistakes.
These lessons help you master how to initialize ssd windows 11 with fewer surprises.
Frequently Asked Questions of how to initialize ssd windows 11
Do I need to initialize a new SSD for Windows 11?
Yes. A new SSD must be initialized so Windows can create partitions and a file system. Without initialization, the drive shows as unallocated and is unusable.
Is GPT required for Windows 11 on an SSD?
GPT is recommended for Windows 11 if your PC uses UEFI. GPT supports modern booting and large drives, while MBR is for legacy BIOS systems.
Will initializing an SSD erase data?
Initializing and formatting a drive removes partition info and can make data inaccessible. Back up important files before you initialize an SSD.
Can I initialize an SSD with Disk Management if it’s not detected?
If Disk Management doesn’t show the SSD, check BIOS detection, cables, and drivers first. If BIOS doesn’t see it, the OS tools won’t either.
Should I use DiskPart or Disk Management to initialize?
Disk Management is simple and safe for most users. DiskPart is powerful and helpful for advanced tasks or automation, but use it carefully to avoid errors.
How do I check TRIM is enabled after initialization?
Run an elevated command and type: fsutil behavior query DisableDeleteNotify. A return of 0 means TRIM is enabled and working.
Conclusion
You now have a clear path for how to initialize ssd windows 11, from prep to optimization. Start by backing up and checking connections, then use Disk Management for a simple GUI method or DiskPart for precise control. Finish by enabling TRIM, verifying drivers, and updating firmware for steady performance. Try these steps on a spare machine or test SSD to build confidence, then apply them to your main device.
Take action today: back up important files, pick a method, and initialize that SSD to enjoy faster boot and app load times. If you found this guide useful, leave a comment with your setup or questions — I’ll help troubleshoot.

Everett Ashford is a tech reviewer at mytechgrid.com specializing in SSDs, cameras, TVs, earbuds, headphones, and other consumer electronics. He provides honest, data-driven reviews based on hands-on testing and real-world performance analysis. Everett simplifies complex tech details to help readers make smart, confident buying decisions.