Install an internal SSD by checking compatibility, mounting the drive, connecting it, and setting it up in your operating system.
Learning how to install internal SSD drive hardware can make an older computer feel new again. An SSD can reduce boot times, speed up apps, and improve file transfers, but the process depends on whether you have a 2.5-inch SATA SSD or an M.2 NVMe drive. This guide explains the full process in simple steps, including compatibility checks, installation, cloning, formatting, troubleshooting, and common mistakes to avoid.
Why install an internal SSD?
An internal solid-state drive uses flash memory instead of spinning magnetic disks. This design helps it read and write data much faster than a traditional hard disk drive, or HDD.
A new SSD can help your computer:
• Start Windows or macOS faster
• Open apps with less delay
• Load games and large files more quickly
• Run with less noise
• Use less power than many older hard drives
• Feel more responsive during daily tasks
The biggest improvement often comes when you replace the computer’s main hard drive with an SSD. If your system already has an SSD, adding a second drive gives you more room for games, photos, videos, and work files.
Before you learn how to install internal SSD drive hardware, know that speed depends on the interface. A SATA SSD is much faster than a hard drive, but an NVMe SSD is usually faster than SATA because it uses the PCIe bus.
Choose the right internal SSD
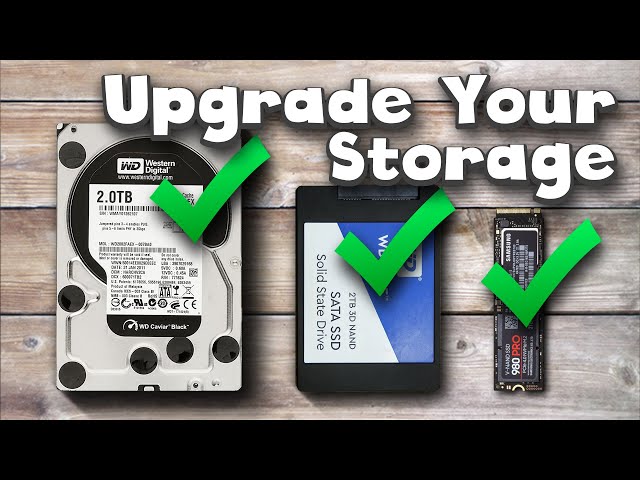
The first step in how to install internal SSD drive hardware is choosing a drive that your computer supports. Internal SSDs come in different shapes, sizes, and connection types.
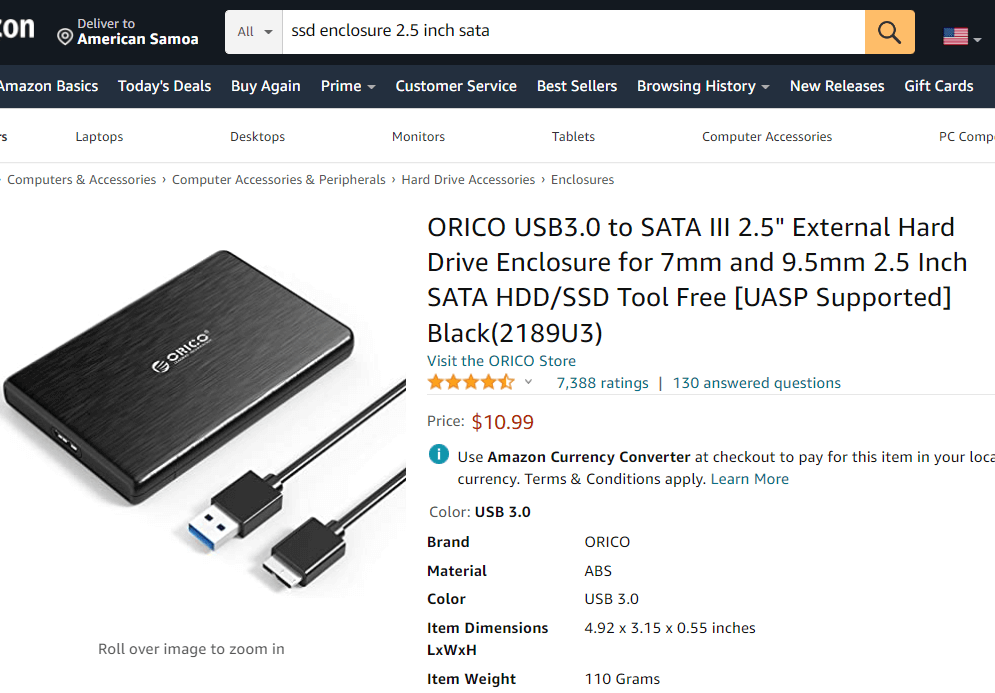
2.5-inch SATA SSD
A 2.5-inch SATA SSD is common in older desktops and laptops. It uses two connections:
• A SATA data cable that connects to the motherboard
• A SATA power cable that connects to the power supply
Most 2.5-inch SATA SSDs fit in a standard 2.5-inch drive bay. Some desktop cases need a mounting bracket if the case only has 3.5-inch bays.
M.2 SATA SSD
An M.2 SATA SSD looks like a small circuit board. It fits directly into an M.2 slot on the motherboard.
Although it uses the M.2 shape, it still uses the SATA protocol. An M.2 SATA drive will not work in every M.2 slot, so check the motherboard or laptop manual before buying one.
M.2 NVMe SSD
An M.2 NVMe SSD also fits into an M.2 slot, but it uses PCIe lanes. It is often the fastest choice for modern computers.
Check these details before you buy:
• M.2 size, such as 2280
• NVMe or SATA support
• PCIe generation support
• Available M.2 slot
• Maximum supported storage capacity
• Whether the slot shares bandwidth with another port
A PCIe 4.0 NVMe SSD usually works in a PCIe 3.0 slot, but it will run at the slower slot speed. This backward compatibility is useful, but you should not pay extra for speed your system cannot use.
Check compatibility before installation
Compatibility problems cause many failed SSD installations. Spend a few minutes checking your system first.
For a desktop computer, inspect the motherboard manual or manufacturer specifications. Look for available SATA ports, M.2 slots, supported drive types, and the location of mounting points.
For a laptop, check the service manual. Some laptops support only one drive. Others use an M.2 slot, a 2.5-inch bay, or both. A laptop may also require a special mounting bracket or cable.
Confirm the following:
• Your computer supports the SSD type
• The drive has enough physical space
• The motherboard has an open SATA port or M.2 slot
• Your power supply has a spare SATA power connector
• The BIOS or UEFI can detect the drive
• The operating system supports the drive format
Modern Windows PCs usually support NVMe drives without extra drivers. Older computers may need a BIOS update or a storage driver. Always check the computer maker’s support page before updating firmware.
When I explain how to install internal SSD drive hardware, I stress this step because it prevents the most frustrating mistake: opening the computer only to discover that the new drive cannot fit or connect.
.JPG?width=1920&height=1920&fit=bounds&quality=80&format=jpg&auto=webp)
Back up your files first
Back up important files before opening the computer or changing the system drive. Hardware work is usually safe, but mistakes, power loss, or accidental formatting can cause data loss.
Save important files to one or more of these locations:
• An external hard drive
• A trusted cloud storage service
• A network drive
• A second computer
• A full system image
If you are replacing the existing boot drive, decide whether you want to clone it or perform a clean operating system installation.
Cloning copies your system, apps, settings, and files to the new SSD. A clean installation starts fresh and can remove years of unwanted software, but you must reinstall programs and restore files.
Do not format the old drive until you confirm that the new SSD boots correctly and contains your important data.

Tools needed to install an internal SSD
The tools are simple for most computers. Gather everything before you begin.
You may need:
• The SSD
• A small Phillips screwdriver
• A 2.5-inch drive bracket for some desktops
• SATA data cable for a 2.5-inch SATA SSD
• An antistatic wrist strap
• The computer manual
• A second computer or phone for instructions
• A USB installation drive if you plan a clean installation
Many M.2 SSDs include a small screw, but not all do. Check the motherboard box or laptop hardware kit for the correct screw.
Avoid working on carpet if possible. Place the computer on a clean, hard surface. I also recommend taking a photo of cable locations before unplugging anything. That small habit has saved me from guessing where cables belong after a repair.
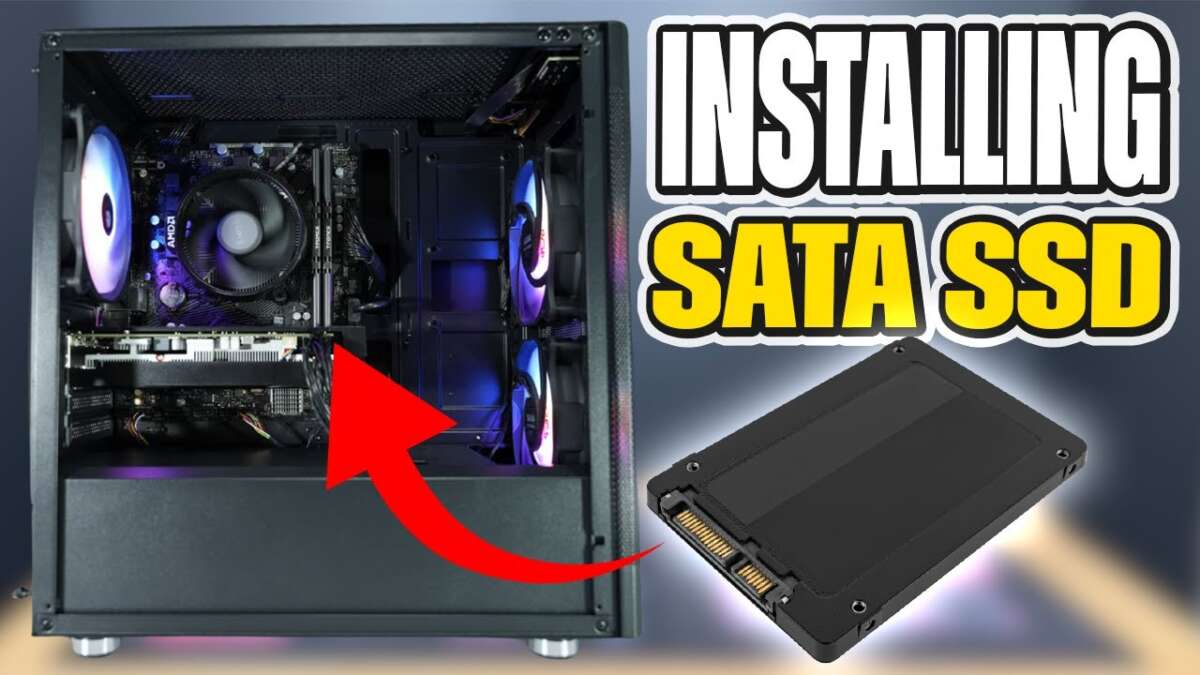
How to install a 2.5-inch SATA SSD in a desktop
This is the standard process for adding a 2.5-inch SATA SSD to a desktop computer.
1. Shut down and unplug the computer
Turn off the computer completely. Unplug the power cable and disconnect accessories that may get in the way.
Press the power button for a few seconds after unplugging the system. This helps discharge remaining power from the board.
2. Open the computer case
Remove the side panel according to the case design. Keep the screws in a small container so they do not roll away.
Touch an unpainted metal part of the case before handling components. This reduces the chance of static electricity damaging the hardware.
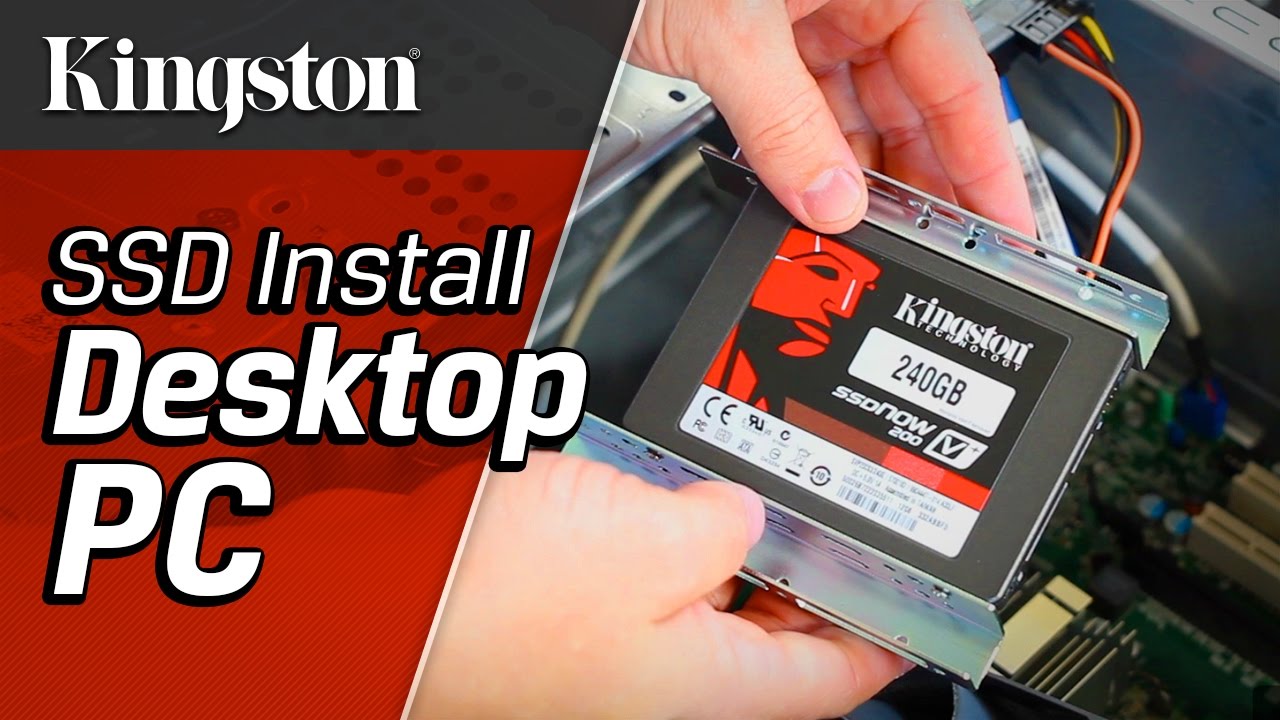
3. Mount the SSD
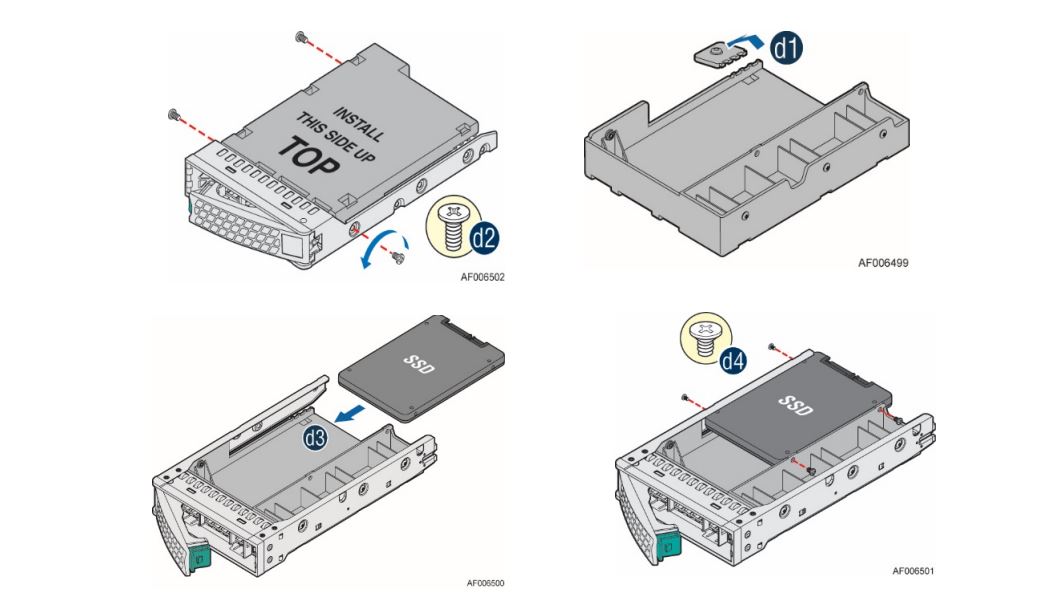
Place the SSD in a 2.5-inch drive bay or attach it to a compatible mounting bracket. Secure it with the correct screws.
Do not leave the drive loose inside the case. Movement can damage connectors or create cable strain.
4. Connect the SATA data cable
Connect one end of the SATA data cable to the SSD. Connect the other end to an open SATA port on the motherboard.
If your motherboard labels ports by number, use the first available standard port for the primary drive. The manual can show which ports connect directly to the chipset.
5. Connect SATA power
Attach a SATA power connector from the power supply to the SSD. The connector is shaped so it fits only one way.
Never force the plug. If it does not slide in easily, check its orientation.
6. Close the case and start the computer
Replace the side panel, reconnect the power cable, and turn on the computer.
The physical part of how to install internal SSD drive hardware is now complete. You still need to check detection and prepare the drive in the operating system.
How to install an M.2 NVMe SSD
M.2 installation is often faster than SATA installation because the drive connects directly to the motherboard.
1. Find the M.2 slot
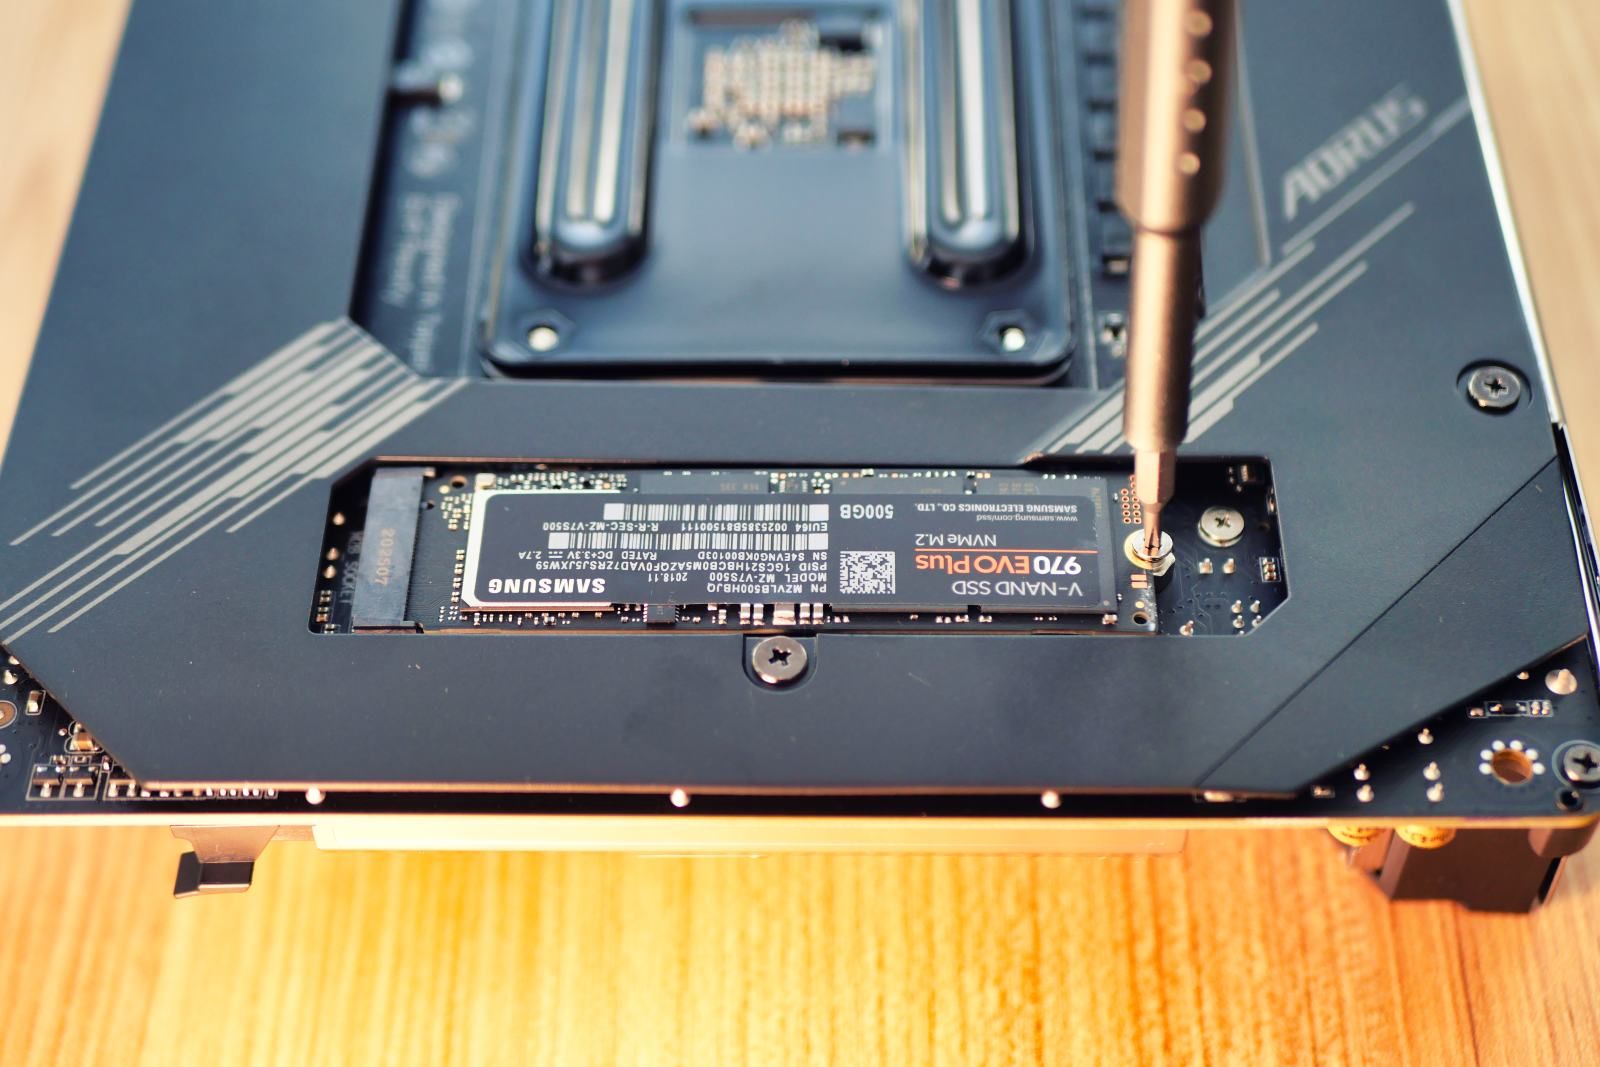
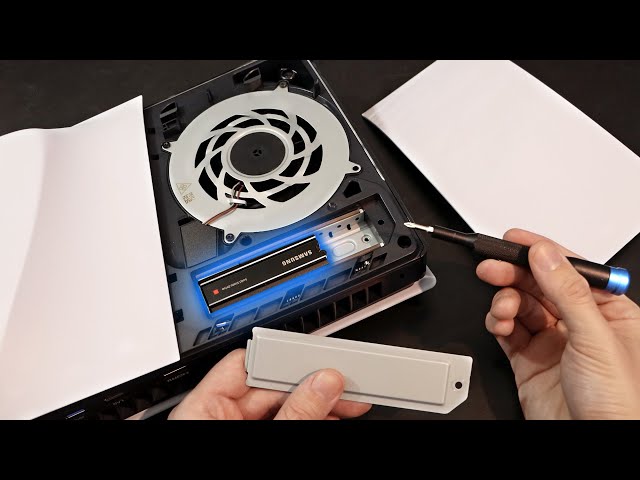
Look for a small connector labeled M.2, M2, or NVMe. Some motherboards have a heatsink covering the slot.
Remove the heatsink screw and lift the cover if needed. Keep the screw nearby.
2. Insert the SSD
Hold the SSD by its edges. Align the notch on the connector with the key inside the M.2 slot.
Insert the drive at a slight angle, usually around 20 to 30 degrees. Do not push it straight down.
3. Secure the drive
After the connector is fully inserted, press the free end of the SSD down toward the motherboard. Secure it with the M.2 screw.
The drive should lie flat. Do not bend it or tighten the screw too much.
4. Replace the heatsink
If your motherboard includes an M.2 heatsink, remove any protective plastic from its thermal pad. Reinstall the heatsink over the SSD.
Leaving protective film on the thermal pad can reduce heat transfer. This is an easy detail to miss during how to install internal SSD drive work.
5. Start the computer
Reconnect power and turn on the system. Enter the BIOS or UEFI if you want to confirm that the motherboard detects the SSD.

How to install an internal SSD in a laptop
Laptop upgrades require more care because parts are smaller and access varies by model.
Start by shutting down the laptop. Disconnect the charger and, if possible, remove the battery. Some internal batteries cannot be removed without opening the case.
Remove the bottom cover with the correct screwdriver. Keep track of screw lengths because using a long screw in the wrong hole can damage internal parts.
For a 2.5-inch SATA SSD:
-
Remove the old drive or empty drive caddy.
-
Transfer the mounting rails or connector bracket if required.
-
Place the SSD into the caddy.
-
Connect the SATA cable or adapter.
-
Secure the drive and replace the bottom cover.
For an M.2 SSD:
-
Locate the M.2 slot.
-
Remove the retaining screw.
-
Insert the SSD at a slight angle.
-
Press it down gently.
-
Replace the screw.
-
Reinstall the cover.
Laptop manufacturers sometimes use proprietary cables or drive brackets. If the SSD does not sit correctly, stop and check the service manual. Do not force a connector or bend the drive.
Initialize and format the new SSD in Windows
A new SSD may not appear in File Explorer until Windows initializes and formats it.
Follow these steps:
-
Right-click the Start button.
-
Select Disk Management.
-
Find the new drive by checking its capacity.
-
If Windows asks for a partition style, choose GPT for modern UEFI systems.
-
Right-click the unallocated space.
-
Select New Simple Volume.
-
Follow the wizard.
-
Choose a drive letter.
-
Format the drive as NTFS for general Windows use.
Use the drive’s capacity and status carefully. Selecting the wrong disk can erase your existing files.
Windows may show a smaller usable capacity than the number printed on the box. This is normal because manufacturers use decimal capacity, while operating systems calculate storage differently.
For a secondary drive, quick format is usually enough. For a boot drive, the setup process may format the disk during Windows installation.
Set up an SSD on macOS
macOS users can prepare a new internal SSD with Disk Utility, provided the Mac supports the upgrade.
Open Disk Utility from Applications, Utilities, or macOS Recovery. Select View, then Show All Devices. Choose the physical SSD, not only a volume beneath it.
Select Erase and choose:
• APFS for modern macOS installations
• Mac OS Extended for older Mac systems when required
• GUID Partition Map as the scheme
Confirm the correct disk before erasing. Disk Utility will remove all data on the selected drive.
Some Mac models use proprietary storage or require special tools. Confirm upgrade support for the exact model before opening the computer.
Clone your old drive or install the operating system fresh
Cloning is useful when you want the new SSD to feel exactly like the old drive. A disk cloning tool copies partitions and data from the old drive to the new one.
Before cloning, check these points:
• The new SSD has enough space for the used data
• The cloning software supports your partition style
• The target SSD is selected correctly
• You have a backup
• The computer can boot from the new drive
After cloning, shut down the computer. If possible, disconnect the old drive temporarily and start the system from the new SSD. This confirms that the new drive works independently.
A clean installation is often better when the old system has errors, malware, or years of clutter. Create a bootable Windows or macOS installer, start the computer from it, and install the operating system on the new SSD.
In my experience, cloning saves time, while a clean installation often gives the most reliable long-term result. Choose based on your files, software, and comfort level.
Check BIOS or UEFI settings
If the SSD does not appear in the operating system, check the BIOS or UEFI.
Restart the computer and press the setup key shown on the screen. Common keys include Delete, F2, F10, and Esc, but the correct key depends on the manufacturer.
Look for storage information, boot options, or NVMe configuration. Confirm that the SSD appears with the correct model and capacity.
You may also need to check:
• SATA mode, which is usually AHCI for SATA drives
• UEFI boot mode
• Boot order
• M.2 slot settings
• Storage controller settings
Do not change random BIOS settings. Write down the original value before changing anything. On some systems, enabling or disabling a port can affect another SATA port or expansion slot.
Common SSD installation problems
Even when you follow how to install internal SSD drive instructions carefully, small issues can happen.
The SSD is not detected
Check that the drive is fully inserted and that every cable is secure. Try another SATA data cable, SATA port, or M.2 slot if your system supports one.
For an NVMe drive, confirm that the slot supports NVMe rather than M.2 SATA only.
The SSD appears in BIOS but not Windows
Open Disk Management. The drive may need initialization, partitioning, or formatting.
Do not format the disk if it contains data you need. Formatting removes access to existing files.
The computer will not boot
Check the boot order in BIOS or UEFI. If you cloned the old drive, the system may still be trying to start from the wrong disk.
If the old drive is still connected, shut down and disconnect it temporarily. This can also prevent confusion when both drives contain similar boot files.
The SSD runs hot
NVMe drives can become warm during large file transfers. Make sure the heatsink is installed correctly and that the case has good airflow.
High temperatures may reduce performance through thermal throttling. Normal temperatures vary by model, workload, and airflow, so use the manufacturer’s specifications as a guide.
The drive is slower than expected
A SATA SSD cannot reach NVMe speeds. An NVMe SSD may also run below its advertised speed if it is installed in a slower PCIe slot or if the drive is nearly full.
Benchmark results are not the same as everyday performance. Boot time, app loading, and file work depend on the whole system.
Mistakes to avoid when installing an SSD
A careful installation is more about avoiding errors than using force.
Avoid these mistakes:
• Buying an M.2 drive without checking slot compatibility
• Forgetting to back up important files
• Installing an SSD without a mounting point
• Using the wrong screw in a laptop
• Leaving protective film on an M.2 heatsink pad
• Formatting the wrong disk
• Forgetting the SATA power cable
• Installing a cloned drive without testing its boot process
• Handling components by their chips or contacts
• Closing the case before confirming that the drive works
One useful habit is to test the SSD before fully tightening every cable and replacing all panels. Once the computer detects the drive, finish the installation neatly.
How to maintain an internal SSD
SSDs need less physical care than hard drives, but maintenance still matters.
Keep at least some free space on the drive. A nearly full SSD may perform less consistently, and the operating system needs working room for updates and temporary files.
Use these simple habits:
• Install firmware updates only from the drive manufacturer
• Keep the operating system updated
• Allow Windows or macOS to manage SSD optimization
• Monitor drive health with a trusted tool
• Maintain regular backups
• Avoid unnecessary disk defragmentation
Modern operating systems generally send TRIM commands automatically. TRIM helps the SSD manage deleted data and maintain performance. Do not use old hard-drive maintenance advice without checking whether it applies to SSDs.
An SSD is not a backup. If the drive fails, deleted files may be difficult or impossible to recover.
Frequently Asked Questions About How to Install an Internal SSD Drive
Can I install an SSD without reinstalling Windows?
Yes, you can clone the old drive to the new SSD and then boot from the clone. A clean Windows installation is another option and may provide a cleaner system.
Is SATA or NVMe better for an internal SSD?
NVMe is usually faster because it uses PCIe, while SATA has a lower speed limit. SATA SSDs still offer a major improvement over hard drives and can be the best choice for older computers.
Do I need to format a new internal SSD?
Usually, yes, if you plan to use it for storage. Windows or macOS must create a partition and file system before the drive can store normal files.
Why is my new SSD not showing in File Explorer?
The SSD may not be initialized, partitioned, or formatted. Check Disk Management in Windows or Disk Utility on macOS, and confirm that you select the correct drive.
Can I install an M.2 NVMe SSD in any M.2 slot?
No. Some M.2 slots support only SATA drives, while others support NVMe, SATA, or both. Check the motherboard or laptop manual before installing the SSD.
Should I disconnect my old drive after cloning?
Disconnecting the old drive temporarily can help confirm that the computer boots from the new SSD. After testing, you can reconnect and reuse the old drive once you have confirmed your files are safe.
Does installing an SSD delete my files?
Installing a secondary SSD does not normally affect existing files. However, cloning, formatting, or reinstalling the operating system can erase data, so create a backup first.
Conclusion
Knowing how to install internal SSD drive hardware makes one of the most useful computer upgrades easier to manage. Check compatibility, back up your files, install the SSD carefully, and then initialize or clone it based on your needs.
A 2.5-inch SATA SSD is simple and widely compatible, while an M.2 NVMe SSD offers higher performance on supported systems. Take your time, confirm the correct disk before formatting, and test the new drive before removing your backup or old storage.
Use this guide as a checklist for your upgrade, and explore your computer or motherboard manual for model-specific details before you begin.

Everett Ashford is a tech reviewer at mytechgrid.com specializing in SSDs, cameras, TVs, earbuds, headphones, and other consumer electronics. He provides honest, data-driven reviews based on hands-on testing and real-world performance analysis. Everett simplifies complex tech details to help readers make smart, confident buying decisions.