How To Install SSD Drive Laptop: Easy Upgrade Guide
To learn how to install ssd drive laptop, check compatibility, back up files, fit the SSD, and test it.
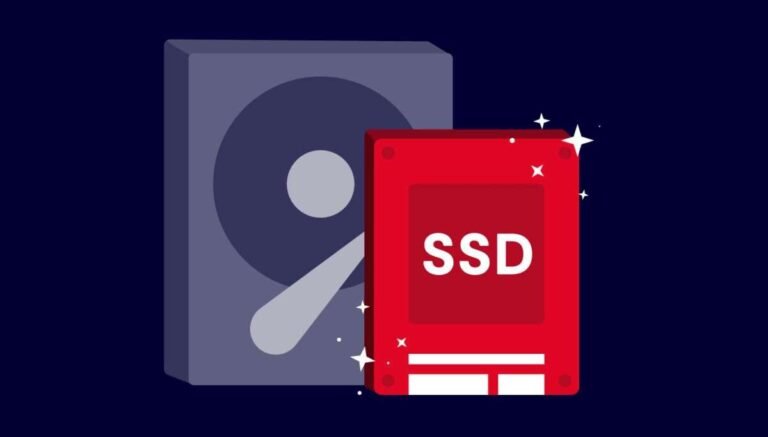
Learning how to install ssd drive laptop can make an old computer feel new again. An SSD can reduce startup time, speed up apps, and make everyday work feel far less frustrating. This guide explains the full process in clear steps, from choosing the right drive to moving Windows and checking that everything works.
Before You Install an SSD in a Laptop
The first step in how to install ssd drive laptop is checking whether your laptop supports the SSD you want to buy. Laptops usually use one of two main formats: a 2.5-inch SATA SSD or an M.2 SSD.
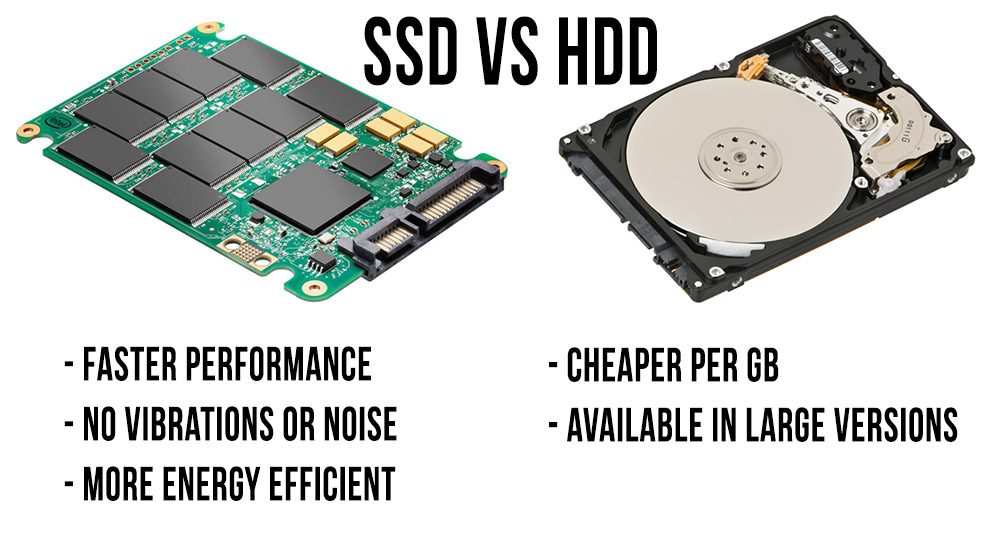
A 2.5-inch SATA SSD looks like a slim rectangular hard drive. It connects with a SATA data and power interface. An M.2 SSD is a small circuit board that fits directly into a slot on the motherboard.


M.2 drives are not all the same. Some use the SATA protocol, while newer models use NVMe over PCIe. An M.2 NVMe drive may not work in an M.2 SATA-only slot, even though both drives look similar.
Check these details before you open the laptop:
• Laptop model number and service manual
• Supported drive type, such as 2.5-inch SATA, M.2 SATA, or M.2 NVMe
• M.2 drive length, such as 2230, 2242, 2260, or 2280
• Maximum supported storage capacity


• Available mounting screw and bracket
• Operating system requirements
• Warranty and upgrade restrictions
You can often find this information on the laptop maker’s support page or in the service manual. A hardware information tool can also show the current drive type and interface.
If you are replacing a hard disk drive, a 2.5-inch SATA SSD is often the simplest upgrade. If your laptop has an M.2 slot, an NVMe SSD may offer higher speed, but the laptop must support NVMe.
What You Need for the SSD Installation
Having the right tools makes how to install ssd drive laptop much easier. You do not need a large repair kit, but the correct screwdriver matters.
Prepare these items:
• Compatible SSD
• Small Phillips screwdriver
• Small Torx screwdriver if your laptop uses Torx screws
• Plastic opening tool or guitar pick
• External USB drive for backups
• USB to SATA adapter if you plan to clone a 2.5-inch drive
• M.2 mounting screw if your laptop does not include one


• Clean, well-lit work surface
• Anti-static wrist strap, if available
Before handling internal parts, shut down the laptop completely. Disconnect the charger and remove the battery if it is removable. For laptops with an internal battery, many service manuals explain how to disconnect it after removing the bottom cover.
Do not use a metal knife to pry open the case. It can scratch the frame, damage clips, or touch the motherboard. A plastic tool is safer.
Avoid working on carpet. Static electricity can harm sensitive parts, even when there is no visible spark. Touch a grounded metal object before handling the SSD, or use an anti-static wrist strap connected to a suitable ground.

Back Up Your Data Before Opening the laptop
a backup is the most important safety step in how to install ssd drive laptop. Even a simple upgrade can go wrong if a screw damages a board, a cloning process fails, or the old drive stops working.
Save important files to at least one other location. Good choices include:
• External hard drive or SSD
• Cloud storage
• Network storage
• A second computer
Your backup should include documents, photos, videos, downloads, browser bookmarks, password databases, and work files. Do not assume that cloud storage has every file you need. Check the actual folders and open a few backed-up files.
If you plan to clone the old drive, connect the new SSD with the correct USB adapter before opening the laptop. This lets you copy the system while the original drive still works.
Also create a Windows recovery drive. Search for “Recovery Drive” in Windows, then follow the tool’s instructions. A recovery drive can help you reinstall Windows if the new SSD does not boot.


If device encryption or BitLocker is active, save the recovery key. You may need it after moving the drive or changing boot settings. You can usually find the key through your Microsoft account or your organization’s IT system.
A lesson I often stress during storage upgrades is simple: never begin a drive replacement because you “think” your files are safe. Verify the backup first. Open the external drive and confirm that key files are really there.
 laptop”
style=”max-width: 100%; height: auto; border: 2px solid black; border-radius: 10px; display: block; margin: 0 auto;”
loading=”lazy”
/>
Choose Between Cloning and a Clean Windows Install
You have two main ways to set up the new SSD.
Cloning copies the old drive to the new one. It can preserve Windows, installed programs, settings, and personal files. This is convenient if the old system works well.
A clean installation starts with a fresh copy of Windows. It removes old drivers, unused programs, junk files, and possible software problems. It takes more time because you must reinstall applications and restore files.
Choose cloning when:
• You want the laptop to look and feel the same
• The current Windows installation works correctly
• You have enough space on the new SSD
• You want a faster upgrade with fewer setup steps
Choose a clean installation when:
• Windows has frequent errors
• The old drive contains years of unwanted software
• Malware may be present
• You want a fresh start


• The old drive is larger than the new SSD and contains more data than it can hold
If cloning, the new SSD must have enough usable space for the data on the old drive. The total capacity of the old drive does not always matter. What matters is how much space the files occupy.
For example, a 1 TB old drive with only 300 GB of data can often be cloned to a 500 GB SSD. However, a cloning tool may need you to resize the old system partition first.
Use reputable disk cloning software and read each screen carefully. A wrong selection can erase the original drive. The source is the old drive, and the destination is the new SSD.

How to Open the Laptop Safely
The physical part of how to install ssd drive laptop starts with removing the bottom cover. Place the closed laptop upside down on a soft, clean cloth.
Follow these steps:
-
Shut down the laptop. Do not use sleep mode.
-
Unplug the charger and all accessories.
-
Remove the external battery, if the laptop has one.
-
Remove every visible screw from the bottom panel.
-
Keep screws in a small container or place them on a sheet of paper that shows where each screw belongs.
-
Use a plastic opening tool to release the clips around the edge.
-
Lift the cover slowly and check for cables before pulling it away.
Some laptops use different screw lengths. Putting a long screw in the wrong hole can damage the motherboard or press into the display. Keeping each screw in its original location prevents this common mistake.
Once the cover is off, do not touch the gold contacts on the SSD or nearby circuit boards. Hold the drive by its edges.
If you see a battery cable, disconnect it according to the service manual before touching the storage drive. Some connectors pull straight out. Others have a locking tab. Never force a connector.
How to Install a 2.5-Inch SATA SSD
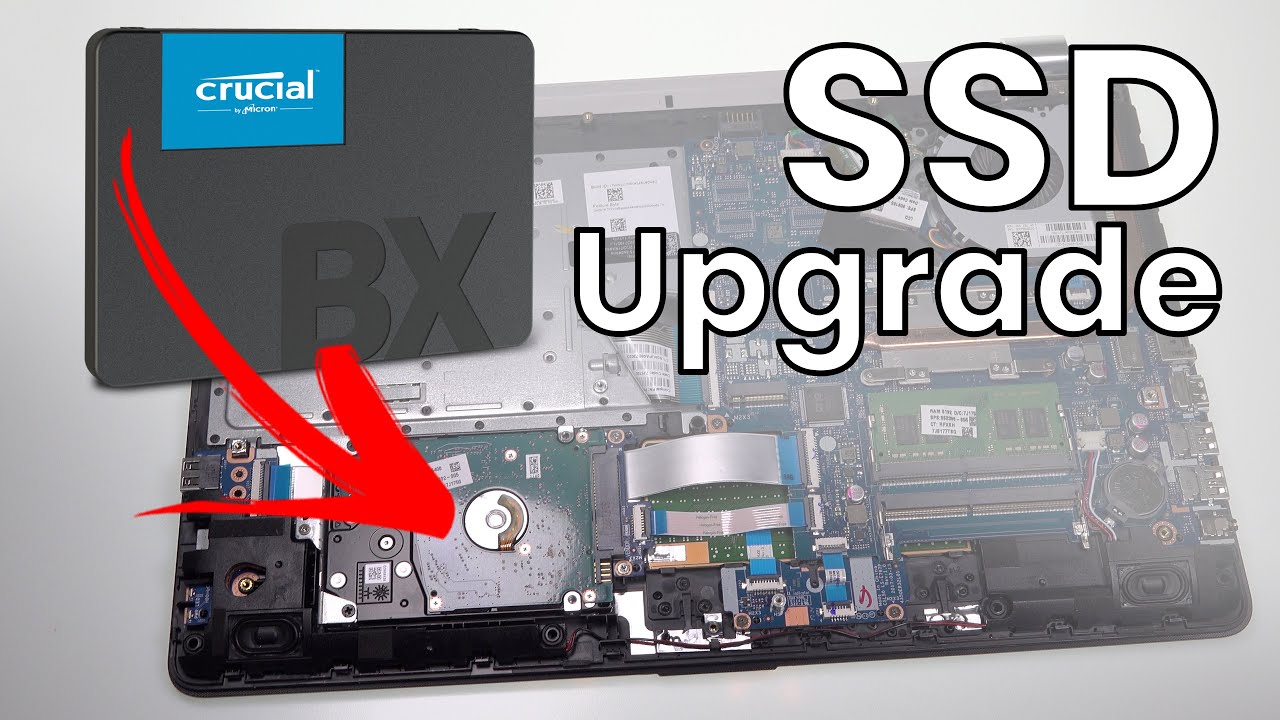
A 2.5-inch SATA drive is common in older laptops. Replacing a mechanical hard drive with a SATA SSD is one of the easiest ways to improve performance.
Follow these steps:
-
Locate the existing 2.5-inch drive.
-
Remove the bracket or retaining screws.
-
Lift the drive slightly and disconnect the SATA connector.
-
Remove the old drive from its metal or plastic caddy.
-
Place the new SSD into the same caddy.
-
Secure the SSD with the original screws.
-
Connect the SATA cable or adapter firmly.
-
Return the drive to its bay.
-
Replace the retaining screws.
The connector should slide into place with light pressure. If it does not fit, check its direction. Never push hard. A bent connector can turn a quick upgrade into an expensive repair.
Some thin laptops use a special SATA cable or adapter. Keep the original cable because a standard desktop cable may not fit the laptop’s internal connector.
A 2.5-inch SSD has no moving parts, so it does not need the shock protection that a hard disk requires. Still, it must be held firmly in place to prevent the connector from loosening.

How to Install an M.2 SSD
The M.2 process is a little different, but it is still straightforward. M.2 drives are held in place by one small screw at the far end.
Use these steps:
-
Find the M.2 slot on the motherboard.
-
Remove the retaining screw from the end of the slot.
-
Hold the SSD by its edges.
-
Match the notch on the SSD with the key inside the slot.
-
Insert the drive at about a 20 to 30-degree angle.
-
Press the free end down toward the motherboard.
-
Secure the drive with the correct screw.
-
Install the heat spreader or thermal pad if the laptop includes one.
The notch must match the slot. Do not try to insert an M.2 SSD backward. Also, do not confuse an M.2 Wi-Fi card with an M.2 storage slot. They can look similar but use different connections.
Some laptop M.2 slots support only one drive length. A 2280 SSD may not fit if the laptop has a mounting point for a shorter 2242 drive.
If the laptop has a thermal pad or shield, reinstall it as designed. NVMe drives can become warm during large file transfers. A heat shield may help control temperature, although it cannot fix an incompatible or poorly ventilated design.

Close the Laptop and Check the Hardware
After installing the SSD, inspect the inside of the laptop before closing it.
Check the following:
• SSD connector is fully seated
• Mounting screw is secure
• Battery cable is connected if you disconnected it
• No loose screws are inside the case
• No cable is trapped under the cover
• Bottom clips line up with the frame
Press the bottom panel into place around the edges. You should hear the clips snap in. Reinstall the screws in their original locations, but do not overtighten them.
Turn the laptop on and enter the firmware setup menu. The key may be F2, Delete, F10, F12, or another key shown on the startup screen.
Look for the SSD under storage information. If the drive appears there, the laptop can communicate with it. If it does not appear, shut the laptop down and check the connection, slot type, and compatibility.
A useful habit from hands-on upgrades is to test the laptop before tightening every screw. Leave the cover resting in place, start the laptop, and confirm that the drive is detected. Then shut it down and finish the case.
Move Windows to the New SSD
If you cloned the old drive, the laptop may boot from the new SSD automatically. If it does not, open the firmware boot menu and choose the new Windows Boot Manager.
After Windows starts, confirm that your files and programs are present. Open several documents and launch a few common apps. Do not erase the old drive until you have tested the new system for a few days.
If you are performing a clean installation, create a Windows installation USB using another computer or the official Windows installation tool. Then:
-
Insert the installation USB.
-
Turn on the laptop and open the boot menu.
-
Choose the USB drive.
-
Start the Windows installation.
-
Select the new SSD as the installation target.
-
Remove old partitions only after confirming that the correct drive is selected.
-
Complete the installation.
-
Install laptop drivers and system updates.
-
Restore your personal files from backup.
Windows normally activates again when the laptop has a digital license. If activation does not happen, connect to the internet and check the Activation settings. Business laptops may use a company license, so contact your IT team if needed.
After installation, check Device Manager for missing drivers. Pay close attention to chipset, storage controller, graphics, Wi-Fi, and touchpad drivers.
Format and Optimize the Old Drive
Do not format the old drive immediately. Keep it untouched until the new SSD boots correctly and your important files open normally.
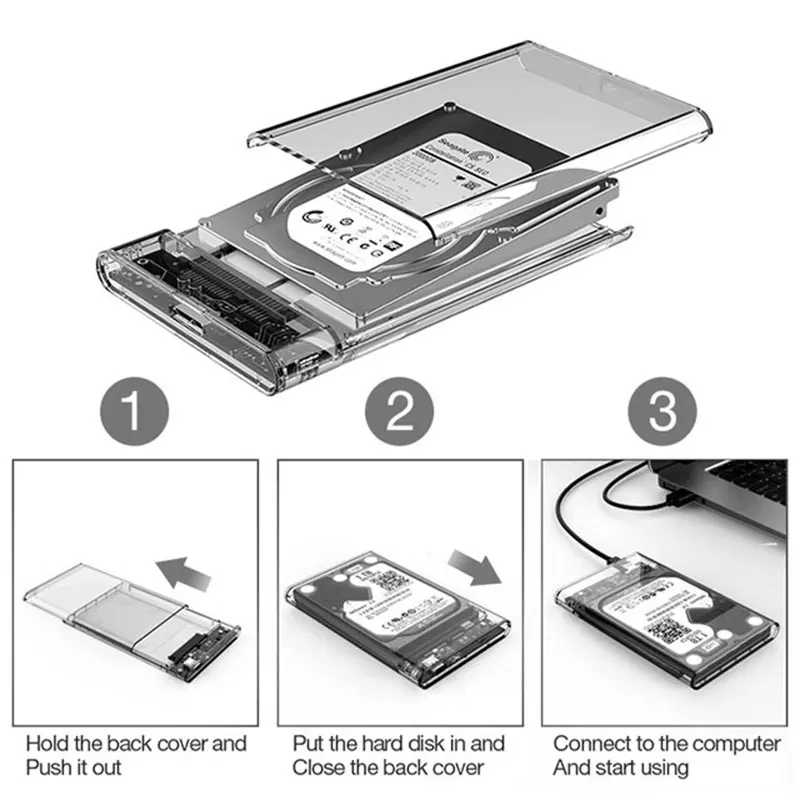
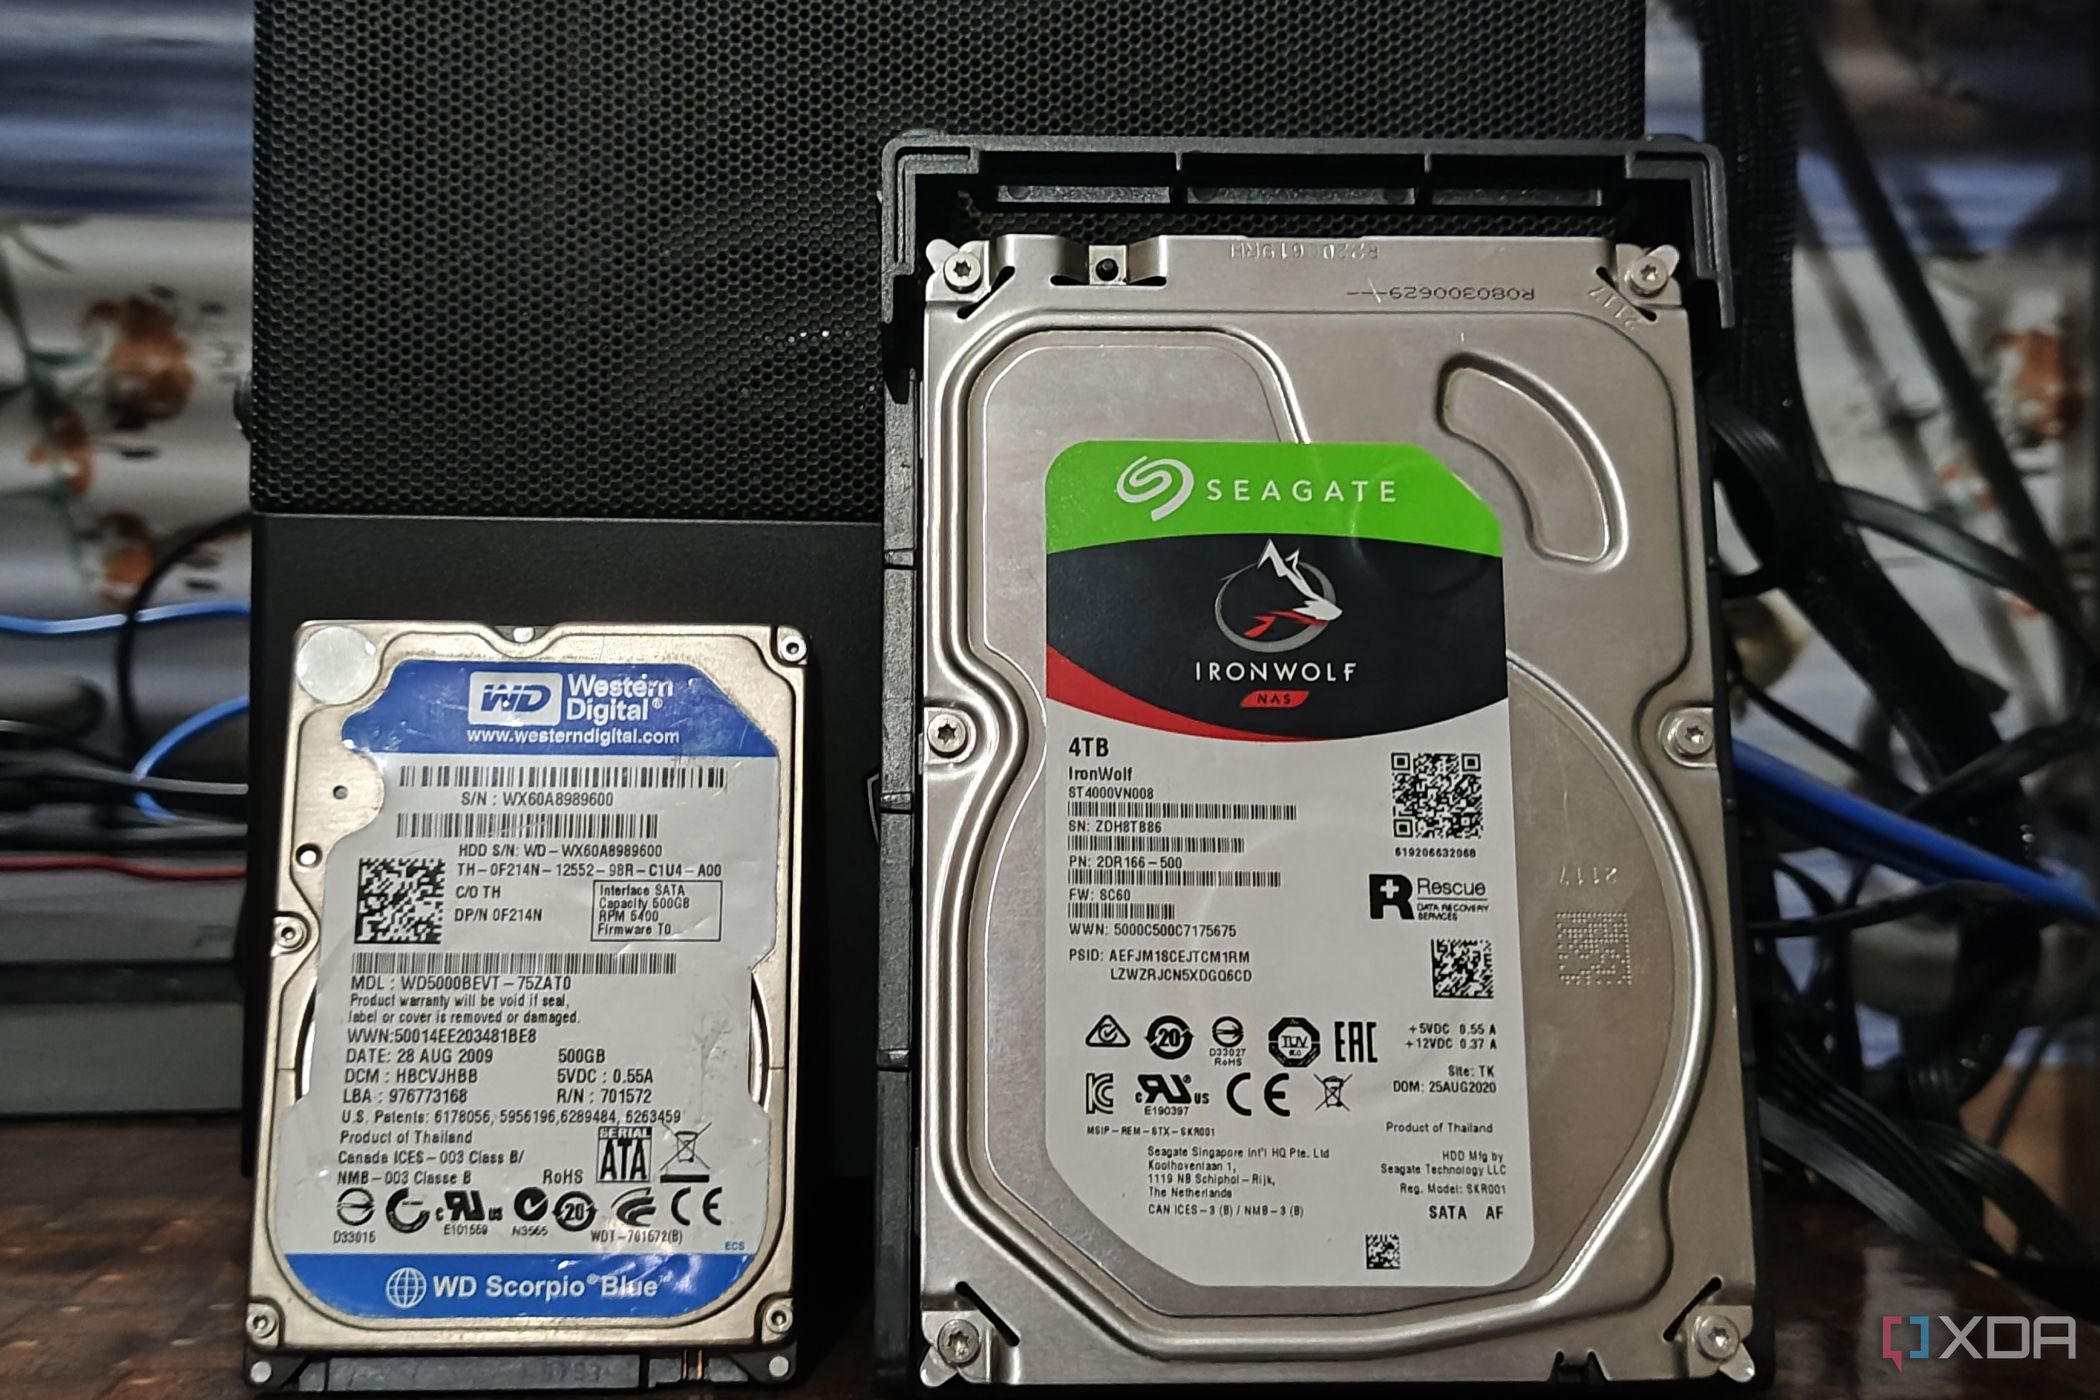
Once you are confident, you can reuse the old drive as external storage if it is healthy. A 2.5-inch SATA enclosure can turn it into a portable backup drive.
Before erasing it, check whether it contains:
• Personal files
• Recovery partitions
• Device-specific tools
• Encryption keys
• Software installers
• A working backup copy
If the old drive has bad sectors or makes unusual sounds, do not rely on it for backups. A failing hard drive may stop working without warning.
To erase a drive in Windows, open Disk Management and carefully identify the correct disk. Drive numbers can change after installation, so confirm the size and contents before deleting partitions.
For SSD maintenance, leave some free space. A nearly full SSD may slow down and give Windows less room for temporary files. Keeping roughly 10% to 20% free is a practical target, although the exact effect varies by drive and workload.
Windows manages features such as TRIM on supported systems. You usually do not need to run old-style disk defragmentation on an SSD manually.
Test SSD Performance and Stability
Testing is the final part of how to install ssd drive laptop. A correctly installed SSD should appear in Windows, boot reliably, and maintain a stable connection.
Check these items:
• Windows starts without errors
• The SSD has the expected capacity
• Files open normally
• The laptop recognizes the drive after a restart
• Sleep and wake work correctly
• The SSD temperature stays reasonable
• The drive does not disappear during file transfers
You can view the drive in File Explorer, Disk Management, and Device Manager. A disk health tool can show temperature, estimated wear, and basic SMART information.
Do not expect every SSD to reach its advertised speed. Manufacturers usually measure maximum performance under controlled conditions. Laptop limits, PCIe generation, cooling, drive capacity, and background tasks can reduce real-world results.
For most people, boot time and app response matter more than benchmark scores. A budget SSD can feel much faster than a hard drive even if it does not reach the highest advertised transfer rate.
If the laptop freezes or the SSD disappears, power it down and check the physical connection. With an M.2 drive, also check the mounting screw and thermal shield. With a SATA drive, inspect the adapter and cable.
Common Mistakes to Avoid
Many problems with how to install ssd drive laptop come from small oversights rather than difficult technology.
Avoid these mistakes:
• Buying an M.2 SSD without checking whether the slot supports SATA or NVMe
• Forgetting to back up important files
• Installing a drive with the wrong physical length
• Mixing up the source and destination during cloning
• Using excessive force on connectors
• Losing track of screw locations
• Forgetting to reconnect the internal battery
• Closing the laptop before checking drive detection
• Formatting the old drive too soon
• Ignoring encryption recovery keys
• Installing a drive that exceeds the laptop’s supported capacity
One especially common error is assuming that all M.2 drives are interchangeable. The size may match, but the communication protocol may not. Always compare the laptop manual with the SSD specifications.
Another mistake is choosing a drive based only on advertised speed. A high-end PCIe 4.0 NVMe SSD may work in a slower laptop, but the computer may limit it to an older PCIe generation. Paying more will not remove that hardware limit.
If the laptop is still under warranty, check the upgrade policy before opening the case. Some manufacturers allow user upgrades, while others require authorized service for certain models.
SSD Upgrade Benefits and Limitations
An SSD upgrade can bring several clear benefits:
• Faster startup
• Quicker application loading
• Better file search response
• Less noise because there are no spinning platters
• Lower power use in many laptop designs
• Better resistance to movement than a hard drive
Still, an SSD cannot solve every laptop problem. It will not add more memory, repair a weak battery, improve slow Wi-Fi, or make an old processor equal to a new one.
If the laptop has only 4 GB of RAM, upgrading to 8 GB or more may provide a larger improvement for multitasking. If the processor is very old, demanding games and video editing may remain slow.
SSD endurance also varies. Consumer drives list an endurance rating, often expressed as TBW, or terabytes written. Normal office use usually does not approach that limit quickly, but heavy video editing, database work, and constant large transfers place more write activity on the drive.
Capacity matters too. A larger SSD may offer better performance and more room for future files. It also reduces the chance that the drive will become nearly full.
Frequently Asked Questions About How to Install SSD Drive Laptop
Can I install an SSD in any laptop?
No. The laptop must have a compatible storage bay or M.2 slot. Check the laptop model, interface, drive size, and supported protocol before buying an SSD.
Is it better to clone the old drive or install Windows fresh?
Cloning is easier because it keeps your programs and settings. A clean installation is often better if the old Windows system has errors, unwanted software, or malware.
Do I need to reinstall Windows after installing an SSD?
Not always. If you clone the old drive, Windows can usually boot from the new SSD. With a clean installation, you must install Windows and restore your files.
Why is my new M.2 SSD not detected?
The drive may use a protocol that the laptop does not support, or it may not be inserted fully. Check the laptop manual, reseat the SSD, and confirm that the slot supports the drive type.
Can I install an NVMe SSD in a SATA M.2 slot?
Usually, no. An M.2 SATA slot and an M.2 NVMe slot use different storage protocols, even though the drives may look similar.
How long does it take to install an SSD in a laptop?
The physical installation often takes 20 to 45 minutes. Cloning or reinstalling Windows may take one to several hours, depending on the amount of data and the laptop’s speed.
Will installing an SSD erase my files?
Replacing the drive does not erase files on the old drive, but cloning, partitioning, or formatting can delete data. Always make a verified backup before starting.
Do I need special software to install an SSD?
You do not need special software for the physical installation. You may need cloning software to copy your old system or Windows installation media for a clean setup.
Conclusion
Learning how to install ssd drive laptop is a practical upgrade that most careful users can complete at home. The key steps are simple: confirm compatibility, back up your data, choose cloning or a clean installation, fit the SSD correctly, and test the system before erasing the old drive.
Take your time with screws, connectors, and drive selection. A few minutes of checking can prevent lost files or an incompatible purchase. If this guide helped, explore your laptop’s service manual, share your experience, or leave a comment about your SSD upgrade.

Everett Ashford is a tech reviewer at mytechgrid.com specializing in SSDs, cameras, TVs, earbuds, headphones, and other consumer electronics. He provides honest, data-driven reviews based on hands-on testing and real-world performance analysis. Everett simplifies complex tech details to help readers make smart, confident buying decisions.