Install a TV wall bracket by finding a strong wall point, securing the mount, and checking every connection before lifting the TV.
Learning how to install a TV wall bracket is easier when you treat the job like building a small, safe frame for your television. The right bracket, correct wall anchors, accurate measurements, and a careful final check can give your room a clean look without risking damage to the wall or TV. This guide explains each step in plain English, including common mistakes, tool tips, and safety checks.
What You Need Before You Install a TV Wall Bracket
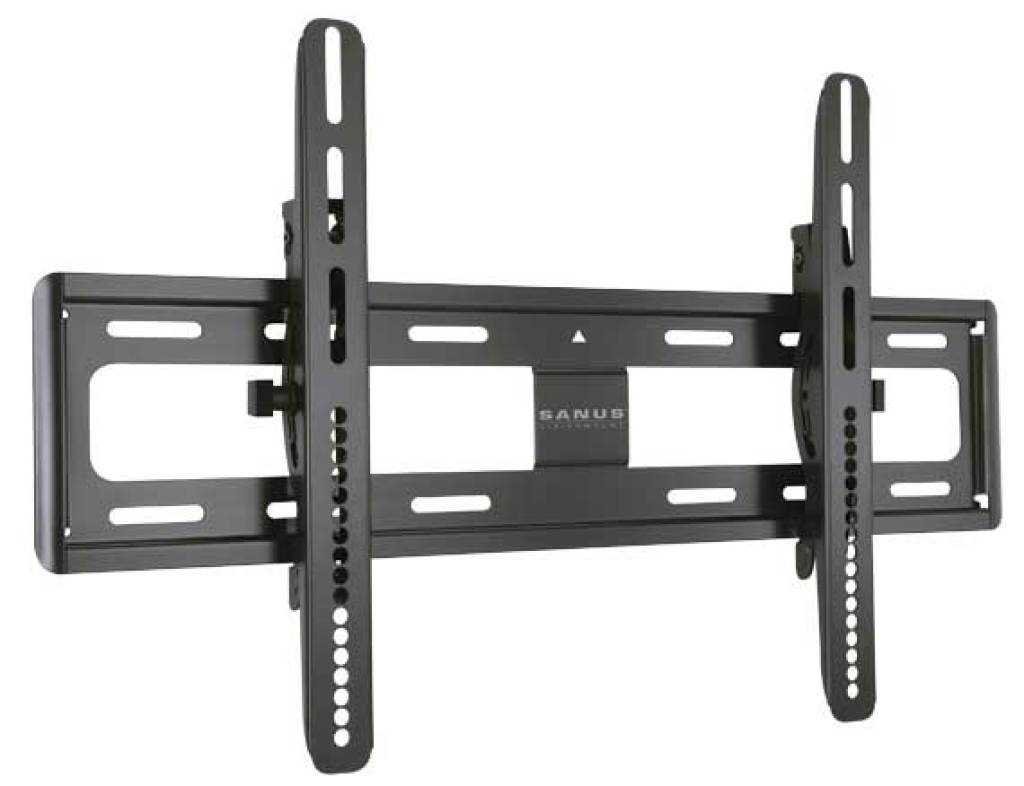
Before learning how to install a TV wall bracket, check the TV size, weight, wall type, and bracket rating. Most brackets list a supported screen size and maximum weight. Your bracket must support both your television and its VESA mounting pattern.
VESA refers to the spacing between the threaded mounting holes on the back of the TV. For example, a TV may use a 200 × 200 mm or 400 × 400 mm pattern. The bracket must match this pattern or include the correct adapter arms.
Gather these tools:
• Stud finder
• Tape measure
• Pencil
• Level
• Drill
• Drill bits for wood, masonry, or drywall
• Socket wrench or screwdriver
• Lag screws or approved wall anchors
• Washers
• Stud finder
• Measuring tape
• A second person to help lift the TV
Read the bracket instructions before you begin. Hardware can vary by brand, and the screws supplied with one bracket may not suit every wall or TV.
Check the TV and bracket
Confirm these details:
• TV weight without its stand
• TV VESA pattern
• Bracket weight limit
• Bracket type, such as fixed, tilting, or full motion
• Wall material
• Location of power outlets and cables
• Space needed for ventilation and movement
A fixed mount sits close to the wall. A tilting mount helps reduce glare. A full motion bracket can extend and swivel, but it places more force on the wall. This is important when choosing anchors and fixing points.
Choose the best wall location
The best wall location gives you a comfortable viewing angle and easy access to power. The center of the screen should usually sit near eye level when you are seated. Mounting the TV too high may cause neck strain, even if it looks neat.
Do not mount the TV over a fireplace unless the heat stays within the TV maker’s stated limits. Heat, smoke, and poor airflow can shorten the life of electronic parts.
How to Find Studs and Check the Wall
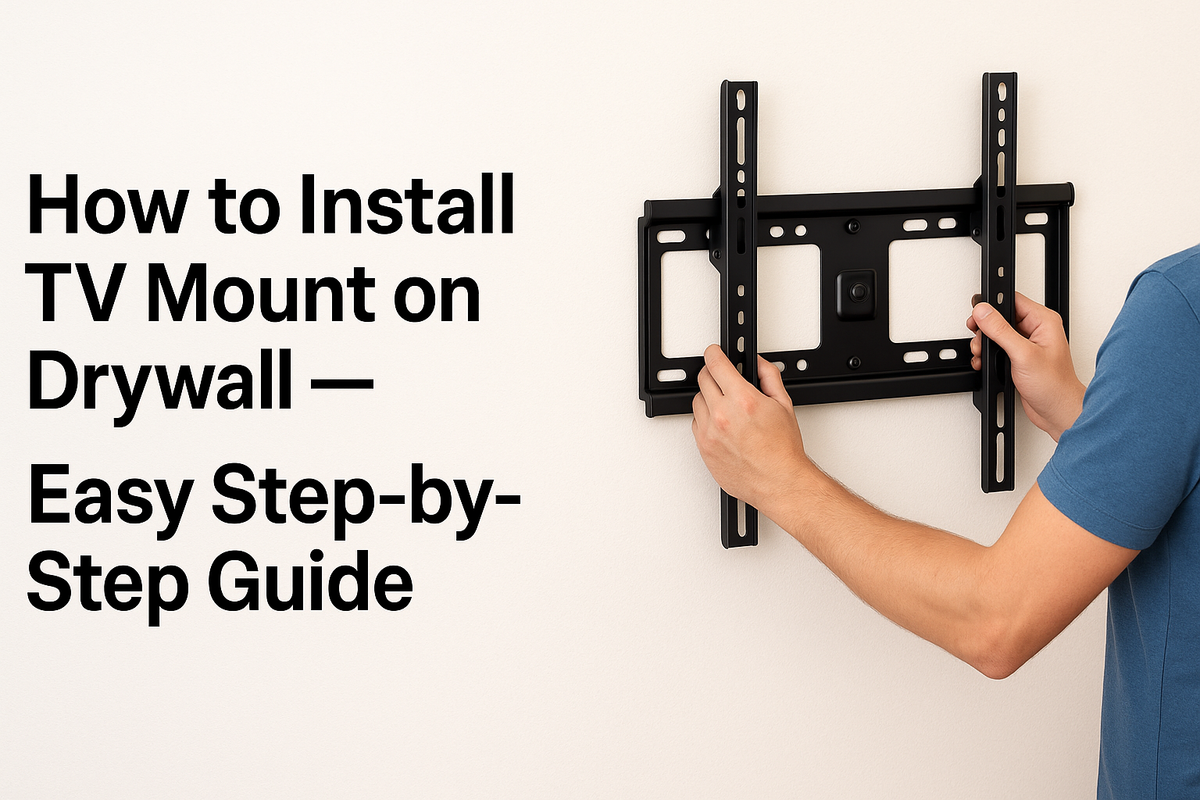
Finding a solid fixing point is one of the most important parts of learning how to install a TV wall bracket. A stud is a vertical structural board behind drywall. It provides a much stronger fixing point than drywall alone.
Use a stud finder to locate the edges of each stud. Mark both edges, then place a small center mark between them. You can confirm the position by making a tiny test hole or checking nearby outlets. Electrical boxes are often attached to one side of a stud, but this is only a clue, not a guarantee.
Never drill without considering hidden wires and pipes. Use a cable and pipe detector when possible. Avoid drilling directly above, below, or near outlets and switches unless you know how the wiring runs.
Wall types and suitable fixings
The correct fixing depends on your wall:
• Wood stud wall: Use structural lag screws or the hardware specified by the bracket maker.
• Concrete wall: Use masonry anchors and screws rated for the load.
• Brick wall: Drill into the brick, not the soft mortar joint, unless the manufacturer says otherwise.
• Metal stud wall: Do not rely on the metal stud alone for a heavy TV. You may need reinforcement or a different mounting plan.
• Drywall without studs: Use only heavy duty anchors that are specifically rated for the TV and bracket load. For large or extending mounts, add structural support.
Drywall anchors are not all the same. A small plastic anchor may hold a shelf but fail under the pulling force of a full motion TV mount. When unsure, ask a qualified installer or contractor to inspect the wall.
Plan around cables
Look behind the wall before drilling. A power cable should not be run inside the wall unless it uses approved in-wall rated components and follows local electrical rules. Do not place a normal extension cord inside a wall.
For a clean result, use existing outlets or have an electrician install a recessed outlet. Keep HDMI, Ethernet, and other low-voltage cables separate from power cables when possible.
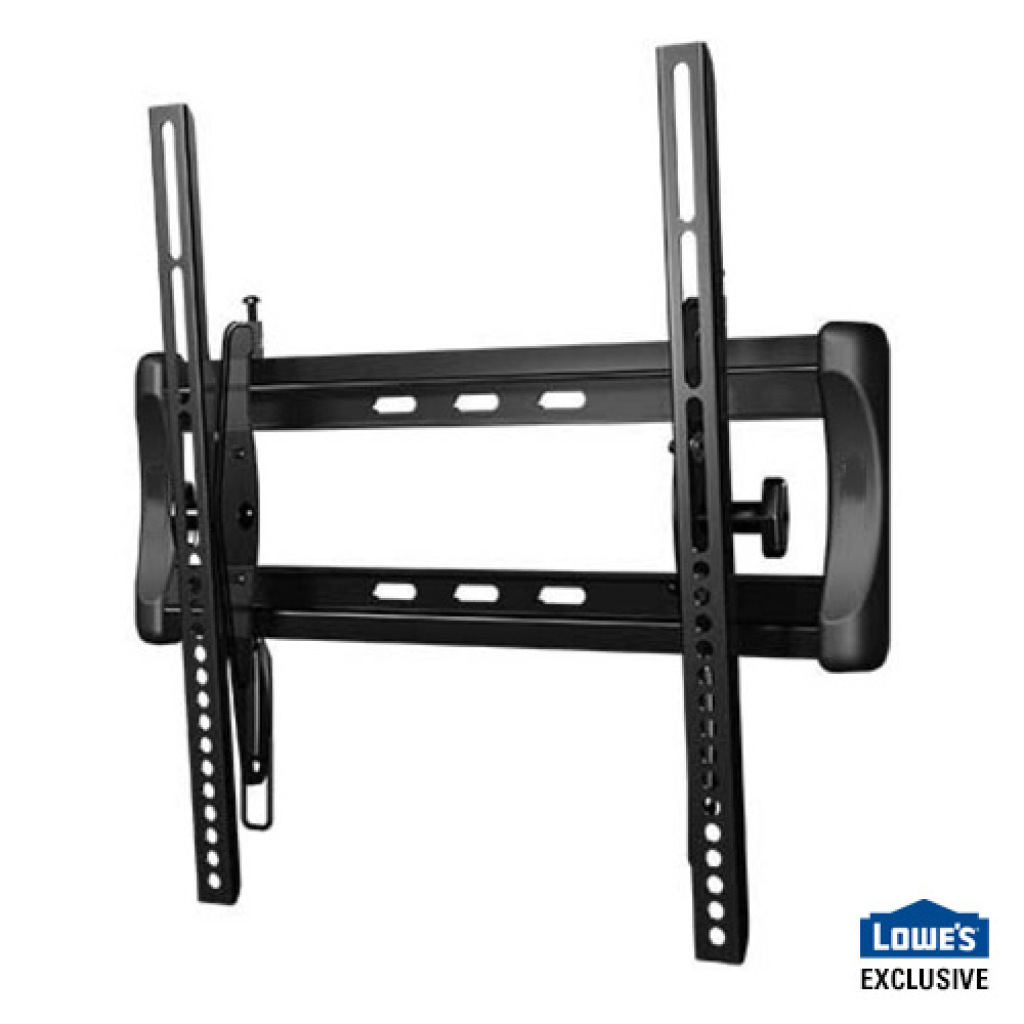
Step by Step: How to Install a TV Wall Bracket
Once you confirm the wall and hardware, you can start the installation. Work slowly. A few extra minutes of measuring can prevent crooked holes or a damaged wall.
1. Mark the viewing height
Measure from the floor to the position where you want the center of the screen. Hold the wall plate against the wall and mark its top edge or center line, based on the instructions.
Remember that the mounting holes may sit above or below the center of the TV. Do not assume the wall plate center equals the screen center. Measure the bracket and TV together before drilling.
A useful method is to place the TV, still on its stand, at the planned height. Sit in your usual chair and check the viewing angle. Then account for the distance between the TV’s mounting holes and its screen center.
2. Position the wall plate
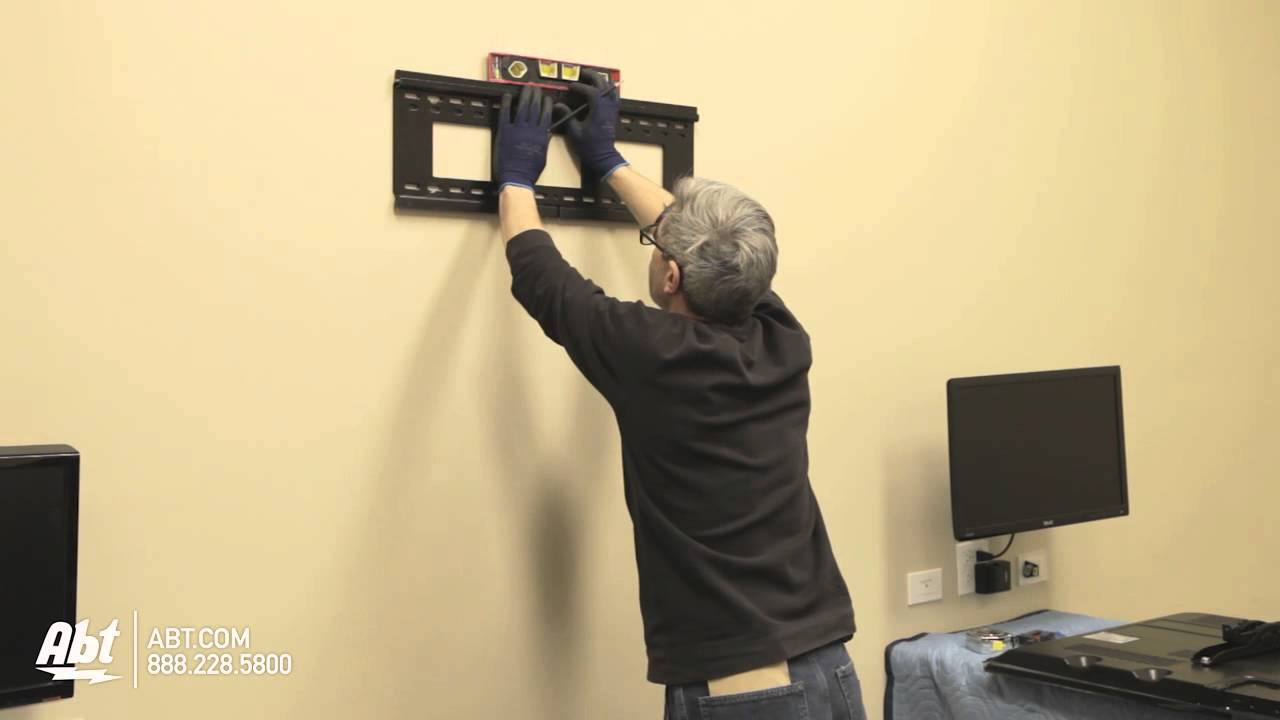
Place the wall plate over the stud marks or approved anchor points. Use a level on the top and side edges. Check the level twice, especially if the bracket has a long horizontal plate.
Mark every required hole. Do not use only one or two holes if the instructions require more. Full motion brackets often need several secure fixing points because the arm creates leverage when extended.
3. Drill pilot holes
Choose a drill bit that matches the wall material and screw instructions. For wood studs, the pilot hole should help the lag screw enter the stud without splitting the wood. For masonry, use a proper masonry bit and clear dust from the hole.
Drill straight into the wall. An angled hole can reduce the holding strength and make the bracket sit unevenly. Avoid making the hole wider than required.
4. Secure the wall plate
Hold the wall plate in place and install the screws with washers. Tighten each screw gradually in a cross pattern. This helps the plate sit flat.
Do not overtighten. Excess force can strip the hole, crush drywall, or bend the bracket. The screw should be firm, and the wall plate should not move when you apply gentle hand pressure.
If the bracket shifts, stop and inspect the fixings. Never solve movement by simply adding random screws.
5. Attach the mounting arms to the TV
Lay the TV face down on a clean, soft surface. A thick blanket can protect the screen, but keep pressure off the display. Remove the TV stand if you have not already done so.
Match the mounting arms to the VESA holes. Use the correct screw length and include spacers when the TV back is curved, recessed, or uneven. A screw that is too short may pull out. A screw that is too long can damage internal parts.
Turn each screw by hand first. If it does not enter smoothly, stop and check the thread and length. Never force a screw into the TV.
6. Lift and attach the TV
Have another adult help lift the TV. One person should guide the mounting arms while the other supports the screen. Do not lift a large TV by its corners or press on the display.
Attach the arms to the wall plate according to the bracket instructions. Many brackets click into place and then require locking screws or safety tabs. Confirm that every lock is engaged.
This is where a second person makes a major difference. In my experience, trying to hang even a medium sized TV alone often leads to rushed movements, missed hooks, or pressure on the screen.
7. Level and test the bracket
Use a level on the TV or bracket. Some mounts include small adjustment screws that let you correct minor tilt after installation.
Gently pull the lower edge of the TV forward if the bracket is designed to move. Check that the mount holds firmly and returns to position. For a full motion model, extend and swivel the arm slowly while watching the cable slack.
The TV should move smoothly without scraping the wall or pulling the cables. If the bracket creaks, shifts, or pulls away from the wall, remove the TV and inspect the installation.
8. Connect and manage the cables
Connect the power cord, HDMI cables, antenna cable, Ethernet cable, and other devices. Leave enough slack for tilting or swiveling. Do not create sharp bends in HDMI or power cables.
Use cable clips or a cable sleeve to keep wires neat. Avoid placing heavy cable bundles on the TV’s ports. Labeling cables can also save time when you connect a streaming device, game console, or soundbar later.
9. Perform a final safety check
Before walking away, check the following:
• Every wall screw is tight
• The wall plate is flat and stable
• The TV locks are engaged
• The TV is level
• Cables are not pinched
• The power cord is not damaged
• The bracket moves only as designed
• The wall shows no cracking or unusual movement
Wait a few minutes, then check the mount again. A loose bracket often becomes easier to notice after the TV has been attached.
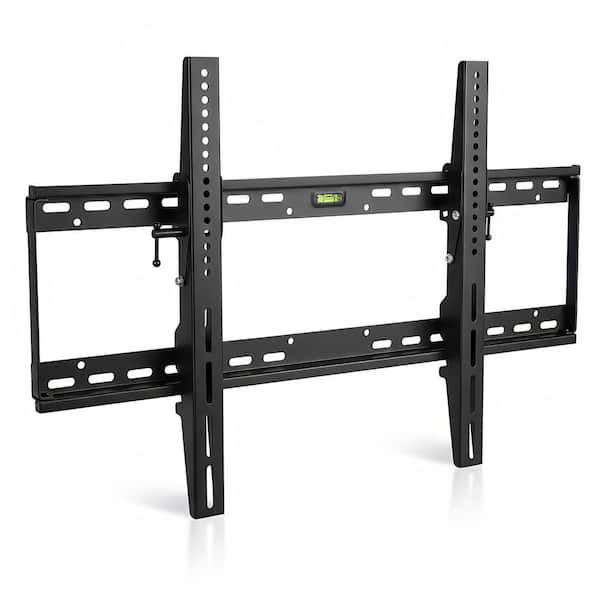
Common Mistakes When Installing a TV Wall Bracket
Many installation problems come from small errors rather than difficult tools. Avoiding these mistakes makes how to install a TV wall bracket safer and faster.
Mounting into drywall alone
Drywall can hold light objects, but a TV bracket creates a changing load. The force increases when a full motion arm extends from the wall. Whenever possible, attach the bracket to wall studs or solid masonry.
Using the wrong screw length
The screw must fit the TV without reaching too far into the chassis. Compare the screw length with the TV manual and use spacers when needed. If you feel strong resistance, stop instead of forcing the screw.
Skipping the level
A bracket can look level while you hold it, then appear crooked after the TV is attached. Use a level before drilling and again after hanging the TV.
Choosing a mount that is too small
A bracket may fit the screen size but fail to support its weight or VESA pattern. Check all three: size, weight, and hole spacing.
Ignoring movement and cable length
A full motion mount needs room to extend and turn. Short cables can pull on ports or prevent the TV from reaching its intended position. Test the full range before securing cable clips.
Working alone
A second person is strongly recommended for lifting and attaching the TV. It protects the screen, your back, and the wall.
Forgetting ventilation
Do not block vents on the rear or sides of the TV. A tight mount may look clean, but electronic devices still need airflow.
Fixed, Tilting, or Full Motion: Which TV Mount Is Best?
Your viewing habits should guide the mount type.
Fixed TV wall bracket
A fixed bracket keeps the TV close to the wall. It suits rooms where the seating faces the screen directly and glare is not a major issue.
Benefits include:
• Simple design
• Low profile appearance
• Often easier installation
• Less movement and leverage on the wall
Its main limitation is access. Reaching the ports behind the TV can be difficult.
Tilting TV wall bracket
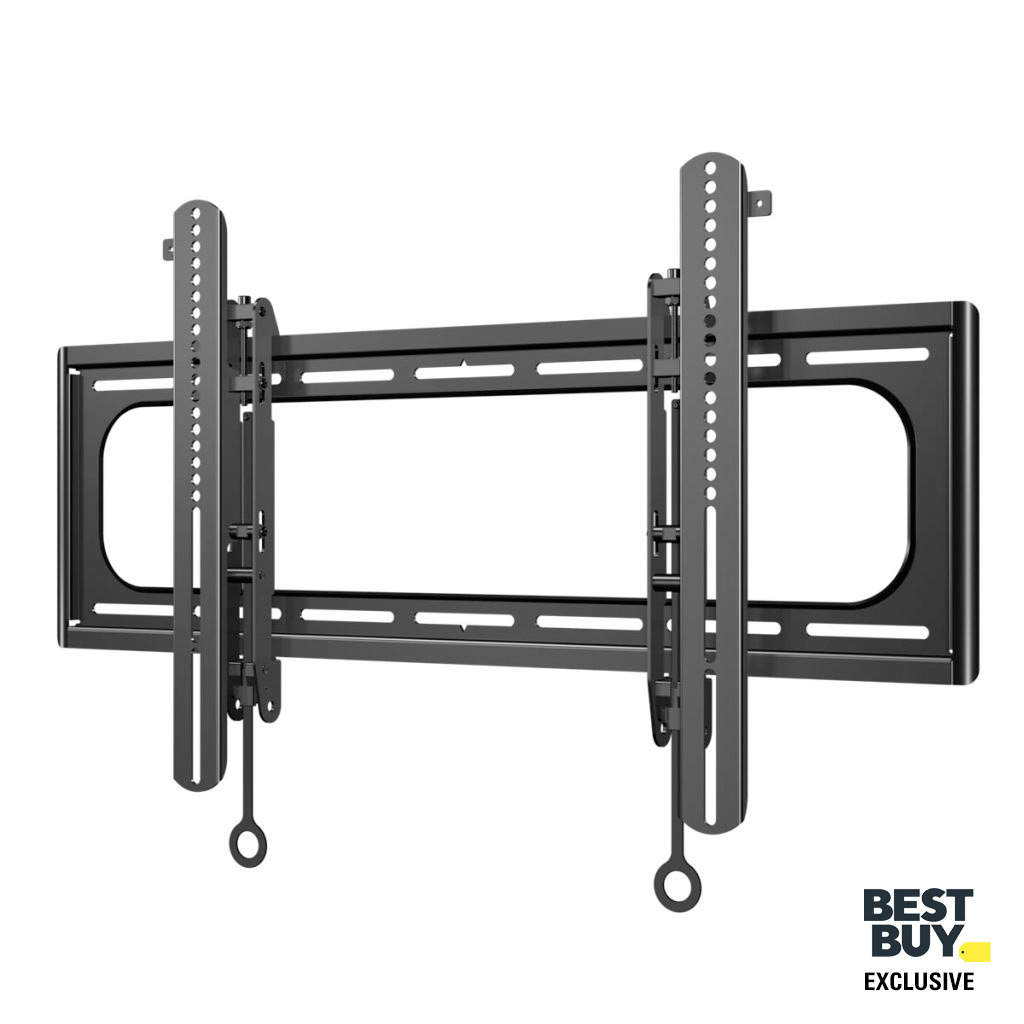
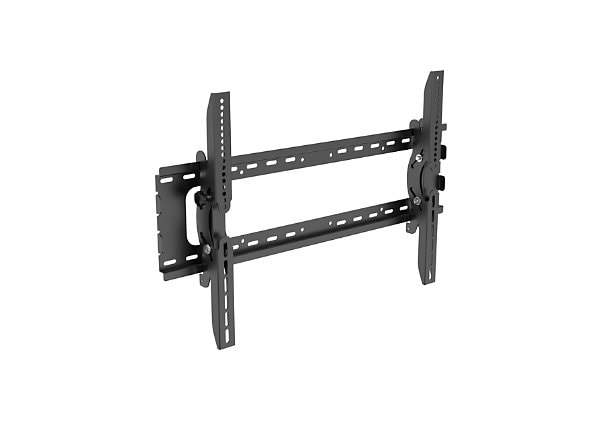
A tilting bracket lets you angle the screen down or up. It works well when the TV is mounted above eye level or when windows create glare.
A tilt mount can improve viewing comfort, but it may need more space behind the TV. Check that the tilt mechanism does not press against cables.
Full motion TV wall bracket
A full motion bracket extends, swivels, and tilts. It is useful in open rooms, corner spaces, or areas with more than one seating position.
It also needs the most careful installation. The extended arm places extra force on the wall, so secure attachment is essential. Use the strongest suitable fixing method and stay within the bracket’s weight rating.

Safety Tips for TV Wall Mount Installation
TV wall mounting involves heavy equipment, drilling, and electrical connections. Take a cautious approach.
Turn off and unplug the TV before attaching cables. Keep children and pets away while you drill or lift. Wear eye protection when drilling concrete, brick, or metal.
Do not modify the bracket unless the manufacturer allows it. Do not weld, bend, or drill new holes into the wall plate. These changes can weaken the mount and may void its warranty.
If the wall is damaged, unusually thin, hollow, or made from an unknown material, get professional advice. Contact an electrician for new power outlets or in-wall power work. A qualified installer is also wise for very large TVs, stone walls, brick veneer, or difficult wall structures.
Industry mounting guidance consistently focuses on three points: use hardware rated for the load, attach it to a suitable structure, and follow the product instructions. Those basics matter more than brand names or appearance.

How to Hide TV Cables After Mounting
Cable management can make a good installation look professional. Start by planning the cable path before you hang the TV.
For surface routing, use paintable cable raceways or fabric sleeves. These protect wires and can blend with the wall. For in-wall routing, use products rated for in-wall use and follow local electrical requirements.
Keep these points in mind:
• Leave a gentle service loop behind the TV
• Avoid tight bends
• Separate power and signal cables when practical
• Do not pinch cables between the TV and wall
• Keep cable ends accessible
• Use a recessed outlet when the TV sits close to the wall
A soundbar, game console, or streaming box may need extra cable length. Plan for future devices instead of making every cable barely reach.
When to Hire a Professional
Learning how to install a TV wall bracket is realistic for many homeowners, but some walls need expert help. Hire a professional if you cannot locate reliable studs, the wall feels weak, or the TV is unusually large or heavy.
Professional help is also sensible when:
• The wall contains brick veneer or stone
• The bracket must attach to metal studs
• You need a new electrical outlet
• Cables must run inside the wall
• The TV will mount above a fireplace
• The bracket must span a wide gap between studs
• You are unsure about the wall’s structure
The cost of a professional installation may be small compared with replacing a damaged TV or repairing a torn wall. Safety should guide the choice, not pride.
Frequently Asked Questions About How to Install a TV Wall Bracket
Can I install a TV wall bracket on drywall?
You can use approved drywall anchors for some lighter TVs and fixed brackets, but direct attachment to studs is usually stronger. Large TVs and full motion brackets often need studs, structural backing, or professional reinforcement.
How high should I mount my TV?
Place the center of the screen near seated eye level in most rooms. If the TV must sit higher, a tilting bracket can reduce neck strain and screen glare.
How do I know which TV wall bracket fits my TV?
Check the TV’s weight, screen size, and VESA hole pattern. The bracket must support the TV’s weight and match its mounting holes.
Can one person install a TV wall bracket?
A small TV may be manageable, but two adults are safer for most installations. A second person helps protect the screen and makes it easier to engage the wall bracket locks.
Should I use the screws that come with the bracket?
Use the supplied screws only when they match your wall and TV requirements. Check the instructions, screw length, thread size, and wall material before installation.
Can I mount a TV above a fireplace?
Only if the heat, height, and wall structure are suitable. Measure the temperature above the fireplace during use and follow the TV manufacturer’s limits; professional advice is best when conditions are uncertain.
Why is my mounted TV tilting forward?
The bracket may not be fully locked, the wall plate may be uneven, or the TV arms may need adjustment. Remove the TV with help and inspect the mount rather than forcing the screen into place.
Conclusion
Knowing how to install a TV wall bracket comes down to careful planning, strong fixing points, correct hardware, and a patient final check. Find the studs or suitable masonry, match the bracket to the TV, measure twice, and use a second person for the lift.
A secure mount should feel firm, sit level, protect the cables, and support the TV through its full range of movement. Use this guide as a checklist, follow your bracket manual, and ask a professional when the wall or electrical work is uncertain. Share your mounting experience or explore more home setup guides for your next project.

Everett Ashford is a tech reviewer at mytechgrid.com specializing in SSDs, cameras, TVs, earbuds, headphones, and other consumer electronics. He provides honest, data-driven reviews based on hands-on testing and real-world performance analysis. Everett simplifies complex tech details to help readers make smart, confident buying decisions.