Install, initialize, and migrate data to your new SSD: connect, format, clone or fresh-install the OS.
I’ve set up dozens of drives for friends and clients, and I’ll walk you through how to set up new ssd with clear steps, proven tips, and troubleshooting. This guide blends hands-on experience, best practices, and simple explanations so you can install a drive confidently—whether it’s a SATA 2.5", an M.2 NVMe, or an external SSD.
Why upgrade to an SSD?
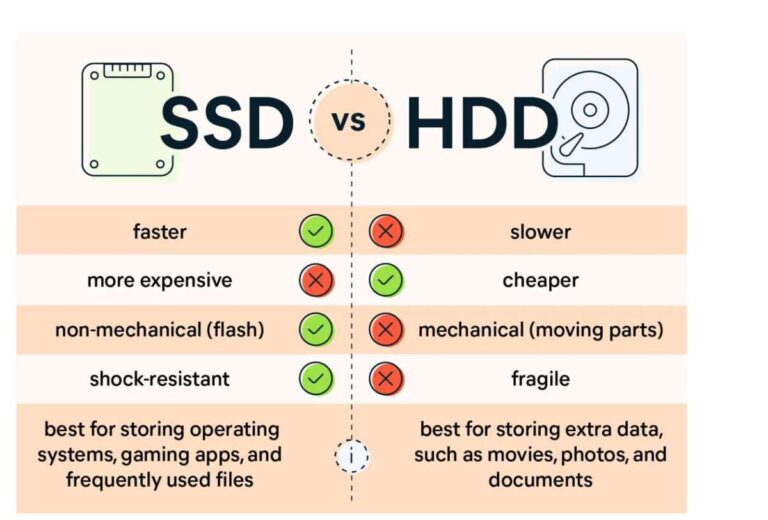
SSDs are faster, quieter, and more reliable than old hard drives. They cut boot times, speed up apps, and make everyday tasks feel snappy. I’ve seen machines double their responsiveness after an SSD upgrade.
Upgrading is often the best value for performance. If you want to know how to set up new ssd correctly, this section and the steps that follow will make the process smooth. Expect practical tips on hardware, software, and common pitfalls.

Which SSD should you buy?
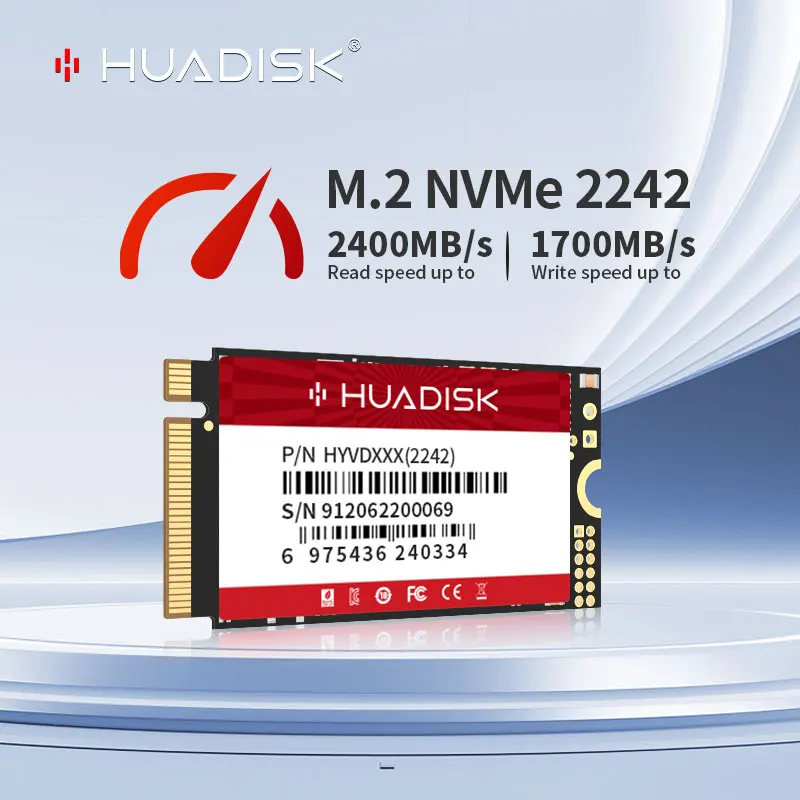
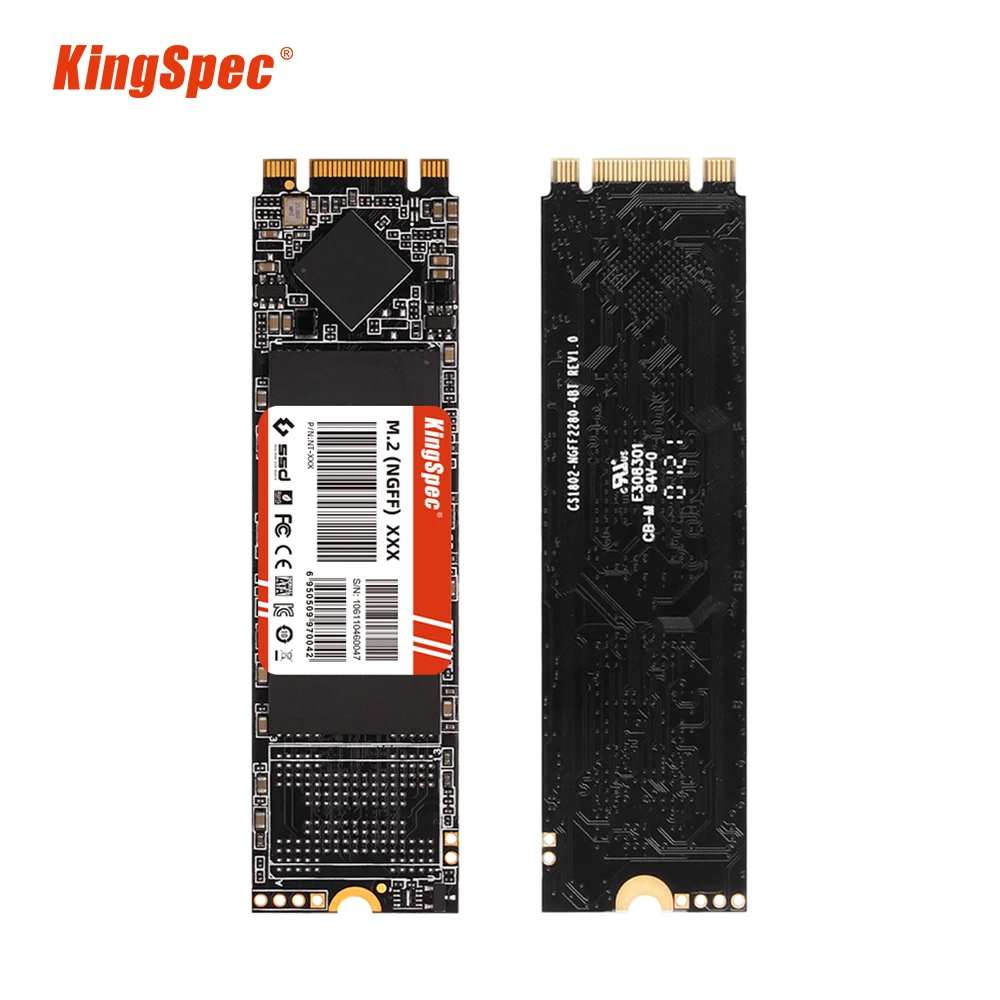
Pick the right drive before you learn how to set up new ssd. The main choices are SATA (2.5") and NVMe (M.2). SATA fits most older laptops and desktops. NVMe is much faster on modern motherboards.
Consider capacity and endurance. For most users, 500 GB to 1 TB is a good balance. Check TBW (terabytes written) or drive lifespan ratings if you write lots of data. Also look at warranty length and controller reputation. These matter more than marketing speeds.
Common trade-offs:
- Speed versus price: NVMe top speeds cost more per gigabyte.
- Compatibility versus performance: Some laptops only accept SATA 2.5" drives.
- Power use: NVMe may use more power under load, which affects battery life on laptops.
A short Q&A:
How do I know if my laptop supports NVMe? Check your manual or the M.2 socket spec. If you see “NVMe” or “PCIe” listed, it supports NVMe drives.
Tools and preparation before installation
Good prep makes the install painless. Back up your data before anything else. A full backup prevents data loss if cloning or formatting goes wrong.
Gather tools:
- Small Phillips-head screwdriver for desktops or some laptops.
- M.2 screw (many motherboards include one).
- SATA cable and spare power connector for SATA drives.
- USB-to-SATA or USB-to-M.2 adapter if cloning externally.
- Anti-static wrist strap or work on a grounded surface to avoid static damage.
Other prep steps:
- Update your current OS and drivers so the clone is clean.
- Download SSD firmware tools and cloning software ahead of time.
- Verify you have installation media for your OS in case you choose a clean install.
I often take photos of the inside of a laptop before I open it. It helps when reassembling. Small steps like labeling screws save an hour of frustration.

Step-by-step: how to set up new ssd
Follow these steps for a smooth setup. I break down both physical install and software setup. Read each short step and follow in order.
- Physically install the drive
- Desktop SATA: power down, unplug, open case, mount 2.5" drive in a bay or adapter, connect SATA and power cables, close case.
- Laptop SATA: power down, remove battery if possible, open bottom panel, swap or add the 2.5" drive, reconnect and close.
- M.2 NVMe: power down, open access panel, insert M.2 at an angle into the M.2 slot, press down, secure with screw.
- Confirm BIOS/UEFI detects the drive
- Boot into BIOS/UEFI. Look for the new drive in storage devices.
- If it’s not visible, reseat the drive and check cables. For NVMe, ensure the slot supports that M.2 key.
- Set SATA mode to AHCI (if applicable)
- AHCI improves SSD performance versus IDE. Change this in BIOS if it’s not already AHCI. If switching from IDE to AHCI on Windows, follow the safe method to avoid boot issues (enable AHCI driver first).
- Initialize and format the SSD (for a fresh drive)
- In Windows, open Disk Management and initialize the disk as GPT (recommended for modern systems).
- Create a new volume, format as NTFS, and assign a drive letter.
- Clone your OS or perform a clean install
- Cloning: Use reliable cloning software and clone the entire system disk to the SSD. If your system is UEFI/GPT, clone accordingly.
- Clean install: Boot from installation media, select the SSD as the target, and install the OS fresh for the cleanest result.
- Optimize the drive after OS install or clone
- Enable TRIM (Windows usually enables this automatically). TRIM keeps write speed steady.
- Install the SSD manufacturer driver or NVMe driver if recommended.
- Disable disk defragmentation scheduling for SSDs; allow OS to optimize instead.
- Verify and migrate data
- Check drive health with SMART tools. Confirm the cloning succeeded by booting from the SSD.
- If you kept the old drive, wipe it securely or repurpose it as storage.
Personal tip: I prefer a clean OS install for long-term reliability. Cloning saves time but can carry old issues over. When I cloned a failing, cluttered PC once, I had to reinstall later to fix stability problems.
Troubleshooting and common issues
If the SSD isn’t detected, recheck connections and BIOS. Try a different SATA port or adapter. Reseating often fixes detection problems.
Boot problems after cloning usually stem from wrong boot mode (UEFI vs legacy). Ensure BIOS is set to the same mode used during the OS install. If Windows won’t boot, use installation media to repair the bootloader.
Performance is slower than expected. Make sure:
- The drive is connected to a full-speed slot (some M.2 slots share lanes with SATA ports).
- AHCI is enabled and TRIM is active.
- Firmware is up to date.
I once spent a day troubleshooting a slow NVMe. It turned out the motherboard shared PCIe lanes with SATA ports, throttling the M.2. Manual and motherboard settings solved it.
Maintenance and tips after setup
Keep firmware and drivers updated for stability and performance. Check SSD health periodically with SMART tools provided by the vendor or third-party utilities.
Best practices:
- Leave 10–20% free space for peak performance and wear leveling.
- Enable TRIM and confirm it runs.
- Avoid constant full-disk writes; use cloud sync or external storage for bulk backups.
- Schedule regular backups. SSDs can fail, and backups save your work.
If you use the SSD as a portable external drive, use an enclosure that supports UASP for better speeds. For laptops, reduce heavy writes by moving caches to secondary storage if you write lots of video or large datasets.
Frequently Asked Questions of how to set up new ssd
How do I clone my system disk to an SSD?
Use reputable cloning software and a USB-to-SATA or adapter if the SSD is external. Make sure you clone the entire system partition and match UEFI/legacy modes to avoid boot issues.
Do I need to format a new SSD before using it?
Yes. Initialize the drive in Disk Management and format it (GPT and NTFS for Windows). Formatting prepares the drive for storing files and installing an OS.
Can I install an SSD myself or should a pro do it?
Most users can install an SSD themselves with basic tools and care for static safety. If your laptop is glued shut or warranty is a concern, professional help may be safer.
Should I clone my OS or perform a clean install?
Cloning is faster and keeps settings. Clean installs give a fresher, more stable system. I recommend clean installs if you have old clutter or driver issues.
How do I enable TRIM and why does it matter?
Windows enables TRIM automatically for recognized SSDs. TRIM helps maintain performance by letting the OS tell the SSD which blocks are free. Check with "fsutil behavior query DisableDeleteNotify" on Windows; 0 means TRIM is enabled.
What if my SSD is not recognized after installing?
Reseat the drive and cables, check BIOS settings, and try another port or adapter. Update BIOS and firmware if the motherboard needs a patch for newer SSDs.
Conclusion
Setting up a new SSD is one of the best upgrades you can give a computer. Follow the simple physical steps, choose cloning or a clean install wisely, and apply a few optimizations like AHCI and TRIM. With careful prep and backups, you’ll enjoy faster boots, snappier apps, and a smoother daily experience.
Now it’s your turn: pick the right SSD, back up your data, and try the steps above. If you run into trouble, leave a comment or share the error—I'll help troubleshoot.

Everett Ashford is a tech reviewer at mytechgrid.com specializing in SSDs, cameras, TVs, earbuds, headphones, and other consumer electronics. He provides honest, data-driven reviews based on hands-on testing and real-world performance analysis. Everett simplifies complex tech details to help readers make smart, confident buying decisions.