Mounting a TV on drywall is safe when you find the studs, use the right mount, and follow its weight rating.
Learning how to wall mount TV on drywall can make a room feel cleaner, larger, and more comfortable. The key is not simply drilling into the wall. You must understand stud spacing, drywall strength, mount type, cable paths, and safe viewing height. This guide explains each step in plain language so you can complete the job with confidence and avoid costly wall damage.
What You Need to Know Before Mounting a TV
Drywall is a thin wall surface made from gypsum. It covers the wood or metal framing behind the wall. Drywall itself is not strong enough to support most large TVs for years, especially when the mount moves or pulls away from the wall.
The safest method is to attach the TV mount to one or more wall studs. Studs are the vertical framing pieces behind the drywall. In many homes, studs are spaced 16 inches apart, though some walls use 24 inch spacing.
When learning how to wall mount TV on drywall, remember this simple rule: drywall covers the wall, but the studs carry the load.
A small television may work with heavy duty drywall anchors if the mount stays flat against the wall. However, a full motion mount creates extra pulling force. Each time you tilt, swivel, or pull the TV, the mount acts like a lever. For this reason, full motion mounts should attach to studs whenever possible.
Check these details before you start:
• TV weight, including the stand if it will remain attached
• VESA mounting pattern on the back of the TV
• Mount weight rating
• Mount size range
• Stud location and spacing
• Wall type, such as standard drywall, plaster, brick, or concrete
• Location of power outlets and cable ports
• Desired viewing height and screen angle
Do not rely only on the mount’s size rating. A mount may fit a 65 inch TV but still fail if the TV exceeds its weight limit.

Tools and Materials for the Job
Having the right tools makes how to wall mount TV on drywall much easier. It also reduces mistakes caused by rushed measurements or poor hardware.
Gather these items before you begin:
• Stud finder
• Tape measure
• Pencil
• Level
• Drill and drill bits
• Socket wrench or adjustable wrench
• Screwdriver
• Appropriate lag screws or mounting bolts
• Drywall anchors, if approved for your mount and TV weight
• Washers
• Painter’s tape
• Wall cable cover or in-wall cable system
• Phillips or flat-head screwdriver
• Second person to help lift the TV
Most TV mounts include several screw sizes and spacers. Use the screws that fit your television’s mounting holes. The screws must be long enough to hold the bracket firmly, but they must not bottom out inside the TV.
A screw that is too long can damage internal parts. A screw that is too short may pull out under load. If you are unsure, compare the screw length with the TV manual and the mount instructions.
For stud mounting, use the lag screws supplied with the bracket when possible. Do not replace them with random wood screws. The correct fastener has the right diameter, length, and head style for the mount.
Find the Wall Studs
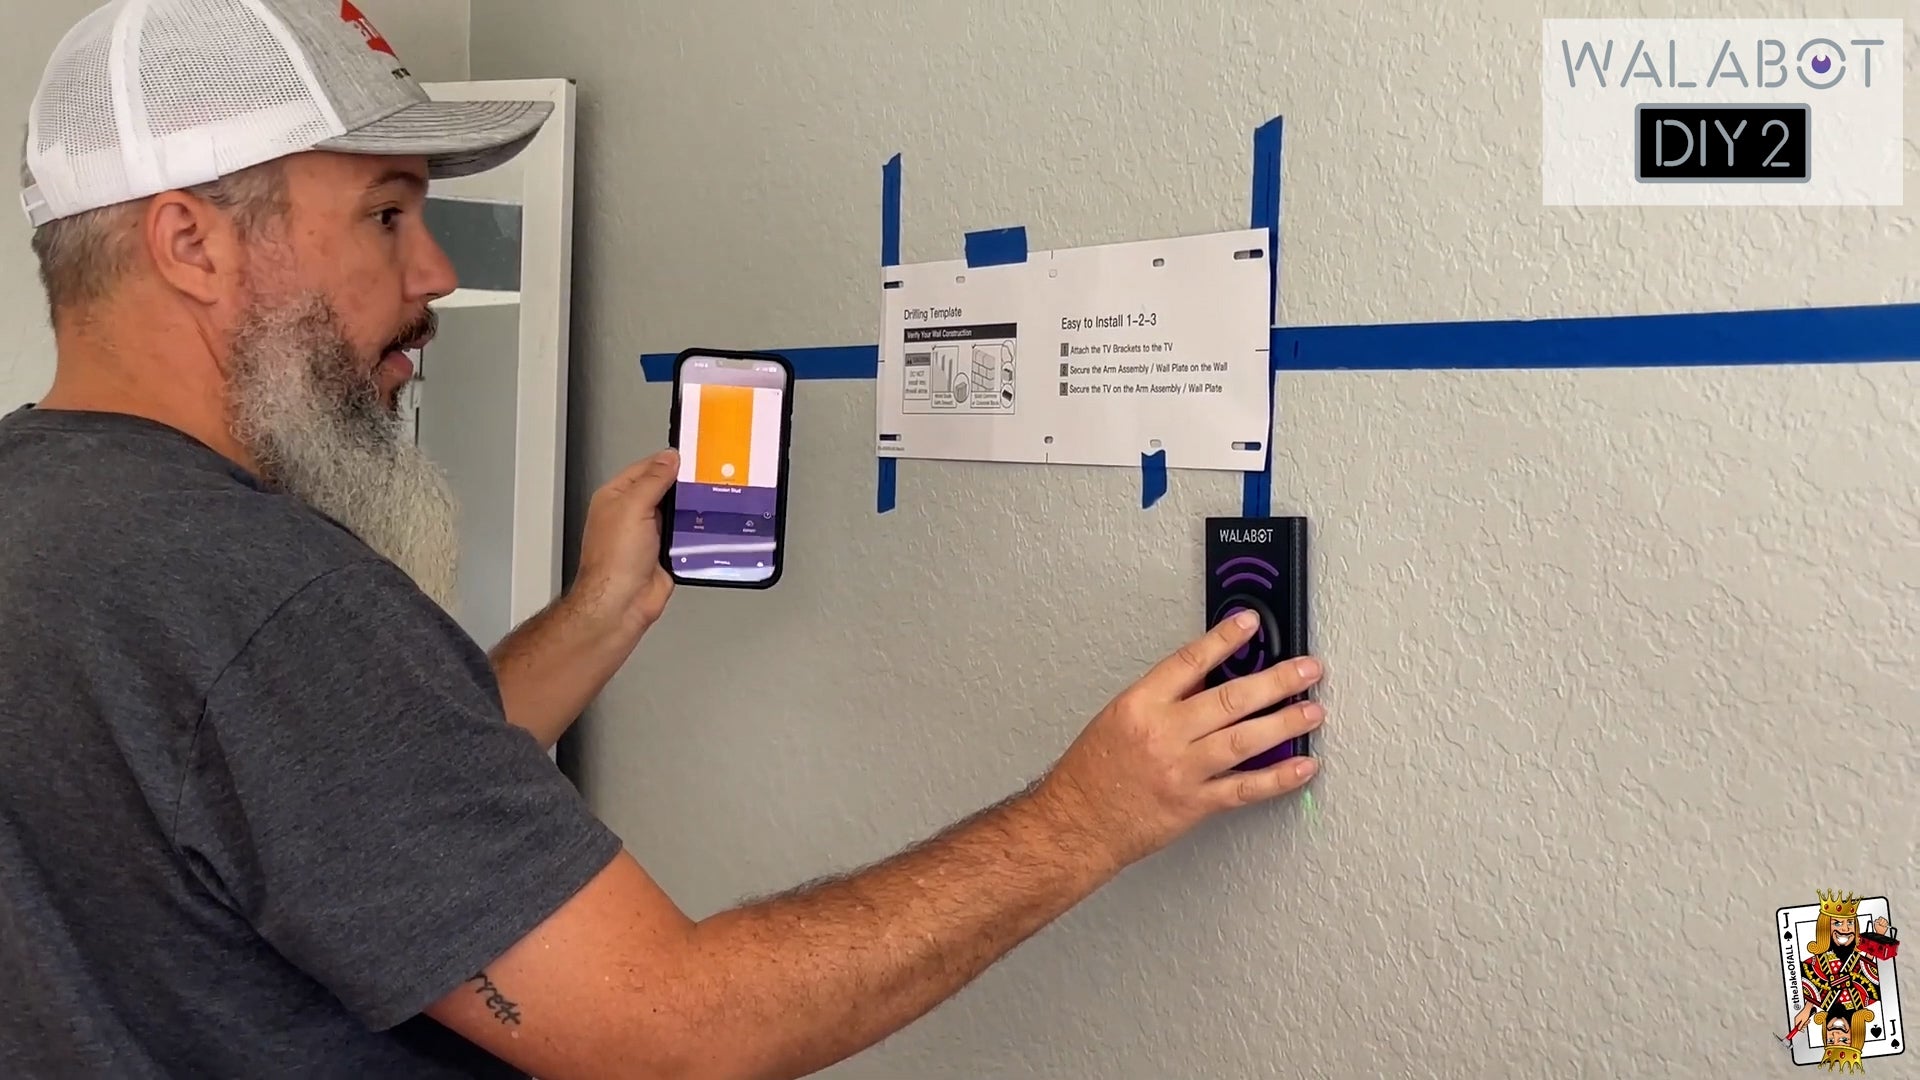
Finding the studs is the most important part of how to wall mount TV on drywall. A stud finder can help, but it is not always perfect. Metal corner bead, pipes, wires, insulation, and thick paint can confuse electronic stud finders.
Move the stud finder slowly across the wall. Mark both edges of each stud, then mark the center between those edges. Do not assume the first signal is the exact center.
You can confirm a stud in several ways:
• Tap the wall and listen for a change from hollow to solid sound.
• Drive a small test nail into a marked area.
• Look for nearby electrical outlets, which are often attached to a stud on one side.
• Measure from a known corner, keeping in mind that spacing can vary.
• Use a small inspection hole in an area that the mount will cover.
After finding one stud, locate the next one. A wide TV mount often spans two studs. This gives the bracket more support and spreads the weight across the wall frame.
Before drilling, scan the wall for wires and pipes. Never drill directly above or below electrical outlets, switches, plumbing fixtures, or radiators without knowing where the hidden lines run. Many building codes require protective metal plates where wires or pipes pass close to the drywall, but you should not rely on that protection alone.
Choose the Right TV Mount
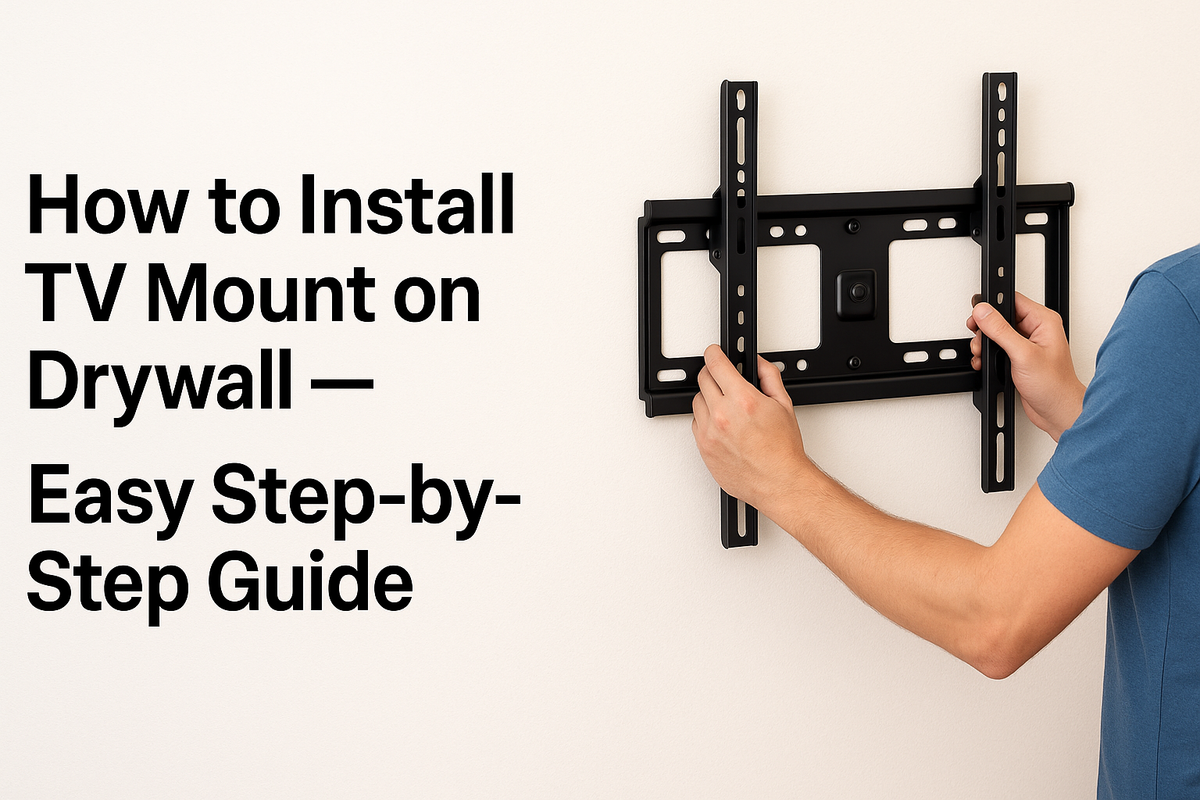
The best mount depends on your room, TV, and wall construction. Understanding the options will help you avoid buying a mount that looks good but performs poorly.
Fixed TV mount
A fixed mount holds the TV close to the wall. It offers a clean look and places little stress on the wall because it does not move.
A fixed mount is often the easiest choice for a bedroom, living room, or media wall where the seating position stays in one place.
Tilting TV mount
A tilting mount allows the screen to angle up or down. It works well when the TV sits above eye level, such as over a fireplace or on a tall bedroom wall.
Avoid mounting a TV above a working fireplace unless you have checked the heat level. Excessive heat can damage the TV and may void the warranty.
Full motion TV mount
A full motion mount can extend, swivel, and tilt. It is useful in corners or rooms with more than one seating area.
This mount places much more force on the wall. Attach it to studs, use the correct hardware, and avoid oversized TVs that exceed the mount’s rating. If the wall cannot support the mount, choose a different location or ask a professional installer for help.
Low-profile or slim mount
A low-profile mount sits very close to the wall. It gives a modern appearance but may leave little room for cables, power plugs, or ventilation.
Measure the cable bend radius before installing it. A thick HDMI cable may not fit behind a very slim bracket without pressing against the wall.

Plan the TV Height and Position
Good positioning matters as much as secure hardware. A perfectly mounted TV can still feel uncomfortable if it is too high or off-center.
For most living rooms, the center of the screen should be close to seated eye level. Many people place the center about 42 inches from the floor, but your seating height matters more than a fixed number.
To plan the location:
-
Measure the TV’s height.
-
Divide that number by two to find the screen center.
-
Measure your preferred screen center from the floor.
-
Subtract half the TV height to find the bottom edge.
-
Hold the bracket against the wall and mark its mounting holes.
-
Check the position from your normal seating area.
Use painter’s tape to outline the TV on the wall. Sit down and view the outline from different seats. This small step can prevent a frustrating mistake.
Keep the TV centered with the furniture below it. Check nearby windows and lamps for glare. Also leave enough space around the TV for ventilation. TVs produce heat, and blocked vents can shorten their service life.
If you are mounting above a console, leave room for a soundbar, game console, or decorative items. Plan the cable route before you drill.

How to Wall Mount TV on Drywall: Step-by-Step
Once you have chosen the location and found the studs, you can begin the installation. Ask another adult to help lift and hold the TV. Even a lightweight television can be awkward and expensive to drop.
1. Read the instructions
Read both the TV mount instructions and the television manual. Mounts vary in bracket shape, hole spacing, screw size, and installation method.
Do not assume that a mount from a previous TV will work with a new one. VESA patterns and screw depths may differ.
2. Attach the rails to the TV
Place the TV screen-down on a soft, clean blanket. Keep pressure off the screen. Attach the vertical rails or mounting arms to the VESA holes on the back of the TV.
Use the correct spacers if the back of the TV is curved or recessed. Tighten the screws firmly, but do not force them. Over-tightening can strip the threads or damage the television.
3. Mark the bracket location
Hold the wall plate against the wall. Align its mounting holes with the center of the studs. Use a level to make sure the plate is straight.
Mark every hole that will receive a stud screw. Check the height again before drilling. A level bracket does not help if the entire TV is mounted too high.
4. Drill pilot holes
Drill pilot holes into the marked studs. Use a drill bit slightly smaller than the screw shaft, following the mount instructions.
The pilot hole helps the lag screw enter the stud without splitting the wood. Do not make the hole too large. A loose screw cannot develop proper holding strength.
5. Secure the wall plate
Place the wall plate over the pilot holes. Install the lag screws and washers by hand first. Once all screws are started, tighten them evenly.
Do not use an impact driver at full power. It can strip the screw head or crush the drywall behind the bracket. Stop when the bracket is tight against the wall.
6. Check the bracket
Test the wall plate by applying firm pressure with your hands. It should not shift, tilt, or pull away from the wall.
This test is not a replacement for the mount’s weight rating, but it can reveal loose screws or a missed stud before the TV is attached.
7. Hang the TV
With a helper, lift the TV and connect the rails to the wall plate. Engage the safety locks or retaining screws. Many accidents happen when installers forget this final locking step.
Confirm that the TV is fully seated. Look behind the television if possible and verify that both sides of the bracket are secure.
8. Connect and manage cables
Connect power, HDMI, Ethernet, antenna, and audio cables before pushing the TV fully into place. Leave a small service loop so cables do not pull tight.
Never run a standard power cord inside the wall unless it is specifically rated for in-wall use. In-wall power wiring may require an approved power relocation kit or a licensed electrician, depending on local rules.
9. Test the installation
Turn on the TV and test all connected devices. Check the viewing angle, cable tension, soundbar position, and remote control access.
After a day or two, inspect the mount again. Look for new cracks, movement, or a gap between the bracket and wall.
Can You Mount a TV on Drywall Without Studs?
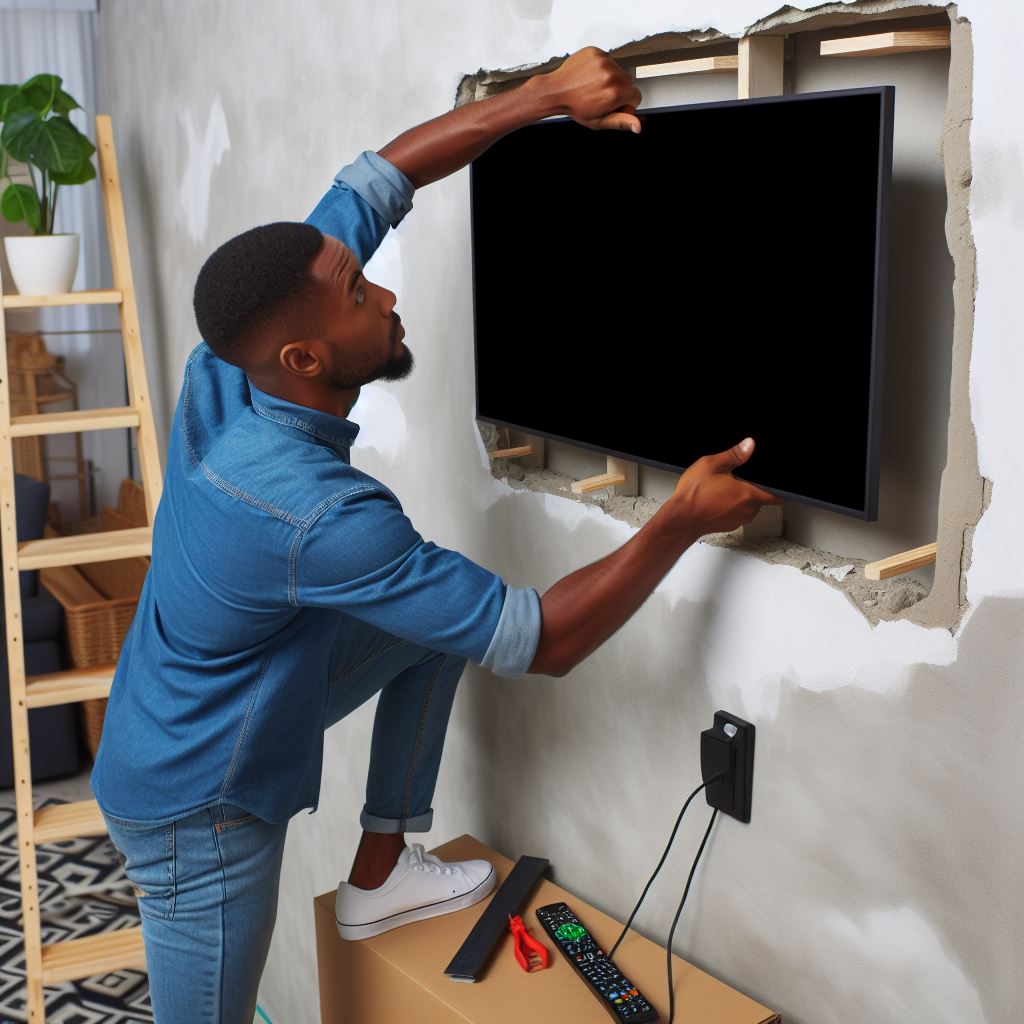
Yes, but the answer depends on the TV’s weight, mount design, and anchor type. Drywall anchors spread the load across the wall surface, but they do not have the same strength as a stud.
For a small, lightweight TV with a fixed mount, rated toggle bolts may be suitable. Follow the anchor manufacturer’s load rating for the exact drywall thickness and installation direction.
Avoid using basic plastic expansion plugs for a wall-mounted TV. They are usually designed for light items, such as small shelves or picture frames.
Never use drywall-only anchors for a large, heavy TV with a full motion mount. The repeated movement can loosen the anchors and tear the drywall. If no stud is in the desired location, consider a mounting board secured to nearby studs, a different wall, or professional installation.
Remember that anchor ratings are often based on ideal conditions. Old, damaged, damp, thin, or patched drywall may hold much less weight than new half-inch drywall.

Safety Mistakes to Avoid
The most common problems with how to wall mount TV on drywall come from rushing. A few extra minutes of planning can protect your TV, wall, and family.
Avoid these mistakes:
• Mounting into drywall alone without checking the load rating
• Using the wrong screw length
• Skipping the pilot holes
• Attaching only one side of a wide mount when two studs are available
• Forgetting the safety locks
• Drilling without checking for wires or pipes
• Running a normal power cord inside the wall
• Mounting too close to a heat source
• Blocking the TV’s ventilation openings
• Tightening bolts until the drywall cracks
• Trying to lift a large TV alone
• Assuming the wall is level because the floor is level
One lesson installers often learn the hard way is that a mount can look secure while still being wrong. The bracket may feel tight, yet the screws may be sitting only in drywall or may not be centered in the studs. Always verify the structure behind the surface.
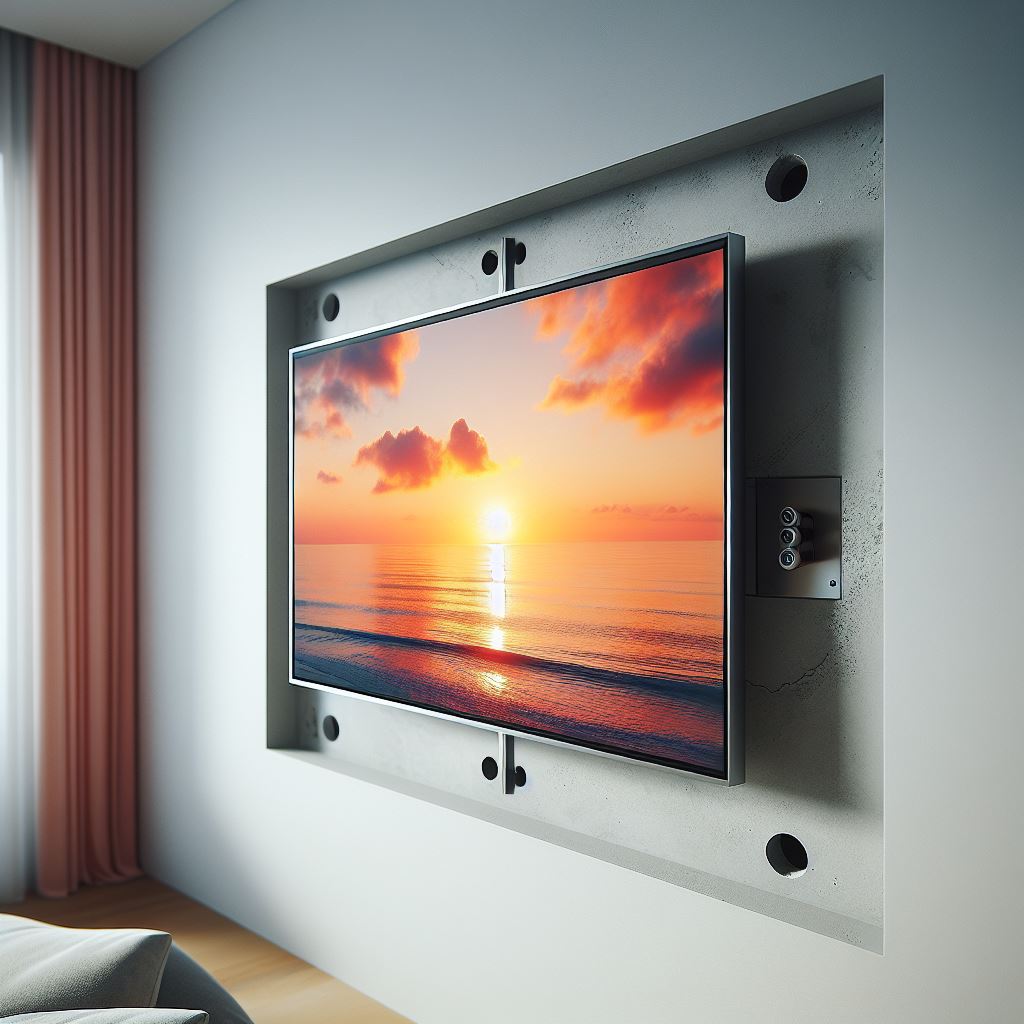
Cable Management for a Clean Installation
Cable management gives a wall-mounted TV its finished look. It also keeps cables from bending sharply or hanging behind the screen.
You have several options:
• Use a surface raceway painted to match the wall.
• Hide cables inside an approved in-wall cable kit.
• Place a low-voltage cable plate behind the TV and another near the entertainment center.
• Use short, flexible HDMI cables to reduce pressure.
• Label each cable before attaching the TV.
Low-voltage HDMI, Ethernet, coaxial, and speaker cables can often use approved in-wall pathways. Power cables require special care. Use a listed in-wall power kit or have an electrician install a new outlet behind the TV.
Do not place power and low-voltage cables in the same conduit unless the system is approved for that use. Electrical interference and code concerns can result.
Leave enough cable length to remove the TV for service. A cable that is pulled tight may loosen from the port or break when the TV is tilted.

Troubleshooting Common Problems
The TV is not level
First, check whether the wall plate is level. If it is, use the mount’s adjustment screws to correct the screen. Do not loosen every lag screw unless the instructions require it.
The mount pulls away from the wall
Stop using the TV until you find the cause. The screws may have missed the studs, the anchors may be overloaded, or the bracket may not be compatible with the wall.
The drywall is cracking
Small cracks around a hole can indicate too much force or a damaged anchor. Remove the load and inspect the wall. A cracked section may need repair before you reinstall the mount in a stronger location.
The TV tilts forward
Check that the mounting arms are fully attached and that the safety locks are engaged. On a tilting mount, adjust the tension screws according to the instructions.
The cables do not fit
Use angled HDMI adapters or a deeper mount. Do not bend cables sharply or press the TV hard against the wall. Excess pressure can damage ports.
The stud finder gives false readings
Move slowly and test the area from several directions. Confirm the stud with a small pilot hole in a location covered by the bracket. If you suspect metal framing, use hardware designed for metal studs or ask a qualified installer for advice.
When to Hire a Professional
Many homeowners can handle how to wall mount TV on drywall with basic tools and careful planning. Still, professional help is a smart choice in certain situations.
Contact an installer or electrician when:
• The TV is very large or heavy.
• The wall uses metal studs.
• The wall is plaster, tile, brick, stone, or concrete.
• You cannot identify the studs.
• Electrical wires or plumbing may be behind the mounting area.
• You want power cables hidden inside the wall.
• The mount is full motion and places high stress on the wall.
• The wall has water damage or soft drywall.
• You need to mount above a fireplace.
A professional can also help with soundbar placement, cable routing, power relocation, and structural reinforcement. The cost is usually much lower than replacing a broken TV or repairing a torn wall.
Frequently Asked Questions About How to Wall Mount TV on Drywall
Can I mount a TV directly into drywall?
You can mount a small, lightweight TV with properly rated toggle anchors and a fixed bracket. For larger TVs or moving mounts, attach the bracket to wall studs whenever possible.
How do I find studs behind drywall?
Use a stud finder, then mark both edges of the stud to locate its center. You can confirm the position with a small pilot hole in an area hidden by the mount.
How high should I mount my TV?
The center of the screen should usually be near seated eye level. Measure from your normal seating position instead of relying on a fixed height, especially if the TV will go above a console.
Can I use any screws with a TV mount?
No. Use screws that match the TV’s VESA holes and the mount instructions. Screws that are too long can damage the TV, while screws that are too short may not hold securely.
Can I hide the TV power cord inside the wall?
Do not place a standard power cord inside the wall. Use a listed in-wall power kit or have an electrician install a proper outlet behind the television.
Is a full motion mount safe on drywall?
A full motion mount is safest when secured to studs with suitable hardware. Its moving arm creates more pulling force than a fixed mount, so drywall-only anchors are usually a poor choice for large TVs.
What should I do if there is no stud where I want the TV?
Choose a different location, install a properly reinforced mounting board across nearby studs, or hire a professional. Do not overload drywall anchors with a heavy TV or a moving mount.
Conclusion
Learning how to wall mount TV on drywall starts with finding the studs, choosing a mount that fits the TV, and using the correct hardware. Measure the viewing height, check for hidden wires and pipes, drill accurate pilot holes, and secure every safety lock before letting go of the TV.
A careful installation gives you a cleaner room and peace of mind. Take your time, ask someone to help with the lift, and call a professional when the wall or wiring is uncertain. If this guide helped, explore more home improvement resources or share your mounting experience in the comments.

Everett Ashford is a tech reviewer at mytechgrid.com specializing in SSDs, cameras, TVs, earbuds, headphones, and other consumer electronics. He provides honest, data-driven reviews based on hands-on testing and real-world performance analysis. Everett simplifies complex tech details to help readers make smart, confident buying decisions.