Swap the drive, clone or clean install, and secure the new SSD—done in under an hour.
I’ve replaced many drives and written guides for hobbyists and pros. This article explains exactly how to replace SSD in laptop, step by step, with clear checks, safe tools, cloning options, and troubleshooting tips. You’ll learn how to pick a compatible SSD, back up your data, clone or reinstall your OS, and get your laptop running faster and more reliably. Read on to get practical, tested advice that saves time and avoids common mistakes when you replace SSD in laptop.
Why upgrade and what an SSD is
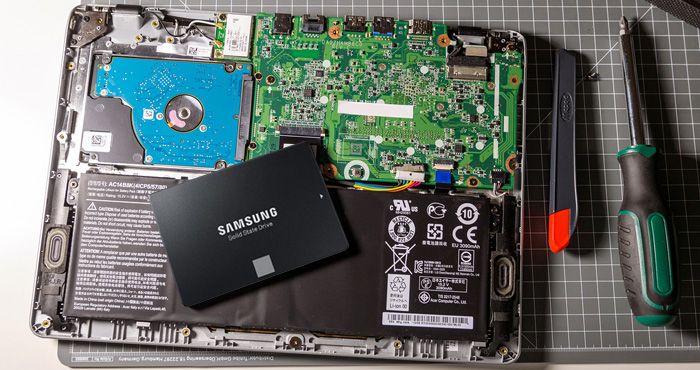
Solid-state drives are storage devices with no moving parts. They read and write data far faster than traditional hard drives. Upgrading matters because a faster drive speeds up boot times, app launches, and file transfers. When you replace SSD in laptop you often get longer battery life, lower heat, and a quieter machine.
Benefits at a glance:
- Faster boot and app load times.
- Better responsiveness for everyday tasks.
- Lower power draw and heat than spinning drives.
- Improved shock resistance and durability.
I recommend upgrading if your laptop is slow on startup or if your storage is near full. In my experience, a simple SSD swap can feel like a whole new laptop. This post covers types of SSDs and how to replace SSD in laptop safely and correctly.
Types of SSDs and compatibility checks
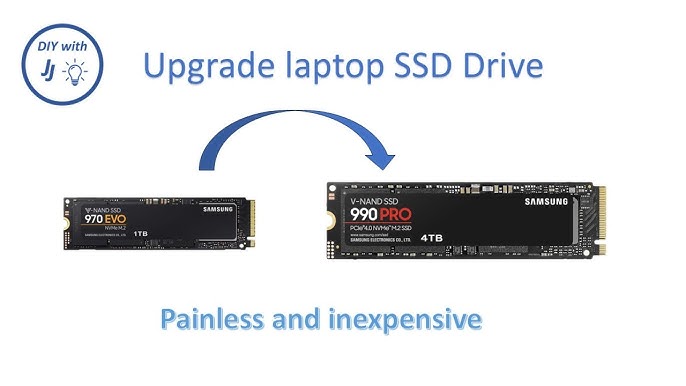
There are three common SSD form factors:
- 2.5-inch SATA: looks like a small hard drive, common in older laptops.
- M.2 SATA: a slim stick-shaped drive using SATA protocol.
- M.2 NVMe (PCIe): a faster stick-shaped drive using PCIe lanes.
Check compatibility before you buy. Look at your laptop manual or open the back panel to see the slot type. Note the interface and physical size. Also check BIOS limits and maximum supported capacity.
Other compatibility tips:
- Confirm M.2 key type (B, M, or B+M).
- Verify whether the M.2 slot supports NVMe or only SATA.
- Check drive thickness and mounting screw positions for 2.5-inch bays.
If you skip these checks, you may buy a drive that won’t fit or won’t work. When you replace SSD in laptop, matching form factor and interface is the first, most important step.
What you’ll need before starting
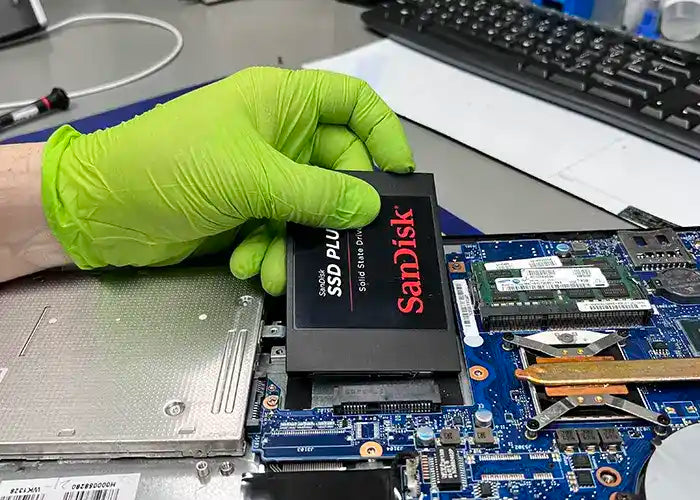
Gather tools and items first:
- Replacement SSD (compatible model and size).
- Small Phillips screwdriver and a plastic pry tool.
- SATA-to-USB or M.2 USB enclosure (for cloning).
- Backup storage or cloud backup.
- Operating system install media (USB) if doing a clean install.
- Anti-static wrist strap or work on a non-static surface.
Software and files:
- Cloning software or imaging tool.
- Bootable Windows or Linux installer if needed.
- Product keys and account logins for software reactivation.
Preparation saves time. I once began without a SATA-to-USB adapter and had to order one, which delayed the swap by two days. Don’t make that mistake when you replace SSD in laptop.

Step-by-step: how to replace SSD in laptop
Follow these steps. Read them all before you open your laptop.
- Backup important files
- Copy documents, photos, and activation info to an external drive or cloud.
- Verify backups by opening a few files.
- Choose cloning or a clean install
- Cloning copies your current system to the new SSD.
- A clean install gives a fresh system and removes old clutter.
- Clone the drive (optional)
- Connect the new SSD via SATA-to-USB or enclosure.
- Use cloning software and follow its steps to clone the OS and partitions.
- Verify the clone completes and files look correct.
- Power down and unplug
- Shut down the laptop fully.
- Unplug power and remove the battery if the model allows.
- Open the laptop case
- Use the correct screwdriver and keep screws organized.
- Gently remove the bottom panel. Watch for plastic clips.
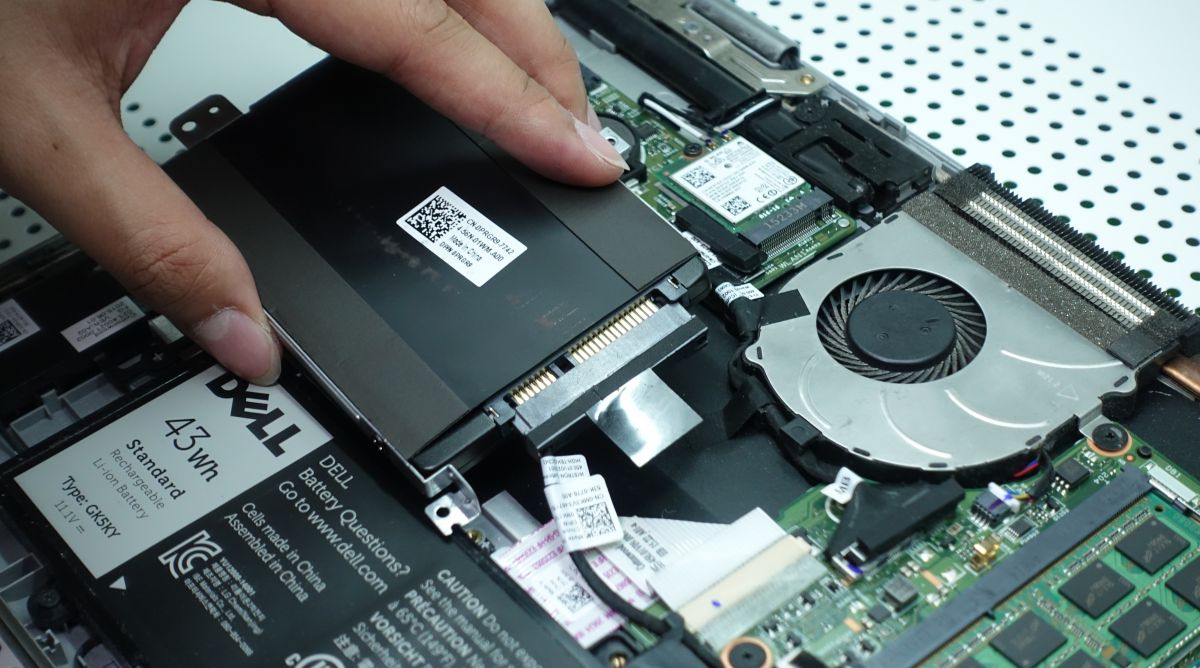
- Locate and remove the old SSD
- Unscrew or release the mounting bracket.
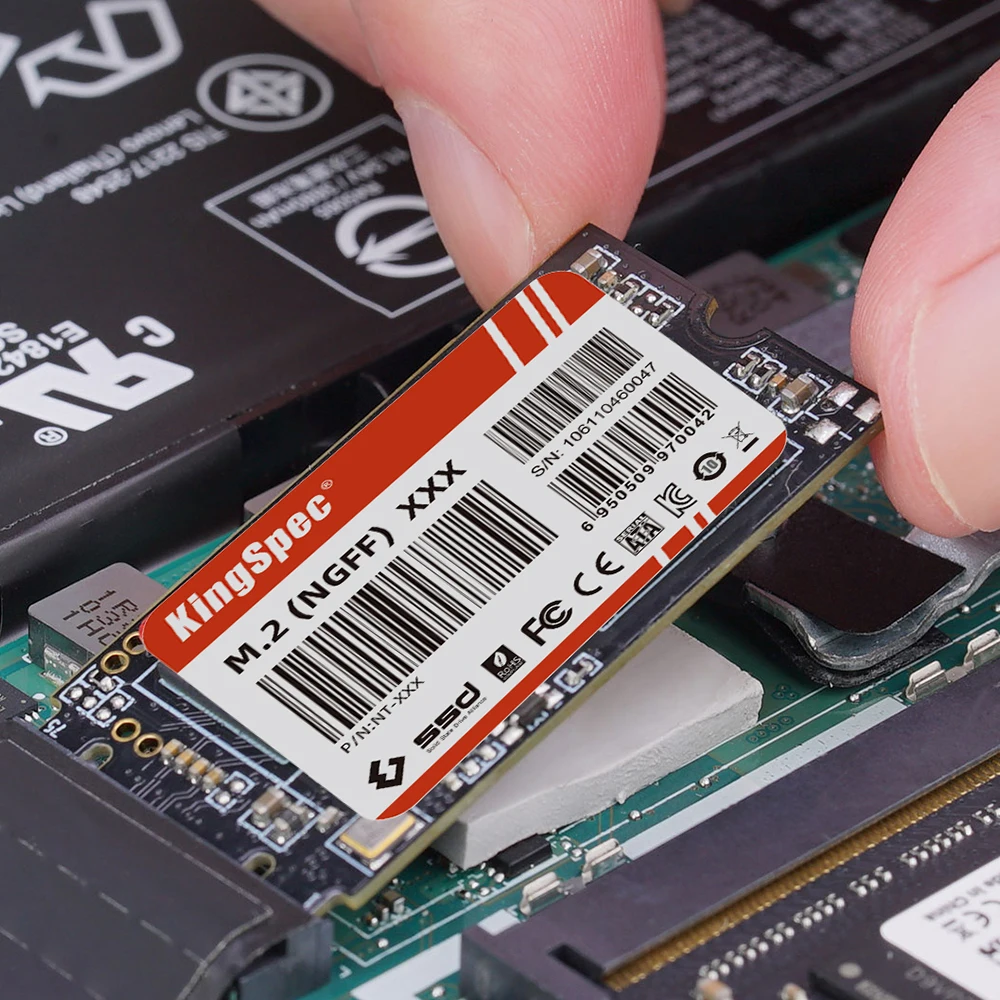
- For 2.5-inch drives, unplug the SATA connector. For M.2, remove the single screw and slide out the module.
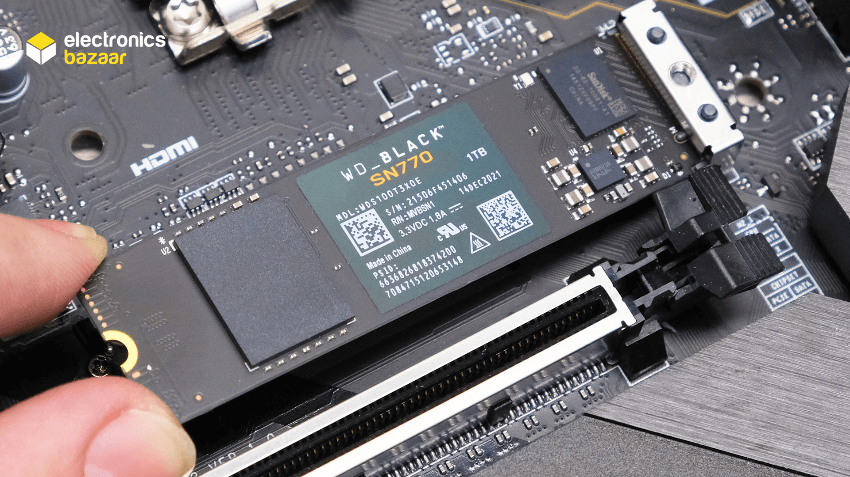
- Install the new SSD
- Insert the new M.2 at an angle then secure the screw.
- For 2.5-inch drives, connect and mount it in the bay.
- Reassemble the laptop carefully.
- Boot and check BIOS/UEFI
- Enter BIOS and confirm the new drive is detected.
- Set correct boot order if required.
- If cloned, boot to OS and verify
- Check disk management to ensure partitions are correct.
- Run a short speed and health check.
- If clean install, install OS and drivers
- Use your bootable USB to install the OS.
- Install chipset and storage drivers, then restore files.
Each step is simple when followed slowly. My tip: take photos during disassembly so you remember screw placements and cable positions. That helps when you replace SSD in laptop and reassemble.
Cloning vs clean install: which to pick?
Cloning is good when:
- You want an exact copy of your setup.
- You prefer not to reinstall apps.
- You have sufficient space on the new SSD.
Clean install is good when:
- You want a fresh system without old junk.
- You change OS versions or switch from MBR to GPT.
- You suspect software-level issues.
Cloning tips:
- Resize partitions if the new SSD is larger.
- Use verified cloning tools and check integrity.
- Make sure the clone includes the bootloader.
Clean install tips:
- Back up licenses and browser sync.
- Keep driver install files handy.
- Use a fast USB 3.0 stick for installation.
When you replace SSD in laptop, choose the route that fits your time and comfort level.
Troubleshooting common issues after swap
Issue: New SSD not detected
- Check the physical connection and mounting screw.
- Confirm BIOS settings allow NVMe or SATA devices.
Issue: System won’t boot after cloning
- Verify boot order and that the clone included the EFI/boot partition.
- Use startup repair from install media.
Issue: Slower than expected performance
- Ensure correct slot type. NVMe must use an NVMe-capable M.2 slot.
- Update SSD firmware and enable TRIM.
Issue: Activation or drivers missing
- Reactivate Windows via your account or product key.
- Install vendor drivers and chipset utilities.
In one case, my laptop wouldn’t boot because the clone omitted the recovery partition. The fix was a quick repair using the OS installer. These fixes are common when you replace SSD in laptop and are usually simple.

Performance tuning and maintenance after replacement
Do these after you replace SSD in laptop to keep it fast:
- Enable TRIM in the OS to maintain long-term speed.
- Check and install SSD firmware updates.
- Keep 10–20% free space for internal wear-leveling.
- Use built-in tools to monitor drive health and SMART status.
Routine checks:
- Run a SMART report every few months.
- Re-run partition alignment if you cloned from an old drive.
- Trim and optimize via OS schedule.
These small tasks extend SSD life and keep performance steady. I set reminders to run a health check every quarter for my machines.

Risks, warranties, and safety precautions
Be aware of these limits:
- Opening a laptop may void warranty on some models.
- Static discharge can damage components.
- Physical damage from improper force can be costly.
Safety steps:
- Ground yourself with an anti-static strap or touch metal.
- Work on a clean, flat surface with good light.
- Keep screws organized and avoid overtightening.
If your laptop is under warranty, check service terms. For many recent laptops, manufacturers provide authorized upgrade paths. When you replace SSD in laptop, weigh warranty risks against the benefits.
People also ask (common quick questions)
How long does it take to replace SSD in laptop?
A simple swap with cloning usually takes 30–90 minutes depending on cloning time. Clean installs add extra time for OS and driver setup.
Can I replace SSD myself without professional help?
Yes. Many users can replace SSD in laptop with basic tools and a guide. Just follow compatibility checks and backup your data first.
Will replacing SSD void my warranty?
It depends on the manufacturer and model. Check your warranty terms; some brands allow user upgrades, while others require authorized service.
Do I need to format the new SSD before using it?
If you clone the drive, formatting is not needed. For a fresh install, the OS installer will format and partition the drive during setup.
Is NVMe much faster than SATA SSD?
Yes. NVMe uses PCIe lanes and offers higher bandwidth and lower latency than SATA SSDs, especially in heavy workloads.
Frequently Asked Questions of how to replace ssd in laptop
What tools do I need to replace SSD in laptop?
You need a small Phillips screwdriver, a plastic pry tool, and optionally an anti-static strap and SATA-to-USB adapter for cloning. A clean workspace and a bootable USB installer are also helpful.
How do I know which SSD fits my laptop?
Open the laptop manual or the back panel to identify the slot type and keying. Check whether the M.2 slot supports NVMe or only SATA and the physical size required.
Can I clone Windows to a new SSD without reinstalling?
Yes. Many cloning tools copy the OS, boot partition, and data. Ensure the clone includes EFI/boot partitions and verify the new drive boots before wiping the old one.
What if the laptop doesn’t boot after replacing SSD?
Check BIOS/UEFI to confirm the drive is detected and set as the boot device. Run startup repair from install media if needed and confirm the bootloader was cloned.
Do I need to update SSD firmware after installation?
It’s a good idea. Firmware updates can improve stability and performance. Check the manufacturer’s tool or utilities for safe update instructions.
Conclusion
Replacing an SSD is one of the most effective upgrades you can do for a laptop. You will boost speed, reduce heat, and often extend its usable life. Follow compatibility checks, back up your data, pick cloning or clean install, and take safety steps while you replace SSD in laptop. If you plan carefully, the swap is quick and rewarding.
Take action today: check your laptop’s slot, pick a compatible SSD, and try the swap on a weekend. Share your results or questions below, subscribe for more upgrade guides, or leave a comment with your laptop model and I’ll offer tips.

Everett Ashford is a tech reviewer at mytechgrid.com specializing in SSDs, cameras, TVs, earbuds, headphones, and other consumer electronics. He provides honest, data-driven reviews based on hands-on testing and real-world performance analysis. Everett simplifies complex tech details to help readers make smart, confident buying decisions.