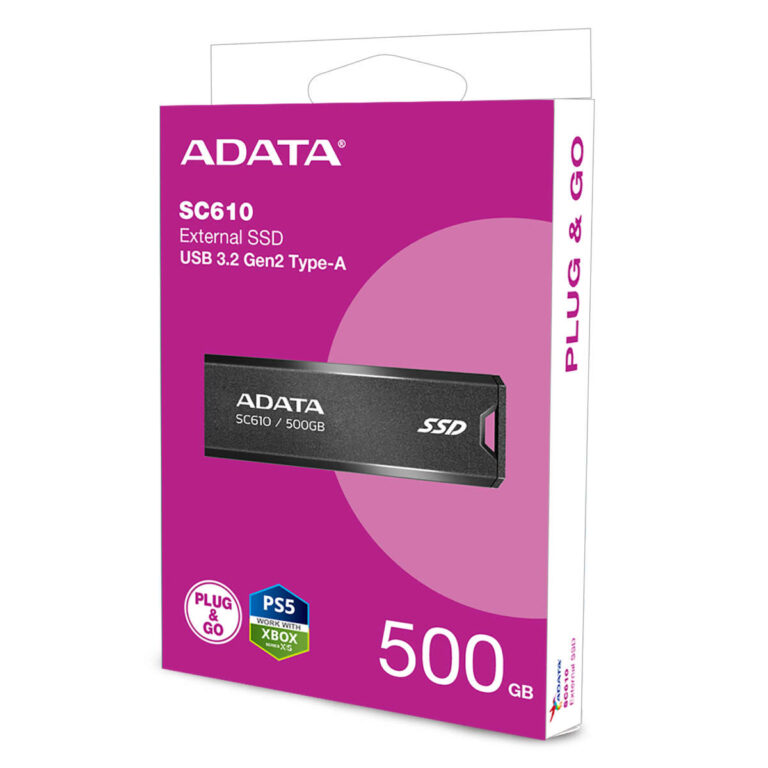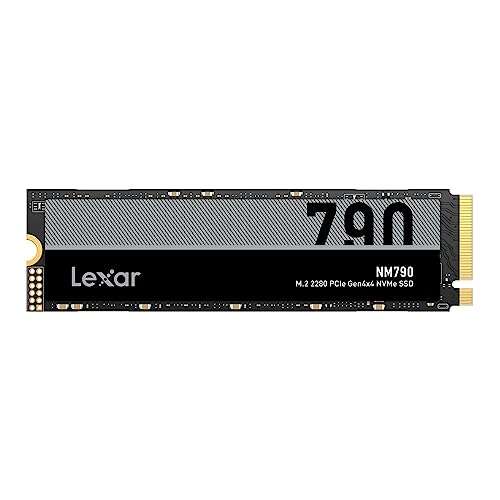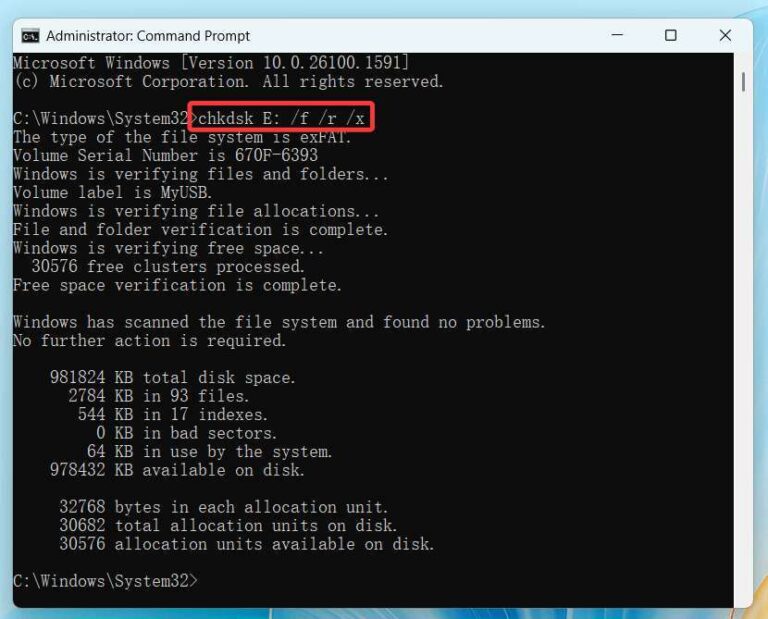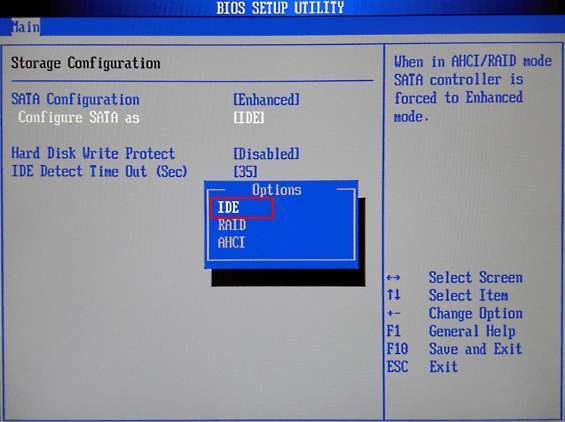
Most BIOS menus cannot format an SSD, but some include Secure Erase or drive sanitization tools.
Learning how to format a SSD from BIOS starts with one important fact: BIOS and UEFI firmware usually manage hardware and boot settings, not file systems. Some modern systems do include an SSD Secure Erase, Sanitize, or NVMe Format feature, while others require a bootable Windows or Linux USB drive. This guide explains both paths, shows safer alternatives, and helps you avoid erasing the wrong disk.

Can You Format an SSD Directly From BIOS?
In most cases, you cannot format an SSD from BIOS in the same way you format a drive in Windows. BIOS can detect storage devices, change boot order, switch between AHCI and RAID modes, and start recovery tools. It normally does not create an NTFS, exFAT, or ext4 file system.
Some motherboards and laptops include special storage tools. Their names may include:
• Secure Erase
• SSD Sanitize
• NVMe Sanitize
• Storage Device Configuration
• Format NVM
These tools remove data at the hardware or controller level. They are not the same as a normal quick format. Afterward, the SSD may show as unallocated space and need a new partition and file system.
If your BIOS has no erase tool, you must use a bootable installer or a separate operating system. This still lets you work outside your main Windows installation, which is often what people mean when they ask how to format a SSD from BIOS.
Before You Format an SSD
Formatting can permanently remove files, photos, applications, and system partitions. Treat the process like emptying a locked filing cabinet: once the contents are gone, recovery may be difficult, expensive, or impossible.
Before you format an SSD, complete these checks:
• Back up personal files to an external drive or trusted cloud service.
• Save browser passwords, license keys, game saves, and two-factor recovery codes.
• Confirm which SSD contains Windows and which drive holds your backup.
• Disconnect extra storage drives if possible.
• Connect the computer to stable power, especially a laptop.
• Check whether BitLocker or another encryption tool is enabled.
• Make sure you have a Windows installation USB or Linux live USB if BIOS lacks an erase feature.
A common mistake is selecting the wrong drive because two SSDs have similar names. Write down the model and capacity of the target drive before starting. Capacity is useful, but the model number is safer.
Formatting an SSD also does not always remove data securely. A quick format removes file system references, while Secure Erase or Sanitize is designed for stronger data removal. For highly sensitive information, follow your organization’s data destruction policy.

How to Format a SSD From BIOS Using Secure Erase
This method works only if your motherboard or laptop firmware includes a compatible SSD erase function. Menu names vary by manufacturer, so your screen may look different from the steps below.
Step 1: Enter BIOS or UEFI
-
Shut down the computer completely.
-
Turn it on and press the BIOS key repeatedly.
• Common keys include Delete, F2, F10, F12, and Esc.
• The correct key often appears briefly on the startup screen.
-
Select UEFI or BIOS setup when the menu appears.
On newer computers, you may also enter firmware settings through Windows. Open Settings, select System, choose Recovery, click Advanced startup, and select UEFI Firmware Settings. The computer then restarts into BIOS or UEFI.
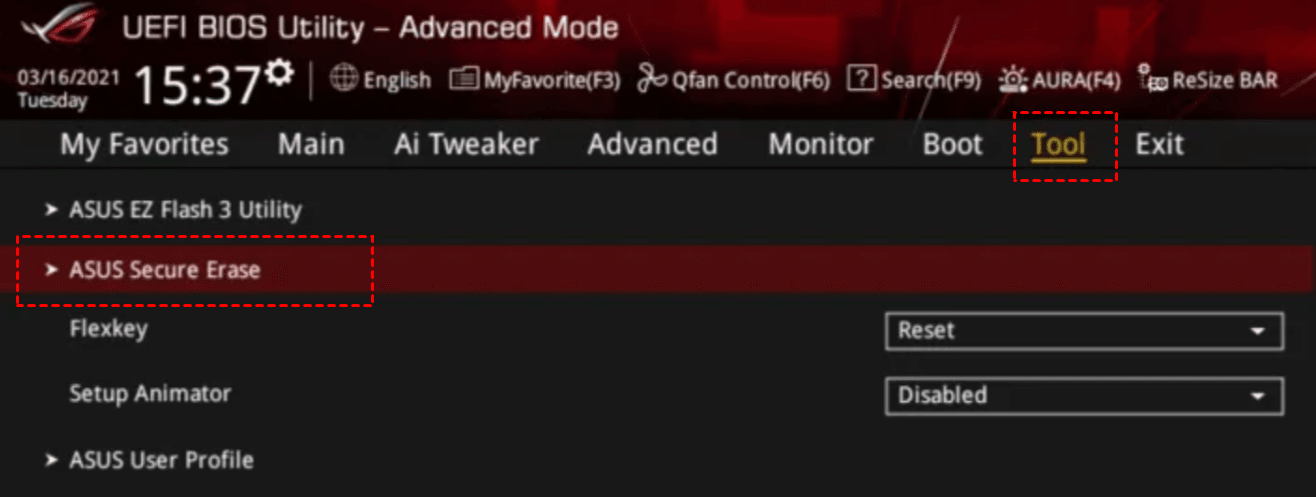
Step 2: Find the SSD erase tool
Look through menus such as Advanced, Tools, Storage, Security, or Drive Utilities. Search for terms such as:
• Secure Erase
• Sanitize
• NVMe Sanitize
• SSD Erase
• Drive Wipe
• Disk Format
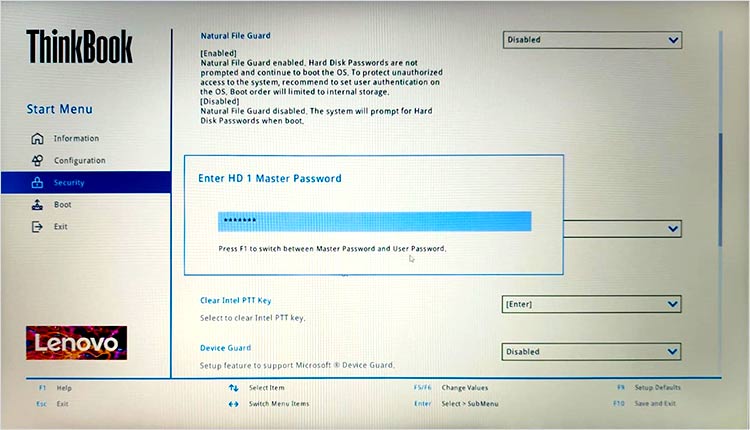
Some firmware tools appear only when the SSD is not the active boot drive. If Windows is running from that SSD, the BIOS may block the operation to protect the system.
Step 3: Select the correct SSD
Review the drive model, size, and connection type. SATA SSDs may appear under SATA information, while M.2 drives may appear under NVMe or PCIe storage.
Do not continue if the model or capacity looks wrong. A Secure Erase command can remove every partition without asking for the same level of confirmation as Windows.
Step 4: Confirm the erase
Read the warning carefully. Some tools require a confirmation code or ask you to place the drive into a frozen state. If the tool reports that the drive is frozen, restart the computer or use the firmware’s recommended sleep and wake procedure.
Do not turn off the computer during the erase. An interrupted operation can leave the SSD in an unusable state until it is initialized again.
Step 5: Reinstall or initialize the SSD
After the BIOS tool finishes, the SSD may contain no usable partition. To use it, boot from a Windows installer, Linux installer, or another operating system and create a new partition table.
This process is the most direct answer to how to format a SSD from BIOS, but it is available only on selected systems. On many computers, the correct answer is to use a bootable USB instead.
How to Format an SSD Without a BIOS Erase Tool
If your BIOS does not provide Secure Erase or Sanitize, a bootable USB is the safest general method. You can use Windows Setup, a recovery drive, or a Linux live environment.
Method 1: Use Windows Installation Media
You need a Windows installation USB. If you do not have one, create it on another computer using Microsoft’s official installation media tool.
-
Insert the Windows USB drive.
-
Restart the computer.
-
Open the one-time boot menu using a key such as F12, F11, Esc, or F8.
-
Select the USB drive in UEFI mode.
-
At the Windows Setup screen, choose your language and select Next.
-
Select Install now.
-
When asked for an installation type, choose Custom: Install Windows only.
-
Select the target SSD.
-
Delete its old partitions one at a time.
-
Select the unallocated space and choose New or Next.
Windows Setup will create the partitions it needs. If you want a completely clean Windows installation, this method is usually easier than trying to format a SSD from BIOS.
Be careful when multiple drives are installed. Windows Setup may show recovery, system, and data partitions without making the drive’s purpose obvious. Disconnecting other drives is a simple way to reduce risk.
Method 2: Use DiskPart From Windows Setup
DiskPart gives you more control, but it also makes destructive commands easy to run. Open Windows Setup, press Shift + F10, and enter these commands carefully:
diskpart
list disk
select disk X
detail disk
clean
convert gpt
exit
Replace X with the number of the correct SSD. The detail disk command helps confirm the model and size before you erase anything.
The clean command removes partition information. It does not securely overwrite every memory cell. For stronger data removal, use the SSD maker’s approved tool or the BIOS Sanitize feature.
After closing Command Prompt, return to Windows Setup. Refresh the disk list, select the unallocated SSD space, and continue with installation.
How to Format an SSD for Storage After BIOS Erase
If you erased the SSD but do not want to install Windows on it, you can prepare it as a storage drive after booting into Windows.
-
Right-click the Start button.
-
Select Disk Management.
-
Find the SSD by checking its model and capacity.
-
Right-click the unallocated area.
-
Select New Simple Volume.
-
Choose a volume size and assign a drive letter.
-
Select NTFS for a Windows data drive.
-
Give the volume a clear label, such as “Games” or “Projects.”
-
Select Quick Format.
-
Finish the wizard.
NTFS is a good choice for Windows-only storage. exFAT works well when you need to move files between Windows and macOS. Linux systems commonly use ext4, although Windows does not natively manage ext4 like NTFS.
If Disk Management asks to initialize the disk, choose GPT for modern UEFI computers. GPT supports large drives and more partitions than the older MBR format. MBR may still be needed for certain older systems, but it is not the preferred option for most current PCs.
Secure Erase, Sanitize, and Quick Format Explained
These terms sound similar, but they perform different jobs.
Quick format
A quick format creates a new file system and removes the old file index. The old data may remain in the flash cells until the SSD reuses those blocks. It is useful for preparing a working drive, but it is not a strong privacy method.
Full format
A full format checks the disk and may write across the selected area, depending on the operating system. On modern SSDs, repeated writing is not the best way to erase private data because of wear leveling and over-provisioned memory.
Secure Erase
Secure Erase is an SSD controller command intended to clear user data. It is generally more suitable than repeatedly writing zeros to a solid-state drive.
Sanitize
Sanitize is a broader storage command supported by some SSDs. It is designed to remove user data from areas that a normal format may not reach. Support depends on the drive, firmware, and tool.
TRIM
TRIM tells an SSD which blocks are no longer needed. It improves future garbage collection, but TRIM is not a guaranteed immediate data deletion method. Do not confuse TRIM with formatting or Secure Erase.
For a normal Windows reinstall, deleting partitions and installing to unallocated space is usually enough. For selling or recycling a drive, use the manufacturer’s secure erase guidance or a supported BIOS Sanitize tool.
Common BIOS and SSD Problems
The SSD does not appear in BIOS
Check whether the drive is firmly installed. For an M.2 SSD, remove it and reseat it at an angle before securing it with the screw. For a SATA SSD, check both the data cable and power cable.
Some M.2 slots support only NVMe drives, while others support SATA M.2 drives. The motherboard manual will show which type each slot accepts.
The SSD appears in BIOS but not in Windows Setup
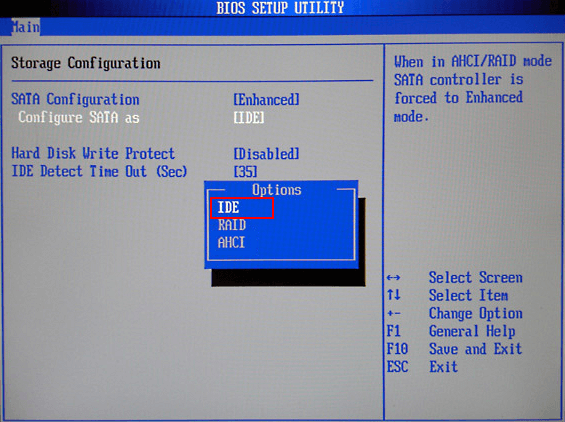
The issue may involve a storage controller mode. Systems using Intel VMD, Intel RST, or hardware RAID may need the correct storage driver during Windows Setup. Do not randomly switch RAID to AHCI on an existing Windows installation, because that can cause a boot failure.
Secure Erase is missing
The feature may be hidden in an advanced menu, blocked while the drive is the boot disk, or unsupported by the firmware. Update BIOS only when the manufacturer provides a clear fix and you can follow the update instructions safely.
If the feature remains unavailable, use Windows Setup, DiskPart, Linux tools, or the SSD manufacturer’s utility.
The SSD is write-protected
A firmware lock, failing controller, encryption state, or incorrect storage mode can cause write protection. Some SSDs enter a read-only state when their spare flash area is exhausted or the controller detects serious wear.
Check the drive’s health with a trusted diagnostic tool. If the SSD reports critical errors, replace it rather than relying on repeated formatting.
The computer will not boot afterward
A successful erase removes the bootloader and operating system. Boot from your Windows or Linux USB and reinstall the operating system. Also confirm that the USB drive appears first in the temporary boot menu.

Mistakes to Avoid When Formatting an SSD
Formatting is usually simple when the target drive is clear. Most problems come from skipping one small check.
Avoid these mistakes:
• Formatting the backup drive instead of the target SSD.
• Assuming BIOS can create an NTFS file system.
• Using clean before confirming the disk number.
• Switching AHCI, RAID, or VMD settings without checking the current Windows setup.
• Interrupting Secure Erase or BIOS updates.
• Using repeated full writes on an SSD for routine cleanup.
• Installing Windows in Legacy mode when the system is configured for UEFI.
• Ignoring BitLocker recovery information.
• Treating a failing SSD as if it only needs a format.
One lesson from real repair work is that drive identification matters more than speed. Take a photo of the disk list, compare model numbers, and pause before every destructive confirmation. That small habit prevents the most painful errors.
Best Settings for a Fresh Windows SSD
For most modern computers, use these settings:
• Boot mode: UEFI
• Partition style: GPT
• File system: NTFS
• Storage controller: Match the existing system setting, such as AHCI, RAID, or VMD
• Firmware: Current stable version from the computer or motherboard maker
• SSD driver: Windows default driver or the approved manufacturer driver
Windows normally enables TRIM automatically. You can check it from an elevated Command Prompt with:
fsutil behavior query DisableDeleteNotify
A result of 0 means TRIM notifications are enabled for the relevant file system. TRIM support also depends on the SSD, controller, and operating system.
Avoid manual defragmentation of an SSD. Modern Windows uses optimization commands, including TRIM, rather than treating the drive like a traditional hard disk.
Frequently Asked Questions About How to Format a SSD From BIOS
Can I format an SSD from BIOS without Windows?
Only if your BIOS or UEFI includes a Secure Erase, Sanitize, or NVMe Format tool. Otherwise, you need a bootable USB drive or another operating system to delete partitions and create a file system.
Does formatting an SSD from BIOS remove Windows?
A Secure Erase or Sanitize operation removes the operating system and partitions from the selected SSD. If you only change BIOS settings, Windows remains untouched.
Is Secure Erase better than a quick format?
Secure Erase is better when you need stronger data removal before selling or recycling an SSD. A quick format is normally enough when you are simply preparing the drive for a fresh Windows installation.
Should I choose GPT or MBR after erasing an SSD?
Choose GPT for most modern computers using UEFI firmware. Use MBR only when an older computer or operating system specifically requires Legacy BIOS compatibility.
Why does BIOS recognize my SSD but Windows does not?
Windows may need a storage controller driver, or the SSD may have no partition table after erasing. Check the controller mode, load the required driver during Windows Setup, and initialize the drive as GPT when appropriate.
Can formatting fix a failing SSD?
Formatting cannot repair physical flash wear, controller faults, or serious SMART warnings. If diagnostic software reports critical health problems, back up your data and replace the SSD.
Conclusion
The best way to format a SSD from BIOS depends on your computer’s firmware. If BIOS includes Secure Erase or Sanitize, you can erase the drive there, but most systems require a Windows or Linux bootable USB. Always back up your files, verify the SSD model, select GPT for modern UEFI systems, and avoid confusing a quick format with secure data removal.
Take a careful approach, and the process becomes manageable rather than risky. If this guide helped, explore your SSD manufacturer’s support tools and share your experience or questions in the comments.

Everett Ashford is a tech reviewer at mytechgrid.com specializing in SSDs, cameras, TVs, earbuds, headphones, and other consumer electronics. He provides honest, data-driven reviews based on hands-on testing and real-world performance analysis. Everett simplifies complex tech details to help readers make smart, confident buying decisions.