Installing a new M.2 SSD takes a few careful steps: check compatibility, mount the drive, and set it up in your system.
Learning how to install a new M.2 SSD can make your computer feel much faster, especially during startup, app launches, and file transfers. This guide explains the full process for desktops and laptops, including compatibility checks, safe installation, BIOS settings, Windows setup, cloning, and common mistakes to avoid.
What Is an M.2 SSD?
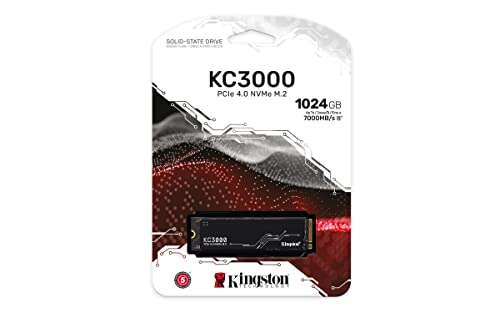
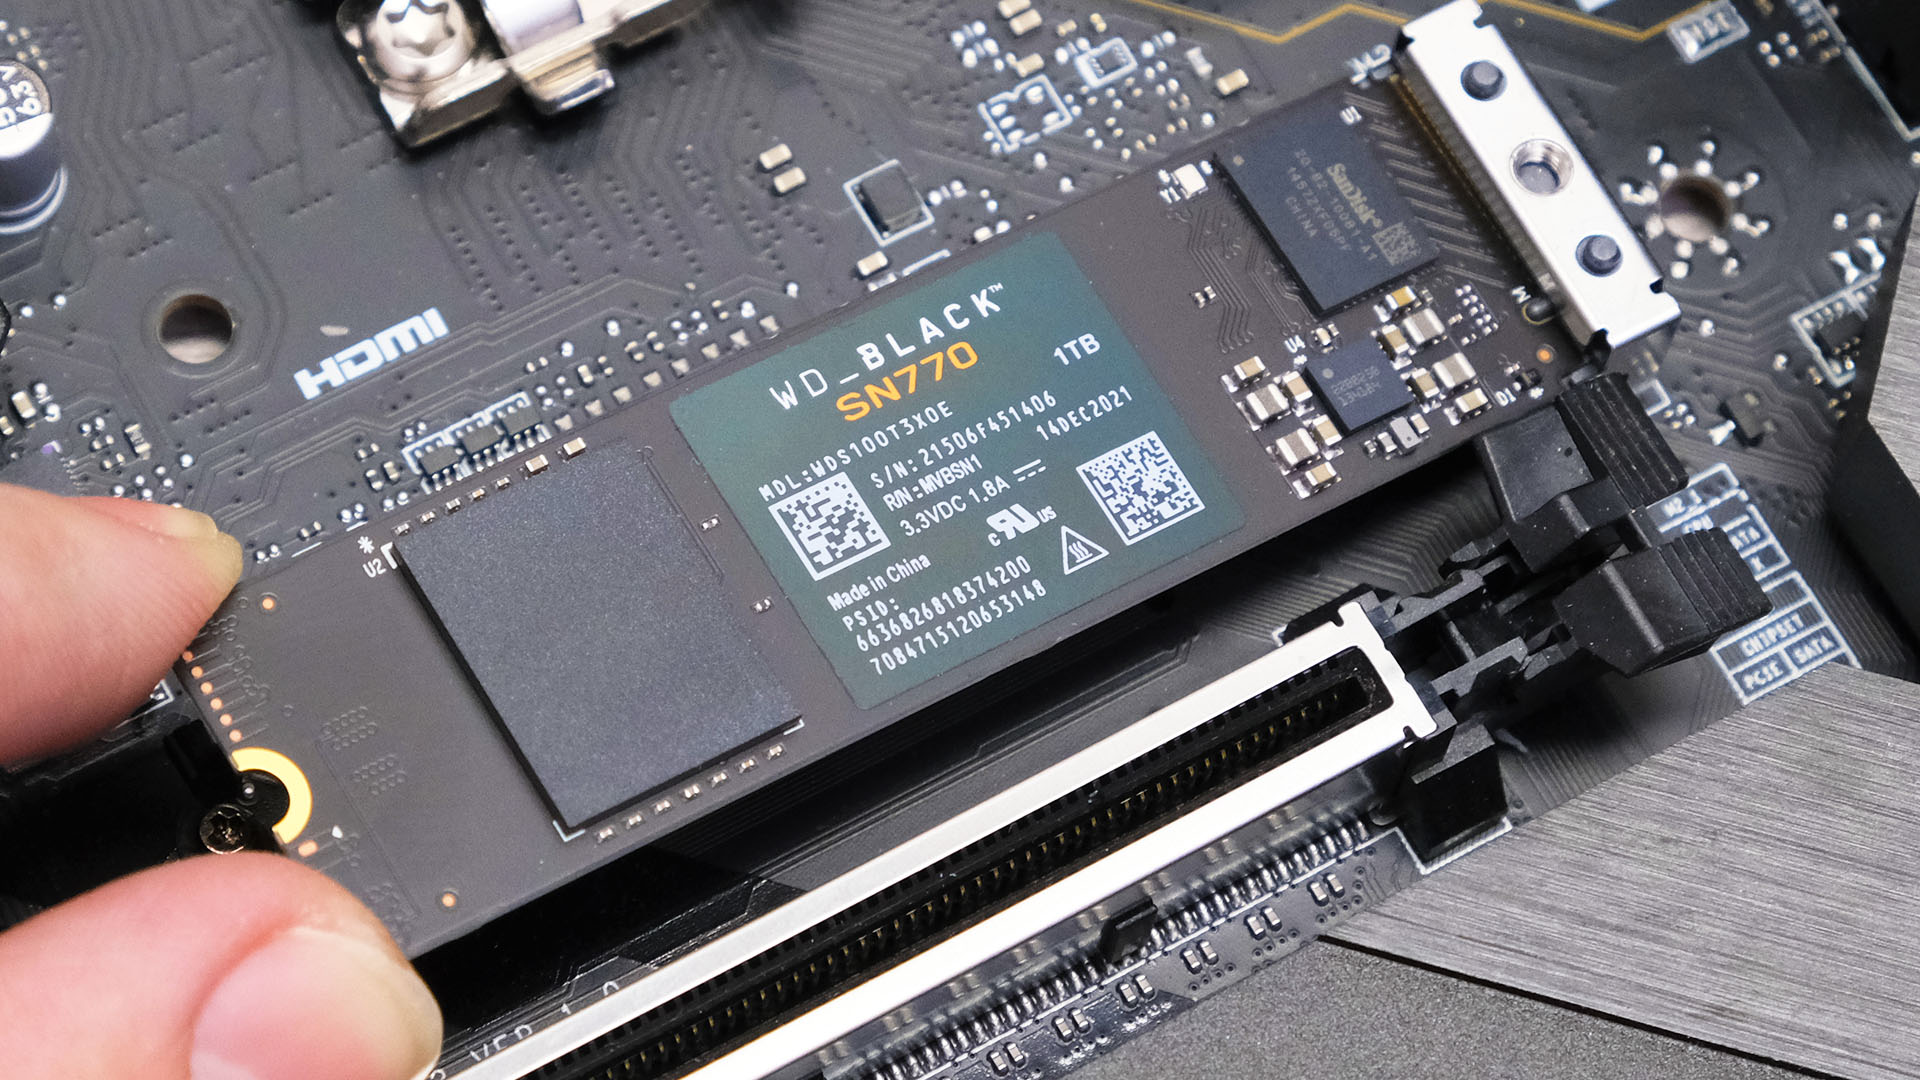
An M.2 SSD is a small storage drive that connects directly to a slot on your motherboard. Unlike older 2.5-inch SATA SSDs, it does not need a separate data cable. This makes M.2 drives neat, compact, and easy to install once you understand the key details.
M.2 describes the physical shape of the drive. It does not always describe its speed or connection type. An M.2 SSD may use either the SATA interface or the faster PCIe NVMe interface.
Most new computers support M.2 NVMe SSDs. However, some older laptops and motherboards support only M.2 SATA drives. The slot may look the same, but the two drive types are not always interchangeable.
Before learning how to install a new M.2 SSD, understand these terms:
• M.2: The slim, stick-shaped form factor.
• SATA: An older storage interface with lower performance.
• NVMe: A fast storage protocol designed for PCIe drives.
• PCIe: The connection used by most modern NVMe SSDs.
• Key notch: The cutout on the connector edge that helps identify compatibility.
An M.2 2280 drive is the most common size. The numbers mean the drive is 22 millimeters wide and 80 millimeters long. Smaller sizes, such as 2230 and 2242, are common in compact laptops and handheld devices.
Check Compatibility Before You Buy
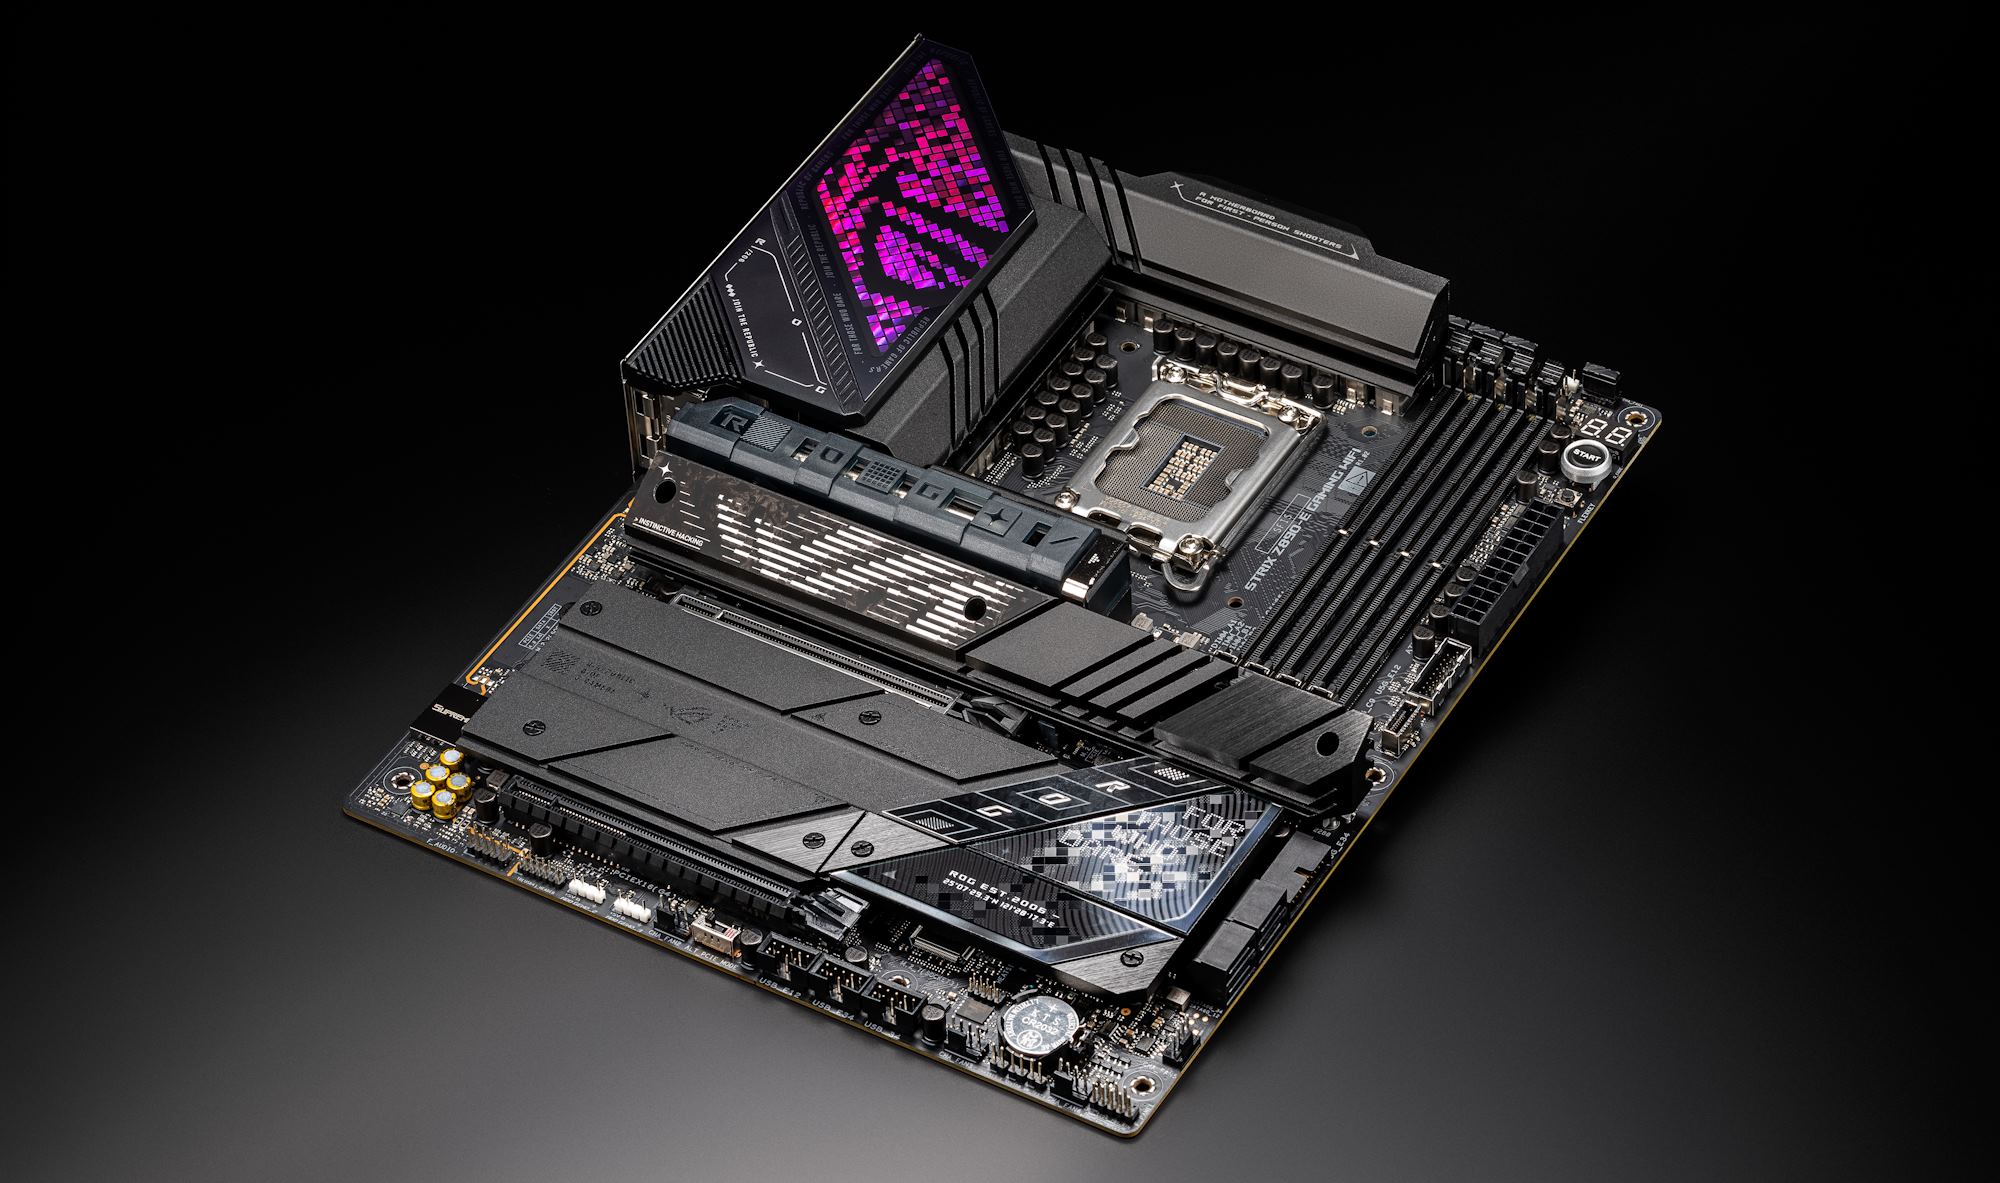
The most important part of learning how to install a new M.2 SSD is confirming that the drive matches your computer. A physically similar drive may still fail if the slot does not support its interface, size, or key type.
Check your computer or motherboard manual for the following details:
• Whether the M.2 slot supports NVMe, SATA, or both.
• Which PCIe generation the slot supports.
• The supported drive length, such as 2230, 2242, or 2280.
• Whether installing an M.2 drive disables a SATA port.
• Whether the slot connects directly to the processor or chipset.
• Whether the computer supports booting from an NVMe drive.
PCIe generations are backward compatible in most systems. For example, a PCIe 4.0 SSD usually works in a PCIe 3.0 slot. It will run at the slower slot speed, though, so you may not receive its full performance.
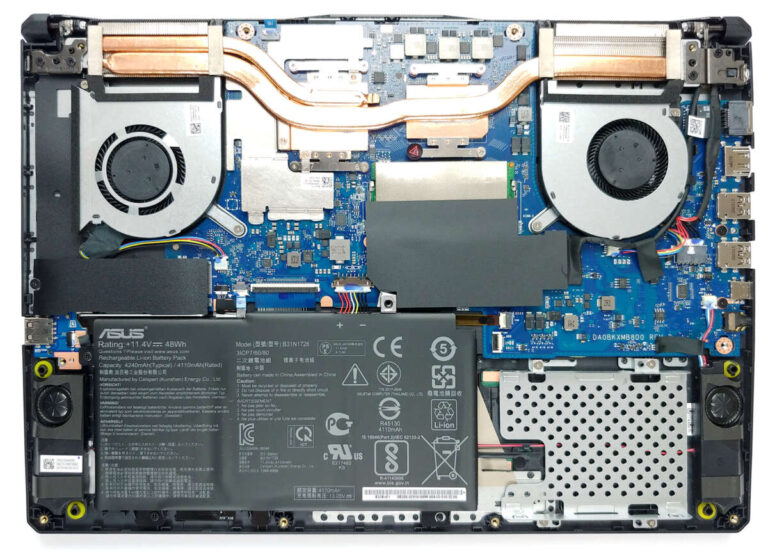
Laptop compatibility needs extra care. Some laptops have a removable bottom panel, while others use sealed designs or have storage soldered to the motherboard. Always check the exact model number, not just the product family.
You should also check the SSD’s physical clearance. A thick heat sink may fit inside a desktop but prevent a laptop cover from closing. For laptops, choose a bare M.2 drive unless the manufacturer clearly allows a drive with a heat spreader.
In my experience, the most common installation mistake is buying an NVMe drive for an M.2 SATA-only laptop. The connector may slide into the slot, but the system will not detect it. A quick manual check before ordering can prevent that problem.
Prepare Your Tools and Work Area
You do not need a large tool kit for how to install a new M.2 SSD. Most installations require only a small Phillips screwdriver and the screw supplied with the motherboard or computer.
Gather these items:
• The new M.2 SSD.
• A small Phillips screwdriver.
• The M.2 mounting screw or standoff.
• Your computer or motherboard manual.
• An anti-static wrist strap, if available.
• A second computer or phone for viewing instructions.
• A USB flash drive, if you plan to install Windows.
Shut down the computer completely before opening it. Do not work on a sleeping computer. Unplug the power cable from a desktop and remove the charger from a laptop.
For a desktop, press the power button for several seconds after unplugging it. This helps discharge residual power. If your laptop has a removable battery, remove it. For internal batteries, disconnecting the battery may be possible, but follow the service manual.
Work on a clean, hard surface. Avoid carpet, loose clothing, and areas with static electricity. Touch a grounded metal part of the case before handling the SSD, or use an anti-static strap connected to the case.
Hold the drive by its edges. Do not touch the gold contacts or the small chips on the circuit board. The SSD is sturdy, but careful handling is still good practice.

Back Up Your Important Files
Before you install an M.2 SSD, back up files that you cannot replace. Hardware work is normally safe, but mistakes can happen. A backup protects photos, documents, saved projects, and other important data.
Use one or more of these options:
• An external hard drive or SSD.
• Cloud storage.
• A full system image.
• A file synchronization service.
If you are adding the M.2 SSD as a second drive, your current files should remain unchanged. If you are replacing your old boot drive, you will need to clone the old drive or perform a fresh operating system installation.
A clone copies your operating system, apps, settings, and files to the new SSD. A clean installation starts with a new operating system and usually provides a cleaner setup, but it takes more time to reinstall programs and adjust settings.
I usually recommend cloning when the existing system is stable and the new SSD is larger or faster. A clean installation is better when the old system has years of clutter, serious errors, or unwanted software.
Check the clone software instructions carefully. The target SSD must have enough usable space for the data being copied. After cloning, you may also need to expand the main partition so Windows can use all available capacity.

How to Install a New M.2 SSD in a Desktop
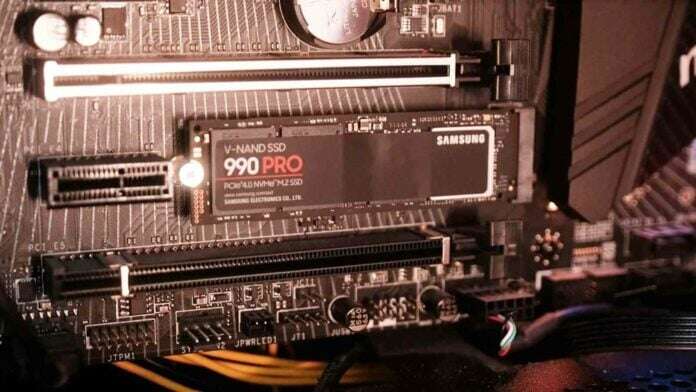
Installing an M.2 SSD in a desktop is usually straightforward. The slot is often near the processor socket, graphics card, or lower section of the motherboard. Your manual will show its exact location.
Follow these steps:
-
Shut down the desktop and unplug the power cable.
-
Press the power button for a few seconds to discharge stored power.
-
Remove the computer’s side panel.
-
Find the M.2 slot and confirm that the mounting standoff is in the correct position.
-
Remove the tiny M.2 screw if it is already installed.
-
If the motherboard has an M.2 heat shield, remove its screw and set the shield aside.
-
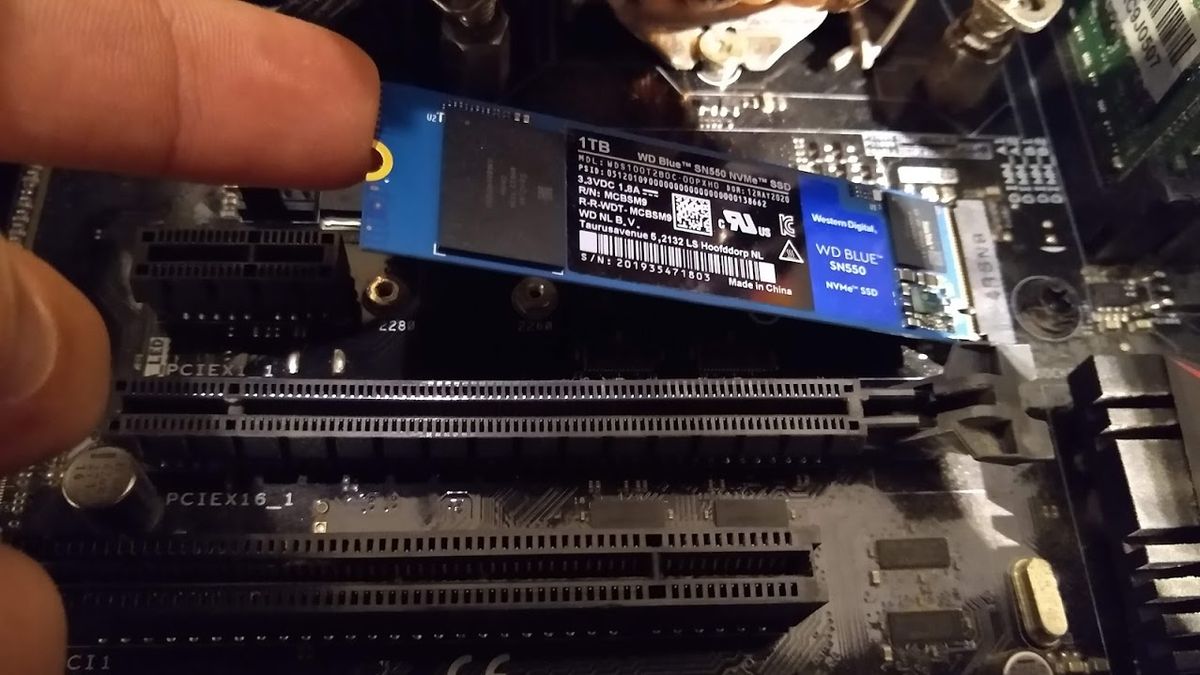
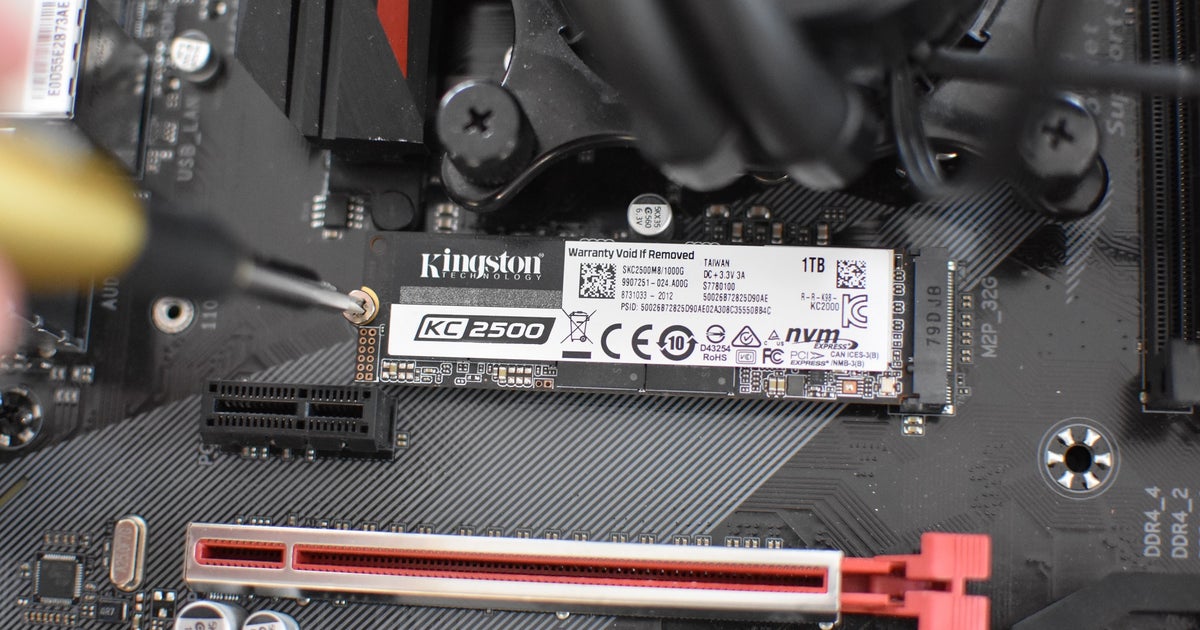
Hold the SSD by its edges and align the notch on the connector with the key in the slot.
-
Insert the SSD at a slight angle, usually around 20 to 30 degrees.
-
Press the free end of the SSD down until it rests on the mounting standoff.
-
Secure the drive with the M.2 screw.
-
Reinstall the heat shield if your motherboard includes one.
-
Replace the case panel and reconnect the power cable.
Do not push the drive straight down into the slot. M.2 drives slide in at an angle first. Forcing the connector can damage the slot or the drive.
The screw should hold the SSD firmly without bending the circuit board. Tighten it until it is secure, but do not over-tighten it. Tiny screws are easy to strip, and excessive pressure can damage the mounting area.
Some modern motherboards use a tool-free latch instead of a screw. If your board has one, turn or close the latch as shown in the manual.
How to Install a New M.2 SSD in a Laptop
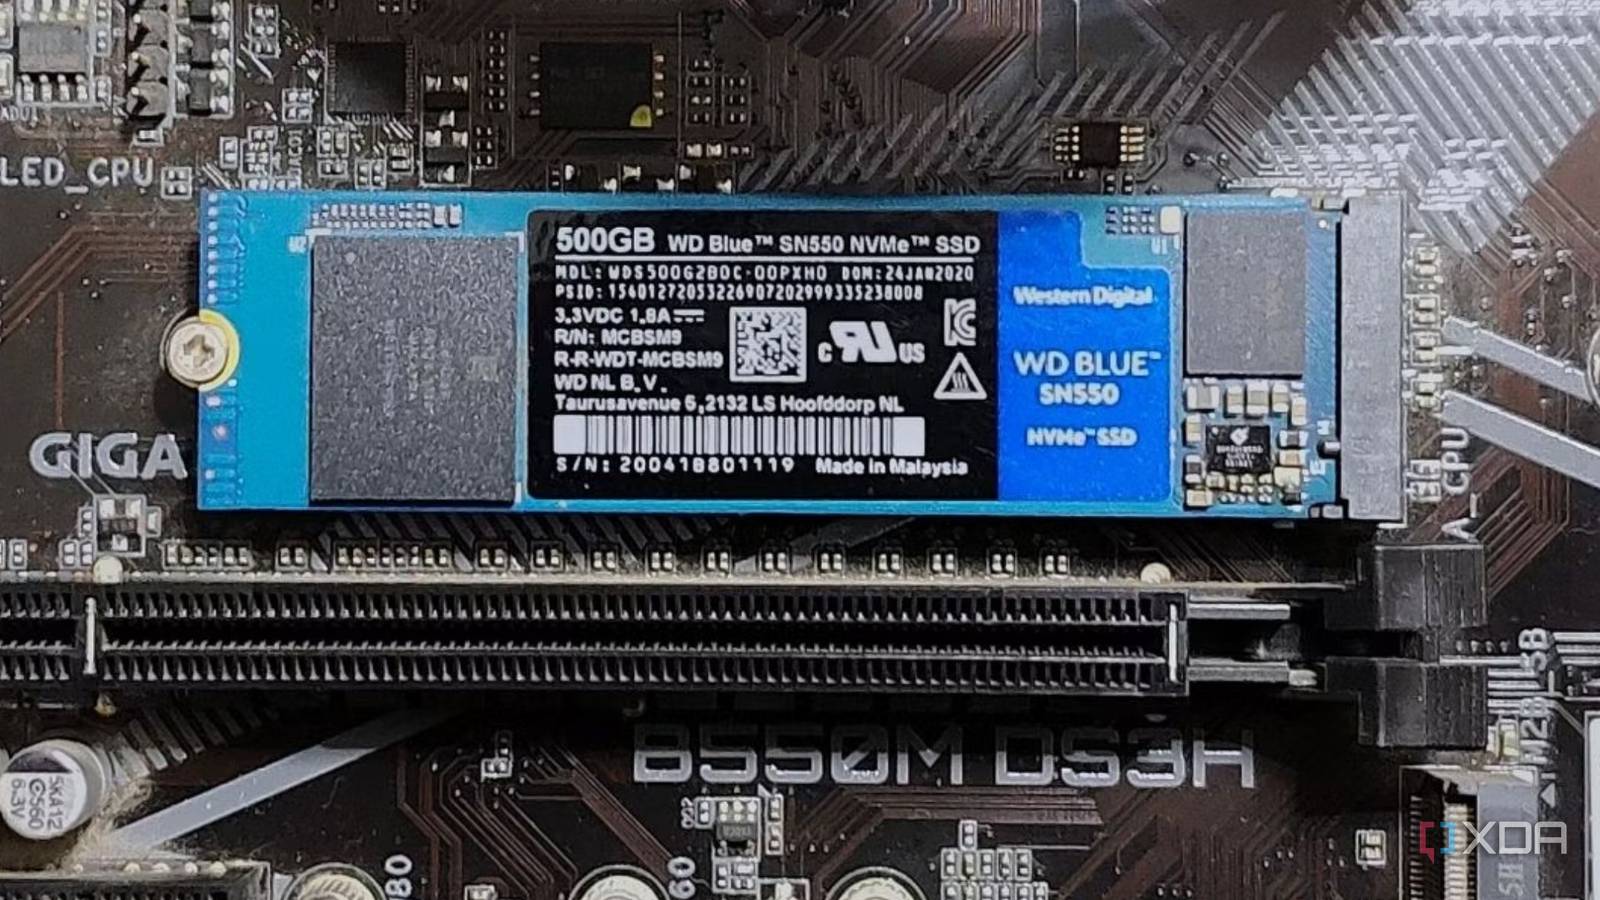
Laptop installation is similar, but access is often more difficult. The exact process depends on the laptop design, so read the service guide before removing the bottom cover.
Use this process for how to install a new M.2 SSD in a compatible laptop:
-
Shut down the laptop.
-
Disconnect the charger and all accessories.
-
If possible, disable the internal battery in the BIOS or disconnect it after removing the bottom panel.
-
Remove the bottom-cover screws.
-
Use a plastic opening tool to release the cover clips.
-
Locate the M.2 slot and remove the existing mounting screw.
-
Slide the new SSD into the slot at a slight angle.
-
Lower the drive onto the standoff.
-
Replace and gently tighten the retaining screw.
-
Reconnect the battery if you disconnected it.
-
Reinstall the bottom cover and its screws.
-
Turn on the laptop and check whether the drive is detected.
Keep track of screw locations. Laptop screws may look similar but have different lengths. Putting a long screw into the wrong hole can damage internal parts.
Some laptops include a thin thermal pad over the SSD. If the old drive has one, move it to the new drive only if it fits properly. Do not place a thick desktop heat sink inside a laptop unless the manufacturer supports it.
Laptop manufacturers may also limit the supported drive length. A 2280 SSD will not fit a slot designed for a 2230 or 2242 drive.
How to Install a New M.2 SSD as a Secondary Drive
If your computer already has a boot drive, you can add the new M.2 SSD as extra storage. This is often the easiest installation because you do not need to reinstall Windows or clone the old drive.
After physically installing the drive:
-
Start the computer.
-
Sign in to Windows.
-
Right-click the Start button and open Disk Management.
-
Find the new drive marked as unallocated.
-
Confirm its size so you do not select the wrong disk.
-
Initialize the drive if Windows asks you to do so.
-
Choose GPT for modern UEFI systems.
-
Create a new simple volume.
-
Assign a drive letter.
-
Format the volume using NTFS.
-
Give the drive a clear label, such as Games or Projects.
Windows may not show a new SSD in File Explorer until you initialize and format it. This does not mean the installation failed. It simply means the drive has not been prepared for normal file storage.
Be careful in Disk Management. Formatting the wrong drive deletes its data. Check the drive capacity and existing partitions before making changes.
For a modern computer, GPT is normally the best partition style. MBR may be needed for some older systems, but it has more limitations and is not the usual choice for a new UEFI computer.
How to Install a New M.2 SSD as the Boot Drive
Using the new M.2 SSD as your boot drive requires either cloning your old drive or installing the operating system from scratch.
A clean Windows installation usually follows this process:
-
Create a Windows installation USB on another computer.
-
Shut down your computer.
-
Install the M.2 SSD.
-
Start the computer and open the BIOS or UEFI setup.
-
Confirm that the SSD appears in the storage list.
-
Set the USB flash drive as the temporary boot device.
-
Start the Windows installation.
-
Select the new SSD as the installation target.
-
Delete old partitions on the target SSD only if you are certain it contains no needed data.
-
Allow Windows to create the required partitions.
-
Complete the installation and install updates.
-
Install motherboard, chipset, graphics, and network drivers.
Common BIOS keys include Delete, F2, F10, and F12, but the correct key depends on the manufacturer. The boot menu often appears when you press F12, Esc, or another key during startup.
If the SSD does not appear in the installer, check BIOS storage settings, the M.2 slot type, and the drive connection. Some systems use Intel VMD or RAID storage settings, which may require a storage driver during installation or a matching BIOS setting.
Do not change RAID, VMD, or storage mode settings casually if Windows already works. Changing the mode can make the existing operating system fail to boot. Record the original setting before making changes.

How to Clone Your Old Drive to the New SSD
Cloning is useful when you want the new M.2 SSD to replace your current boot drive without rebuilding your system. It copies the source drive to the target drive.
Before cloning, check these points:
• The new SSD has enough space for the used data on the old drive.
• The cloning software supports your operating system.
• The new SSD is visible in Windows.
• You have a backup of important files.
• The computer remains connected to power during the process.
The general cloning process is:
-
Install the new M.2 SSD.
-
Start Windows from the old drive.
-
Open trusted cloning software.
-
Select the old drive as the source.
-
Select the new SSD as the destination.
-
Copy all required system partitions.
-
Start the clone and wait for it to finish.
-
Shut down the computer after the software confirms completion.
-
Enter the BIOS or UEFI setup.
-
Select the new SSD as the first boot device.
-
Start Windows and confirm that the new drive is active.
Some cloning tools offer an option to expand the main partition. If the new SSD is larger, use that option or expand the partition later in Disk Management.
A common mistake is to clone only the C: drive. Windows may also need an EFI system partition and a recovery partition. For a bootable clone, copy all required system partitions, not just personal files.
After confirming that the new SSD boots correctly, you can format the old drive for storage. Do not erase the old drive immediately. Keep it untouched until you have tested the new boot drive for a few days.
Check the SSD in BIOS and Windows
After learning how to install a new M.2 SSD, confirm that the system recognizes it correctly. A successful physical installation does not always mean the drive is ready for use.
First, enter BIOS or UEFI and check the storage information. The model name or capacity should appear. If it does not, shut down the computer and inspect the drive connection again.
In Windows, open Device Manager and expand Disk drives. You can also open Disk Management to check the partitions and capacity.
Run a basic performance test only after the drive is formatted and working. Results vary by computer, PCIe generation, workload, temperature, and test software. A PCIe 4.0 SSD in a PCIe 3.0 slot will not reach its advertised PCIe 4.0 speed.
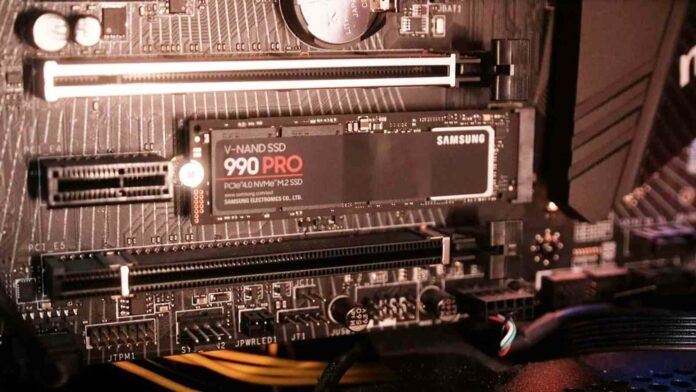
Check the drive temperature during large file transfers. NVMe SSDs can become warm under sustained workloads. Many modern motherboards include a heat spreader, which can help control temperature.
Firmware updates may improve compatibility, stability, or performance. Install them only through the SSD manufacturer’s trusted software or support page. Keep the computer connected to reliable power during a firmware update.
Windows may also install a standard storage driver automatically. This is often enough for normal use. For special features, such as vendor monitoring tools or advanced power settings, the SSD manufacturer may provide additional software.
Common Problems and Their Fixes
Even when you know how to install a new M.2 SSD, a few problems can appear. Most are caused by compatibility, setup, or partition issues rather than a defective drive.
The SSD is not detected
Check that the drive is fully inserted and secured. Confirm that the slot supports the drive type, and test another M.2 slot if your motherboard has one.
Also check whether the slot is disabled by a BIOS setting or shared with a SATA port. Motherboard manuals often list these shared connections in a storage table.
The SSD appears in BIOS but not in Windows
Open Disk Management. The drive may need initialization, partitioning, and formatting before it appears in File Explorer.
Do not format the drive if it contains files you need. If the drive was used before, check its partitions carefully first.
The computer will not boot after cloning
Enter BIOS and select the new SSD as the first boot device. Confirm that the clone includes the EFI system partition and that the computer uses UEFI mode when required.
If Windows still fails to boot, reconnect the old drive and verify the clone process. A recovery USB may also help repair boot files.
The SSD runs slower than expected
Check the PCIe generation of the M.2 slot. Also check whether the SSD is overheating or sharing bandwidth with another device.
Advertised speed is based on controlled tests. Real-world speeds can be lower during long transfers, especially after the drive’s cache fills.
The screw or standoff is missing
Do not operate the SSD while it is loose. Contact the computer or motherboard manufacturer, or buy a correctly sized M.2 mounting kit.
A loose drive can move inside the case and lose contact with the slot. The screw must hold the drive flat without bending it.
The laptop cover will not close
Remove the drive and check its thickness. A heat sink or thermal pad that is too thick can press against the cover.
Use a slim drive designed for laptops. Never force the panel closed, because it may damage the SSD or the laptop frame.
Mistakes to Avoid When Installing an M.2 SSD
Avoiding small mistakes makes how to install a new M.2 SSD safer and faster.
• Do not buy a drive before checking whether the slot supports NVMe or SATA.
• Do not touch the gold contacts.
• Do not insert the SSD straight down into the slot.
• Do not force the drive if the notch does not align.
• Do not over-tighten the mounting screw.
• Do not remove the old drive before testing the new one.
• Do not format a disk until you confirm that it is the correct disk.
• Do not change BIOS storage modes without recording the original setting.
• Do not install a large desktop heat sink in a laptop without checking clearance.
• Do not ignore the motherboard manual when several M.2 slots are available.
One lesson I learned early is to take a photo before disconnecting anything. A quick picture shows cable positions, screw locations, and the original drive orientation. It can save time when putting the computer back together.
Another useful habit is to test the SSD before closing every panel. For a desktop, you can temporarily leave the side panel off while checking BIOS detection. For a laptop, you may need to reinstall the cover for safety, but test carefully before replacing every screw.
How to Keep Your New M.2 SSD Healthy
Modern SSDs need little maintenance, but good habits can help them remain reliable.
Keep some free space on the drive. Performance may drop when an SSD is nearly full, and the operating system needs room for temporary files and maintenance tasks. Keeping at least 10 to 20 percent free is a practical target, though the exact amount depends on your workload.
Make sure TRIM is enabled in Windows. TRIM helps the operating system tell the SSD which data blocks are no longer needed. Windows normally manages this automatically.
Use the manufacturer’s monitoring tool to check health, temperature, firmware, and remaining endurance. SSD health estimates are useful, but they are not a guarantee against failure.
Do not use an SSD as your only backup. A healthy drive can still fail because of electrical damage, physical damage, software errors, or accidental deletion. Keep important files in at least two separate places.
For demanding work, such as video editing or large game installations, consider airflow around the M.2 area. Heat is not always dangerous, but sustained high temperatures can reduce performance through thermal throttling.
Frequently Asked Questions About How to Install a New M.2 SSD
Do I need to reinstall Windows when I install a new M.2 SSD?
No. If you add the SSD as a secondary storage drive, Windows can remain on the existing drive. If you want the new SSD to be the boot drive, you can either clone the old drive or perform a clean Windows installation.
Can I install an NVMe SSD in any M.2 slot?
No. M.2 slots differ in interface, size support, and available PCIe lanes. Check the motherboard or laptop manual to confirm that the slot supports NVMe before purchasing the drive.
Should I use GPT or MBR for a new M.2 SSD?
GPT is normally the best choice for a modern computer using UEFI firmware. MBR is mainly useful for older systems that rely on legacy BIOS mode.
Why is my new M.2 SSD not showing in File Explorer?
The drive may not be initialized, partitioned, or formatted. Open Disk Management, identify the correct drive by its capacity, and set it up before formatting it.
Do I need a heat sink for an M.2 SSD?
A heat sink is not required for every SSD, but it can help during long, heavy workloads. Use the motherboard heat shield in a desktop when available, and check clearance carefully in a laptop.
Can I move my old M.2 SSD to another computer?
Sometimes, but compatibility is not guaranteed. The new computer must support the drive’s interface and size, and Windows may require driver or activation changes after the move.
How long does it take to install an M.2 SSD?
The physical installation often takes 10 to 30 minutes. Setup, cloning, or a fresh operating system installation can take much longer, depending on the amount of data and the computer’s speed.
Conclusion
Installing an M.2 SSD is a simple upgrade when you confirm compatibility first. Check the interface, size, slot support, and mounting hardware before opening the computer. Then install the drive at an angle, secure it gently, and configure it in BIOS and Windows.
If you are replacing your boot drive, choose between cloning and a clean installation. If you are adding storage, initialize and format the SSD in Disk Management. Always back up important files and keep the old drive until the new one works reliably.
Take your time, follow the manufacturer’s manual, and treat the installation like fitting a key into a lock: the right match makes the process smooth. If this guide helped, explore more storage and PC upgrade resources, and share your installation experience in the comments.

Everett Ashford is a tech reviewer at mytechgrid.com specializing in SSDs, cameras, TVs, earbuds, headphones, and other consumer electronics. He provides honest, data-driven reviews based on hands-on testing and real-world performance analysis. Everett simplifies complex tech details to help readers make smart, confident buying decisions.