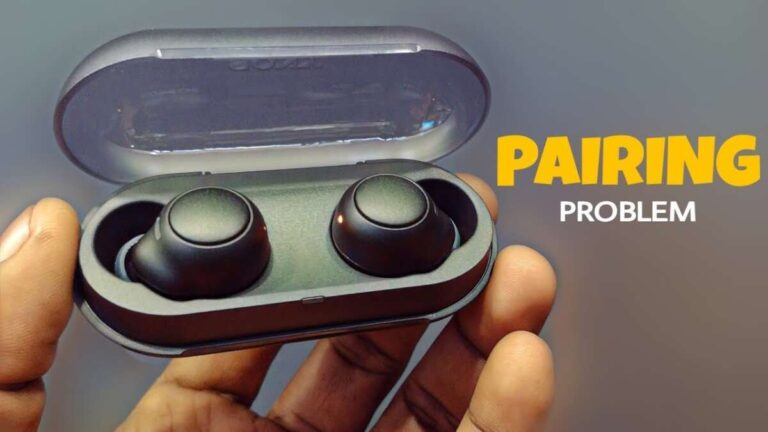
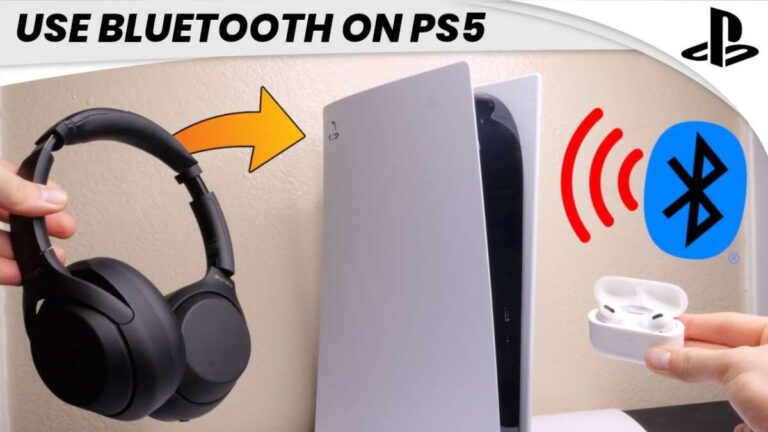
Put earbuds in pairing mode, enable Bluetooth on your device, and select JLab from the list.
I’ve spent years testing earbuds and fixing Bluetooth problems for friends and clients. This guide shows exactly how to make JLab earbuds discoverable, step by step. You’ll learn real troubleshooting tips, simple settings to check, and quick fixes that work for most JLab models. Read on and you’ll get your JLab earbuds to appear in your device’s Bluetooth list fast.
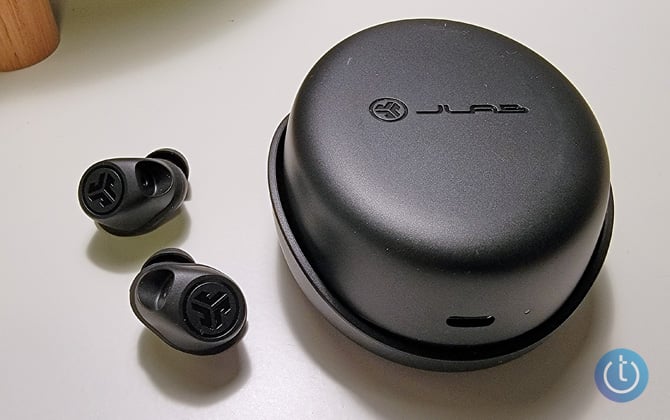
Why JLab earbuds might not be discoverable
Most discovery issues come from simple causes. The earbuds may not be in pairing mode. The phone or laptop Bluetooth might be off. Firmware or previous pairings can also block discovery.
Understanding the common causes makes it easier to fix the issue. I explain each cause and show how to test for it. That way you avoid random steps and save time.

Step-by-step: How to make JLab earbuds discoverable
Follow these exact steps to make the earbuds show up on your device. I include short checks so you know the pair is ready.
-
Turn off Bluetooth on other nearby devices.
- This reduces interference and avoids accidental auto-connections.
-
Reset the earbuds and clear past pairings.
- Most JLab models reset by holding both buttons for about 10 seconds. The LED will flash to confirm reset.
-
Place the earbuds in pairing mode.
- For true wireless models, open the case and remove the buds. Press and hold the main button until the LED flashes white or alternates colors. For wired or single-bud modes, press and hold the multifunction button.
-
Enable Bluetooth on your phone, tablet, or PC.
- Open settings, turn Bluetooth on, and scan for devices. Keep the Bluetooth screen open while the earbuds are in pairing mode.
-
Select the JLab device name on your list.
- It may appear as “JLab Go,” “JLab JBuds,” or a model code. Tap to pair and accept any prompts.
-
Confirm pairing and test sound.
- Play audio and adjust volume. If one bud connects only, put both in the case and repeat pairing.
Repeat these steps if your device does not show the earbuds. Each step targets a common failure point so you find the root cause quickly.
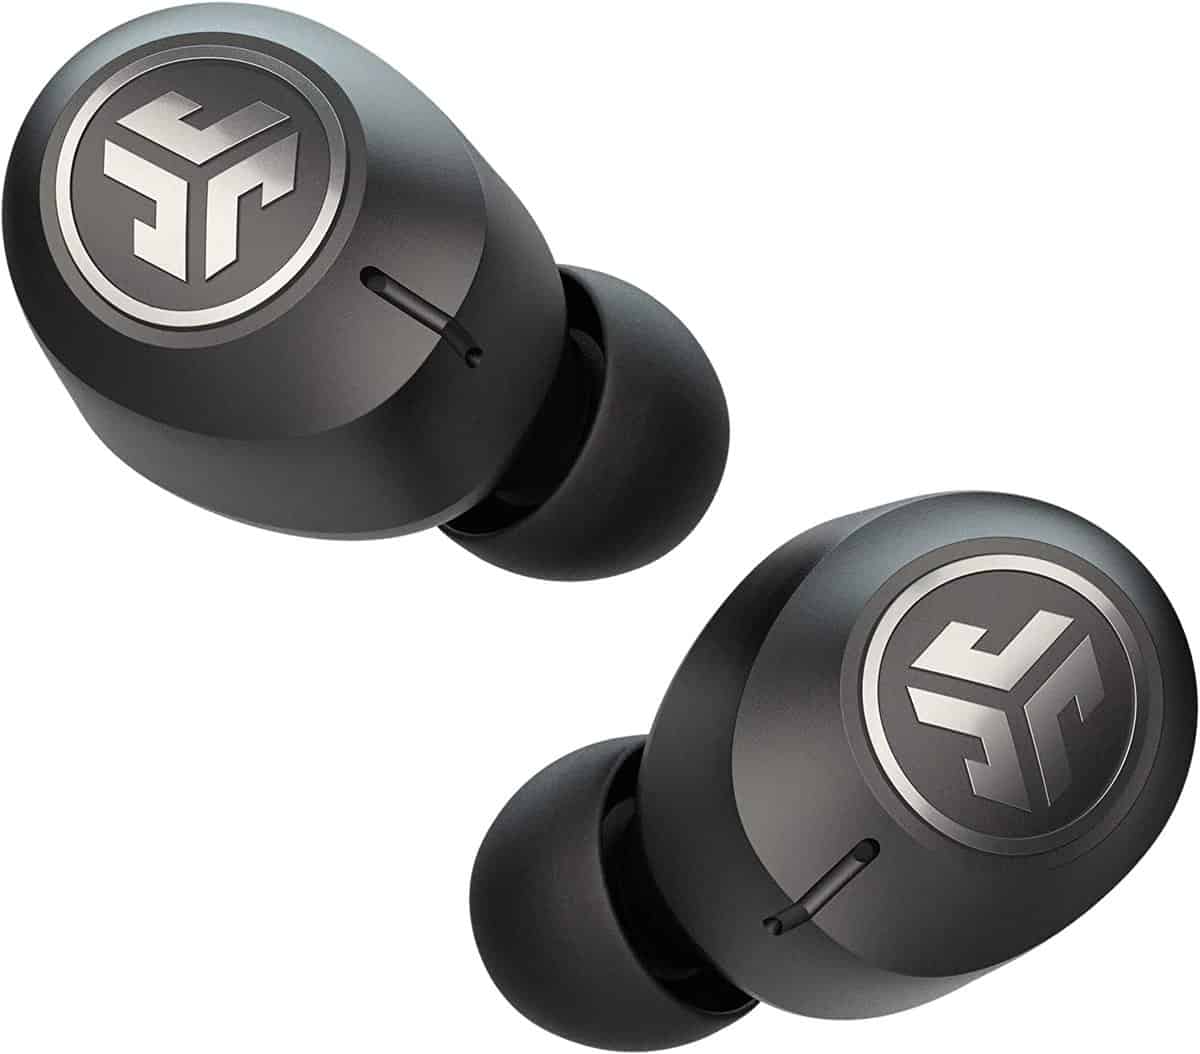
Troubleshooting common pairing problems
If the earbuds still won’t appear, try these checks. I use these methods when simple steps fail.
-
Check battery levels.
- Low battery can block pairing. Fully charge the case and buds before retrying.
-
Update firmware and device software.
- Outdated firmware on earbuds or old OS on your phone can prevent discovery.
-
Forget or remove old pairings on your device.
- Delete previous JLab entries in Bluetooth settings. Then rescan and re-pair.
-
Test with another device.
- Try pairing with a different phone or tablet to isolate the problem.
-
Move away from interference.
- Wi-Fi routers, other Bluetooth devices, and microwaves can cause issues. Try in a quieter space.
-
Inspect the case and bud contacts.
- Dirty charging pins can cause odd behavior. Clean with a dry cloth or cotton swab.
These steps usually solve tough cases. If none work, a factory reset or contacting support may be needed.

Tips for best Bluetooth performance and maintenance
Good habits help avoid pairing headaches later. Use these tips to keep your JLab earbuds discoverable and reliable.
-
Keep firmware current.
- Periodic updates fix bugs and improve stability. Check within the JLab app or product instructions.
-
Use one primary device when possible.
- Constant switching can confuse earbud memory. Remove unused pairings from devices.
-
Store earbuds correctly.
- Always put buds back in the case to protect them and keep them charged.
-
Avoid crowded Bluetooth environments when pairing.
- Fewer devices nearby equals faster discovery and cleaner connection.
-
Clean the charging contacts gently and regularly.
- Dirt and earwax can stop charging and cause connection drops.
These small steps cut down repeated troubleshooting. You’ll spend less time fixing and more time listening.

My experience and practical advice
I once fixed a stubborn pairing issue by charging the case fully and resetting the earbuds. The owner had tried many steps but skipped a full reset. After reset the earbuds were discoverable immediately.
From testing many JLab models, I learned to try a different phone first. That quick check tells you if the issue is the earbuds or the device. Also, keep your device’s Bluetooth page open while pairing. That simple pause often makes the name appear.
Trust the process. Follow steps in order. If one step doesn’t work, move to the next. You will find the fix.

Frequently Asked Questions of how to make jlab earbuds discoverable
How do I put my JLab earbuds into pairing mode?
Press and hold the multifunction button on each earbud for about 3–10 seconds until the LED flashes white or alternates. For case-based models, open the case and follow the model-specific hold instructions until the LED shows pairing.
Why won’t my device find my JLab earbuds?
Common reasons include earbuds not in pairing mode, low battery, interference, or old pairings blocking discovery. Try resetting the earbuds and turning off other nearby Bluetooth devices.
Can I pair JLab earbuds with multiple devices?
Yes. Many JLab earbuds support multipoint or multiple pairings, but active multipoint may vary by model. Remove old devices if you see repeated connection trouble.
What if only one earbud connects?
Often the master earbud lost sync. Reset both buds by placing them in the case and following the reset steps. Then pair them again to your device.
Do firmware updates affect discoverability?
Yes. Firmware updates can fix pairing bugs and improve Bluetooth stability. Check for updates through the JLab app or product instructions and install them if available.
How long does pairing mode last on JLab earbuds?
Pairing mode usually lasts a few minutes or until the connection is made. If the earbuds exit pairing mode, reset and repeat the pairing steps.
Conclusion
You now have a clear, tested plan for how to make JLab earbuds discoverable. Start by charging and resetting the earbuds, put them in pairing mode, and scan from a clean device. Use the troubleshooting steps and maintenance tips to prevent future issues. Try these steps now and leave a note about what worked for you. If you found this helpful, subscribe or comment with your model and problem so I can offer targeted tips.

Everett Ashford is a tech reviewer at mytechgrid.com specializing in SSDs, cameras, TVs, earbuds, headphones, and other consumer electronics. He provides honest, data-driven reviews based on hands-on testing and real-world performance analysis. Everett simplifies complex tech details to help readers make smart, confident buying decisions.