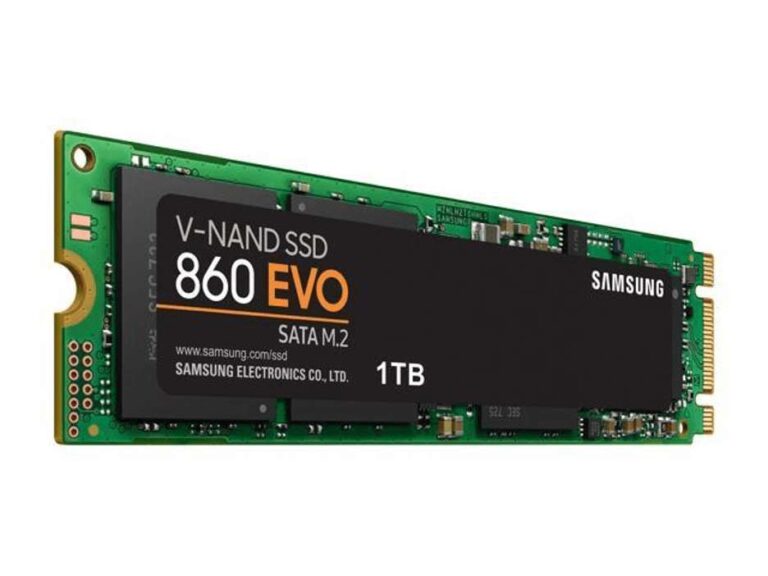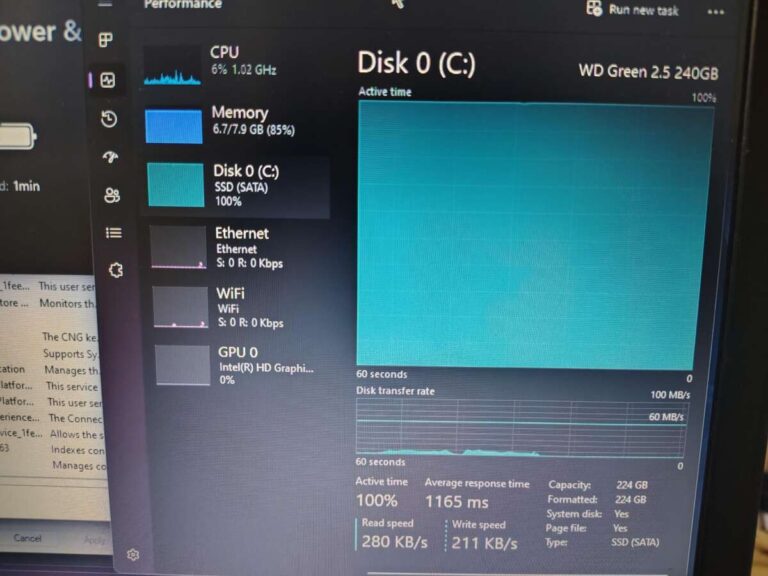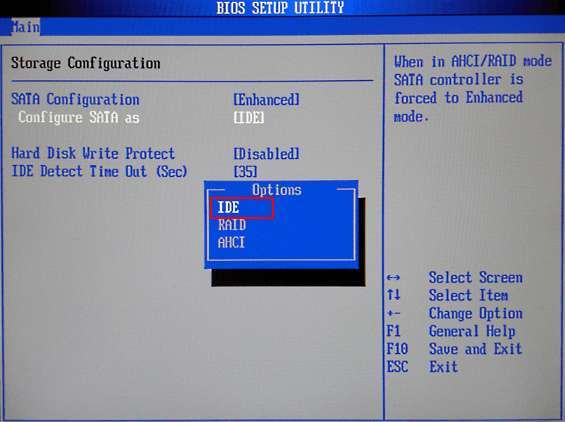
To enable an SSD in BIOS, enter firmware setup, turn on storage detection, and save your changes.
Learning how to enable SSD in BIOS is usually simple, but the correct setting depends on whether you use a SATA SSD or an NVMe M.2 drive. This guide explains the exact steps, safe storage modes, common causes of detection problems, and practical fixes based on standard desktop and laptop repair methods.
What It Means to Enable an SSD in BIOS
An SSD does not usually need a special “enable” switch. Most modern computers detect a working SSD automatically when the drive is connected correctly and the storage controller is active.
When people search for how to enable SSD in BIOS, they often mean one of these tasks:
• Make the BIOS detect a new SSD
• Turn on a disabled SATA port
• Enable an M.2 or NVMe slot
• Change SATA mode from a disabled or incorrect setting
• Set the SSD as the first boot device
• Prepare the SSD for Windows installation
BIOS, also called UEFI firmware on newer computers, works like the computer’s starting gate. It checks the hardware before Windows or another operating system loads. If the SSD is not visible at this stage, Windows usually cannot use it as a boot drive.
A drive may be missing because of a loose cable, a disabled port, an unsupported M.2 type, an incorrect storage mode, outdated firmware, or a failed SSD. Changing BIOS settings can help, but it cannot repair a physically damaged drive.
Before You Change BIOS Settings
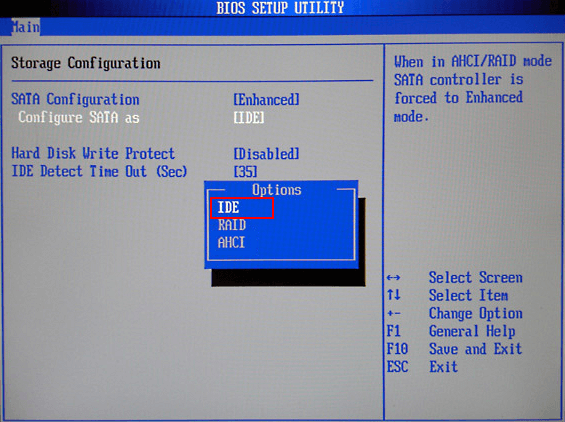
Before learning how to enable SSD in BIOS, prepare your computer and protect your data. Incorrect storage settings can prevent Windows from booting, especially when switching between AHCI and RAID modes.
Follow these safety steps:
- Shut down the computer fully.
- Disconnect unnecessary USB drives and memory cards.
- If you are working inside a desktop, turn off the power supply and unplug the power cable.
- Ground yourself before touching internal parts.
- Record the current BIOS storage settings with a photo.
- Back up important files if the SSD still works in Windows.
- Check your computer or motherboard manual for storage details.
If the SSD contains Windows, do not change from AHCI to RAID or from RAID to AHCI without preparation. Windows may show an “Inaccessible Boot Device” error after the change.
On many computers, you can enter BIOS by pressing one of these keys during startup:
• Delete
• F2
• F10
• F12
• Esc
The correct key appears briefly on the screen. On Windows 11, you can also open the firmware menu through Settings, System, Recovery, Advanced startup, Restart now, Troubleshoot, Advanced options, and UEFI Firmware Settings.
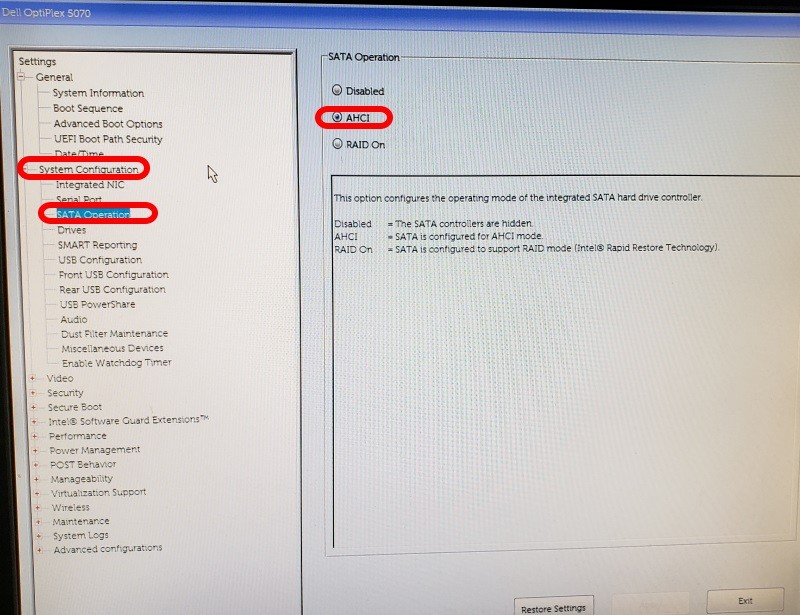
How to Enable SSD in BIOS: Step-by-Step
The following process works for most desktop computers and laptops. Menu names vary by brand, but the basic logic stays the same.
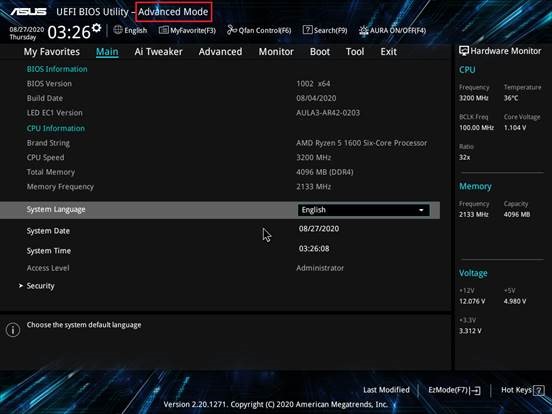
1. Enter BIOS or UEFI setup
Turn on or restart the computer. As soon as the manufacturer logo appears, tap the BIOS key several times.
If Windows starts normally, restart and try again. Do not hold the key continuously on some systems, because repeated taps work better.
2. Open the storage or advanced menu
Look for a menu named:
• Storage
• Advanced
• SATA Configuration
• NVMe Configuration
• Integrated Peripherals
• Devices
• System Configuration
• Onboard Devices
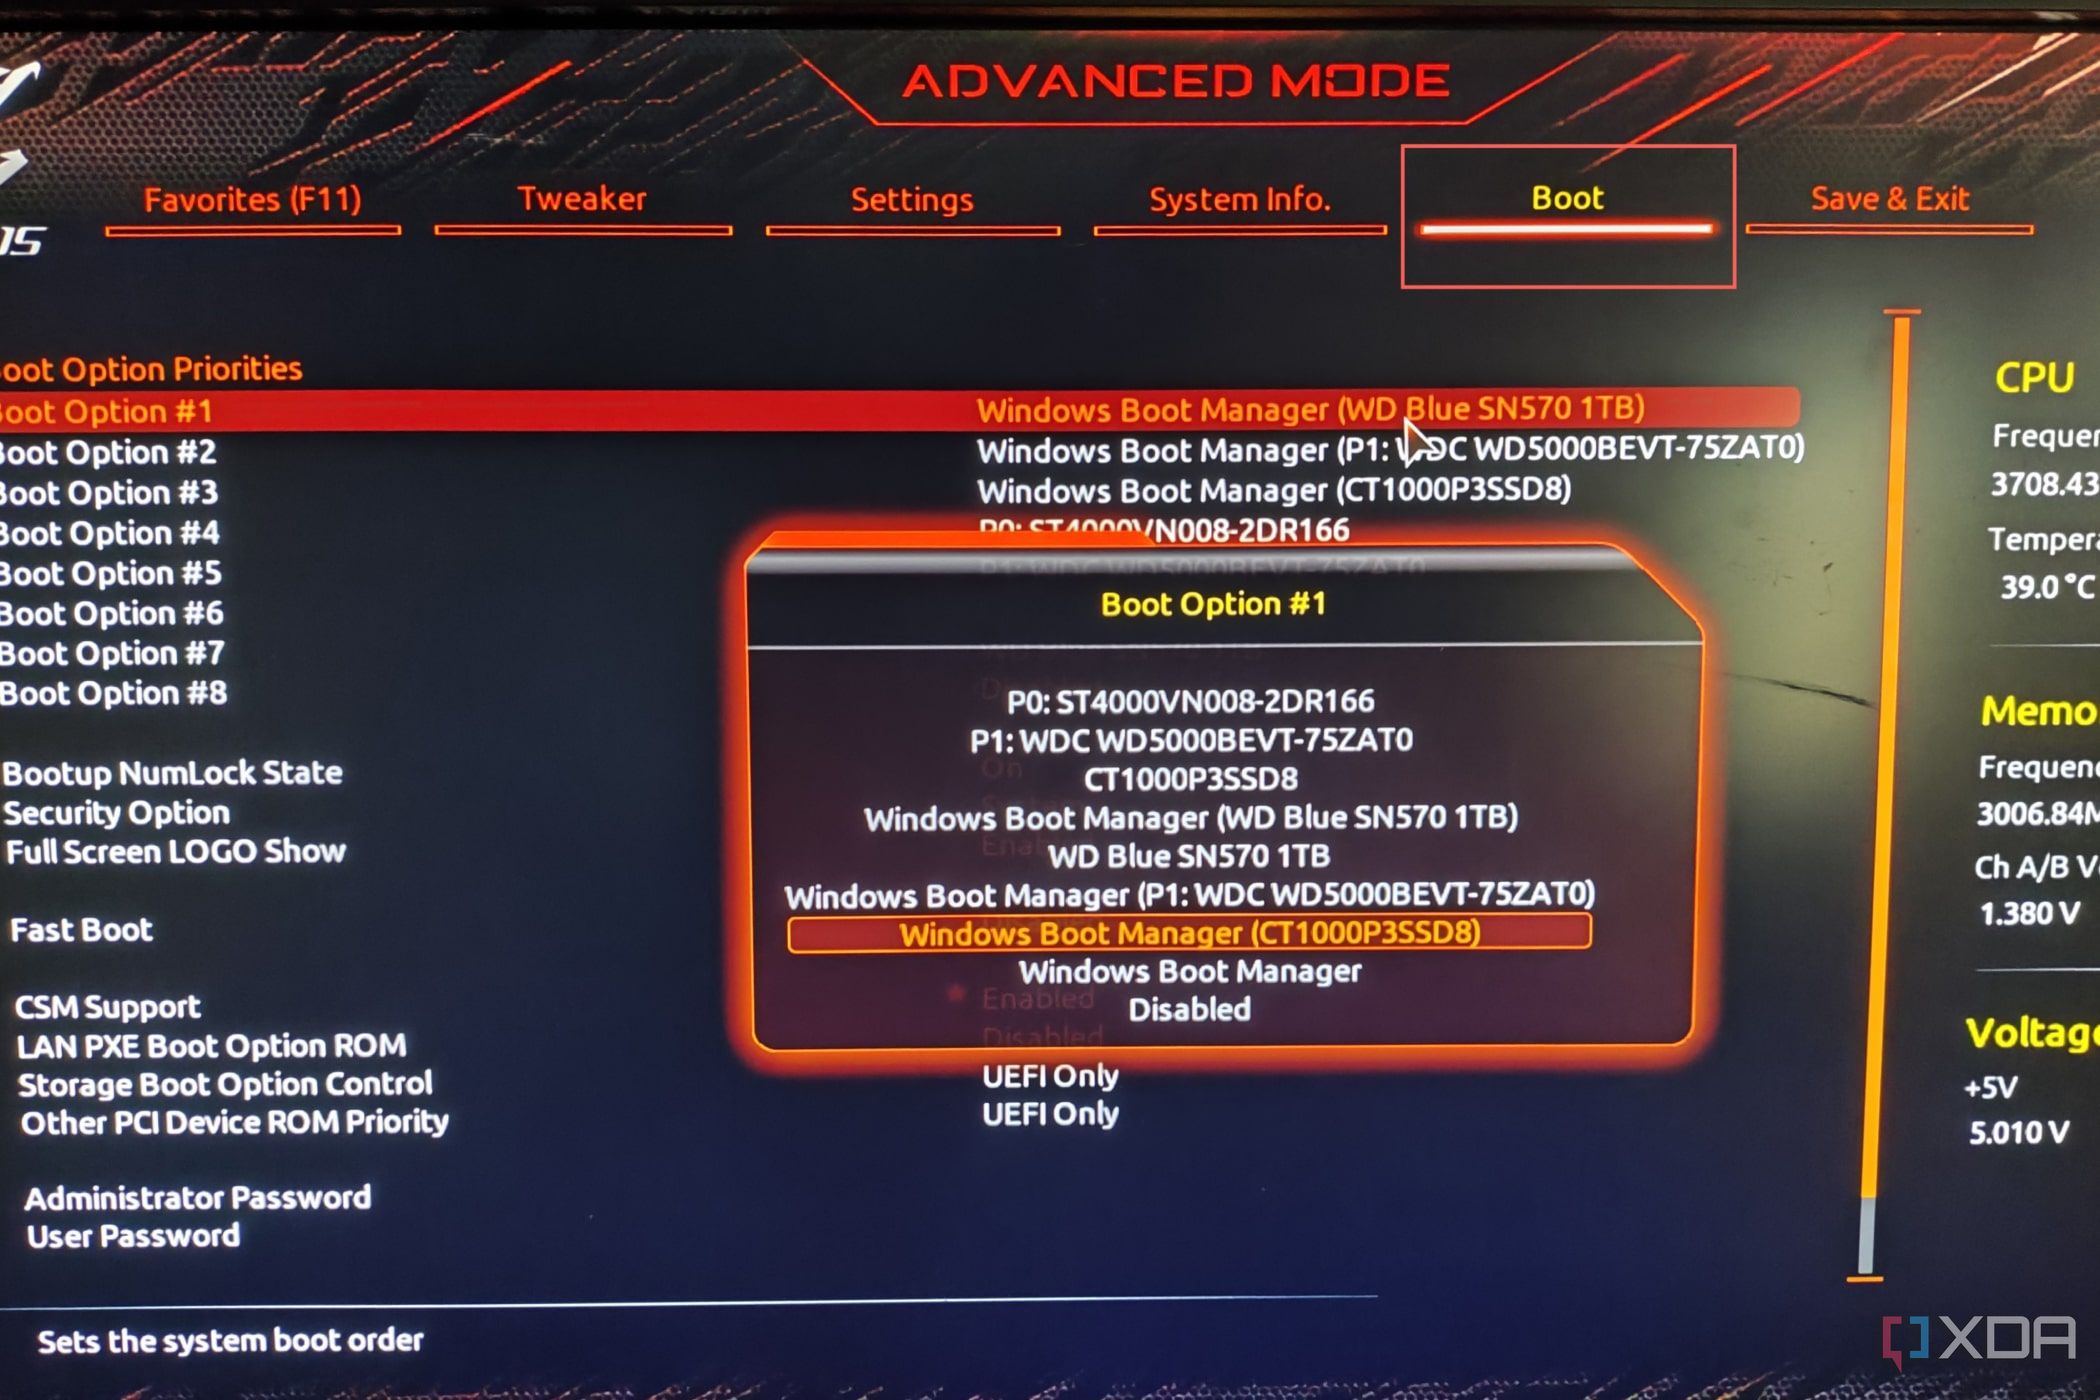
The location depends on the manufacturer. ASUS, Dell, HP, Lenovo, MSI, Acer, and Gigabyte may all use different labels.
3. Enable the storage controller or port
For a 2.5-inch SATA SSD, find the SATA controller or individual SATA ports. Set the controller or port to Enabled if it is disabled.
You may see options such as:
• SATA Controller: Enabled
• SATA Port 1: Enabled
• SATA Mode: AHCI
• Storage Controller: Enabled
• M.2 Slot: Enabled
Some BIOS menus do not offer a separate port switch. In that case, the port is active by default.
4. Check the SSD detection list
Open a page named Storage Information, SATA Information, NVMe Information, or System Information. The SSD should appear with its model number and capacity.
For example, the BIOS may show:
• Samsung SSD 870 EVO
• Crucial MX500
• WD Blue SN580
• Kingston NV2
• Intel SSD series
If the drive appears here, the motherboard can communicate with it. The next step is setting the boot order or installing the operating system.
5. Choose the correct storage mode
For most single-drive Windows installations, AHCI is the usual choice for SATA SSDs. RAID or Intel Rapid Storage Technology may be required on some factory-built computers or systems using multiple drives.
Do not change this setting simply because RAID sounds faster. RAID is a storage arrangement, not a general performance mode. If Windows was installed in RAID mode, switching to AHCI without preparation can stop the system from booting.
6. Set the SSD as the boot device
Open the Boot menu. Move the SSD or Windows Boot Manager to the top of the list.
If Windows is installed in UEFI mode, the preferred option is usually Windows Boot Manager followed by the SSD model. Avoid selecting a random USB device unless you are installing Windows.
7. Save and restart
Press F10 or choose Save Changes and Exit. Confirm the change when asked.
After restarting, check whether the computer loads Windows. If it does not, return to BIOS and restore the previous storage mode or boot order using the photo you took earlier.
This step-by-step method is the safest general answer to how to enable SSD in BIOS. However, NVMe drives and SATA drives require different physical checks.
How to Enable a SATA SSD in BIOS
A SATA SSD uses a data cable and a power cable in a desktop. In a laptop, it may slide into a special drive bay or connect through a small adapter.
To enable a SATA SSD in BIOS:
- Turn off the computer.
- Check that the SATA data cable is firmly connected.
- Check that the SATA power cable is secure.
- Try another SATA cable if available.
- Try a different SATA port on the motherboard.
- Enter BIOS after turning the computer on.
- Open SATA Configuration or Storage Information.
- Confirm that the SSD model appears.
- Set SATA mode to the mode used by Windows.
- Save the settings and restart.
A SATA SSD may not work if it shares bandwidth with an M.2 slot. Some motherboards disable one or more SATA ports when a particular M.2 slot is occupied. This information is normally listed in the motherboard manual.
For example, installing an M.2 SATA drive in a slot may disable SATA ports 5 and 6. This is not a fault. It is a lane-sharing design choice.
If the SSD appears in BIOS but not in Windows, the issue is probably not BIOS. The disk may need to be initialized, partitioned, or assigned a drive letter in Disk Management.
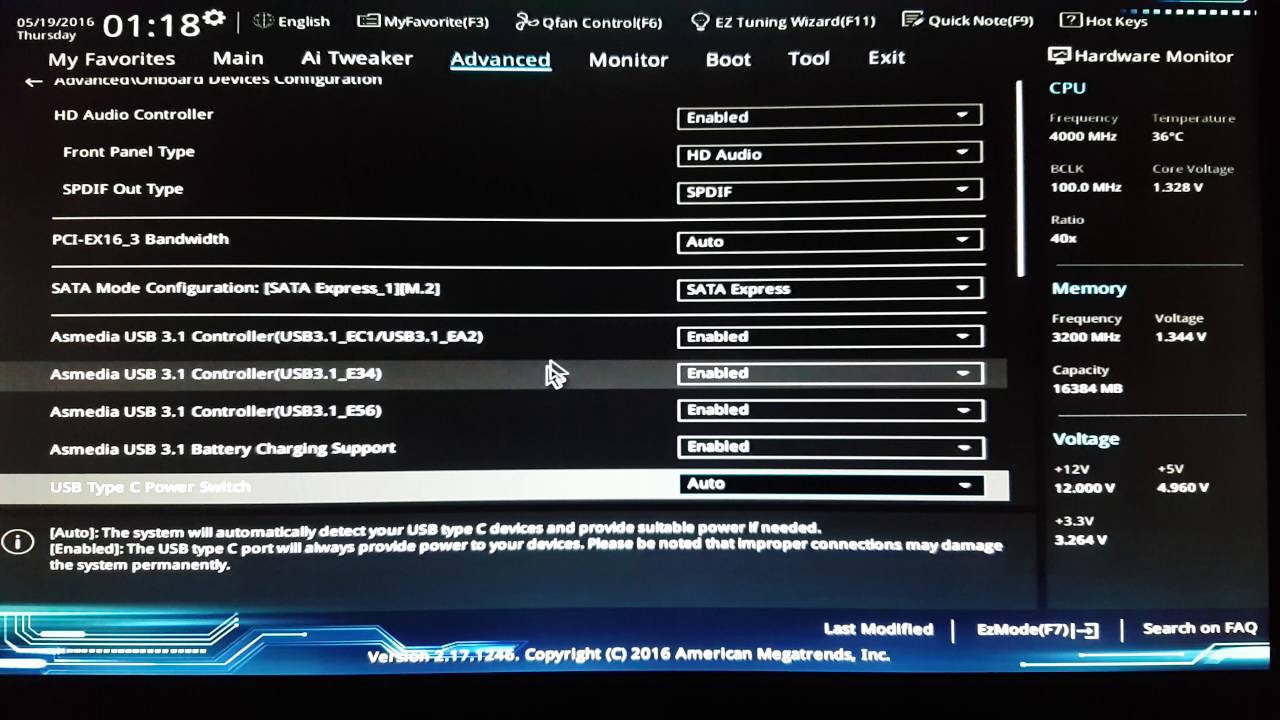
How to Enable an NVMe SSD in BIOS
NVMe SSDs are small M.2 drives that connect directly to a motherboard slot. They do not use the same cable as a 2.5-inch SATA SSD.
To check an NVMe drive:
• Turn off the computer and unplug it.
• Remove the M.2 screw and inspect the slot.
• Insert the drive at a slight angle.
• Press it flat and secure it with the correct screw.
• Enter BIOS and open NVMe Configuration or Storage Information.
• Confirm that the drive model and capacity appear.
• Check that the M.2 slot is enabled, if that option exists.
• Save changes and restart.
One important detail is that M.2 describes the shape of the drive, not its communication method. An M.2 SSD may use SATA, NVMe, or PCIe. A motherboard slot may support only one of these types.
This is one of the most common reasons people think they need to know how to enable SSD in BIOS. The setting may be correct, but the drive type may not match the slot.
Also check the motherboard manual for supported PCIe generations. A PCIe 4.0 NVMe drive usually works in a PCIe 3.0 slot at a lower speed, but some older systems may not support newer NVMe drives as boot devices.
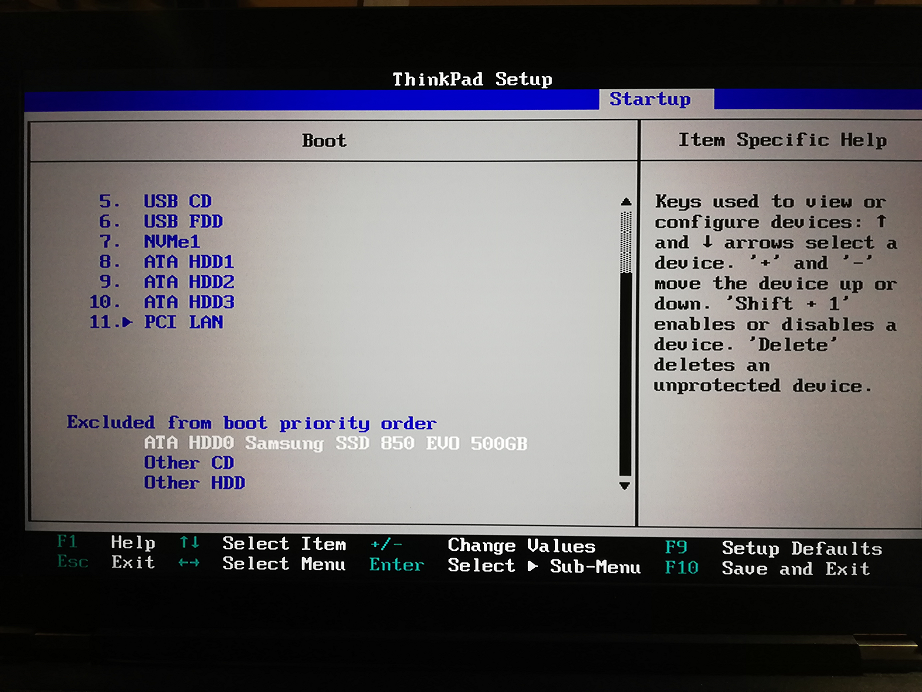
How to Set an SSD as the Primary Boot Drive
Detecting an SSD and booting from it are two different things. BIOS may see the drive but still start from an old hard drive, USB drive, or network device.
To make the SSD the main boot drive:
- Enter BIOS or UEFI setup.
- Open the Boot menu.
- Select Boot Option Priorities.
- Choose Windows Boot Manager on the SSD as Boot Option 1.
- Move other drives below it.
- Disable network boot if you do not use it.
- Save the changes and restart.
If the SSD does not appear in the boot list but does appear in storage information, it may not contain a bootable operating system. A new SSD normally needs Windows, Linux, or another operating system before it can boot.
For a fresh Windows installation, start from a Windows installation USB. During setup, select the correct SSD by checking its capacity. Formatting the wrong drive can erase personal files, so slow down at this screen.
In my experience troubleshooting new builds, users often blame BIOS when the real issue is that the SSD is empty. BIOS can detect an empty drive perfectly well, but it cannot boot from one without valid boot files.
Why BIOS Does Not Detect the SSD
If the steps for how to enable SSD in BIOS do not work, check the physical connection and compatibility first. BIOS cannot list a drive that has no power, no data link, or no supported interface.
Common causes include:
• Loose SATA data or power cables
• A damaged SATA cable
• A disabled SATA port
• An M.2 drive installed in the wrong slot
• SATA and NVMe incompatibility
• An M.2 slot disabled by lane sharing
• An outdated BIOS version
• A defective SSD
• A motherboard slot or controller problem
• A laptop storage bracket that is missing
• An incorrect RAID or storage controller setting
Try the simplest test first. Shut down the computer, reseat the drive, and check the connection. Then test another port or cable if possible.
If the SSD works in another computer or USB enclosure, the original computer may have a port, firmware, or compatibility issue. If the drive fails everywhere, it may be defective.
Avoid repeatedly changing random BIOS options. That approach can create a second problem while hiding the first one. Make one change at a time and record the result.

What to Do If the SSD Appears in BIOS but Not Windows
When BIOS detects the SSD but Windows does not, the drive often needs setup inside the operating system.
Open Disk Management:
- Right-click the Start button.
- Select Disk Management.
- Find the SSD by matching its storage capacity.
- If it says Offline, right-click it and choose Online.
- If it says Not Initialized, initialize it as GPT for a modern UEFI computer.
- Create a New Simple Volume.
- Format it with NTFS if you plan to use it mainly with Windows.
- Assign a drive letter.
Do not initialize or format the disk if it contains files you need. Formatting removes access to existing data and may make recovery harder.
If the drive is missing from Disk Management, open Device Manager and check Disk Drives and Storage Controllers. You can also scan for hardware changes, install motherboard chipset drivers, and check for firmware updates from the computer or motherboard maker.
A drive that appears in BIOS but disappears under load may have a power, temperature, firmware, or hardware fault. Back up important data before testing it further.
AHCI, RAID, UEFI, and Legacy BIOS Explained
These terms often make how to enable SSD in BIOS sound harder than it is.
AHCI
AHCI is a storage controller mode commonly used for SATA drives. It supports features such as Native Command Queuing and hot-plug support.
RAID
RAID combines multiple drives or uses a vendor storage controller. Some computers ship with RAID enabled even when they have only one SSD. Keep the original mode if Windows was installed that way.
UEFI
UEFI is the modern replacement for traditional BIOS. It supports GPT disks, Secure Boot, larger drives, and modern boot methods.
Legacy or CSM mode
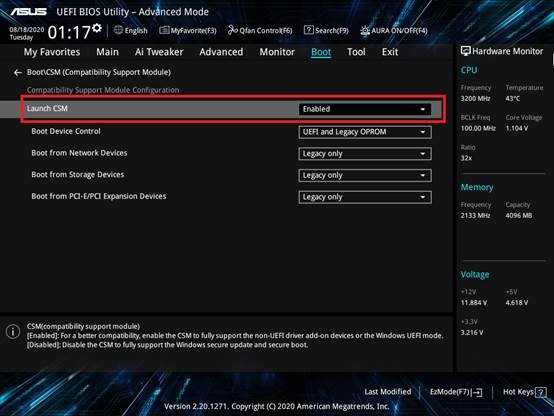
Legacy BIOS and Compatibility Support Module modes support older operating systems and hardware. A Windows installation made in UEFI mode may not boot if you switch to Legacy mode.
For most new systems, UEFI with GPT is the preferred setup. Secure Boot can usually remain enabled when using a properly installed modern version of Windows.
Common Mistakes to Avoid
Knowing how to enable SSD in BIOS also means knowing what not to change. A few careless clicks can create boot errors or erase data.
Avoid these mistakes:
• Changing AHCI and RAID without checking the Windows installation mode
• Formatting the wrong disk during Windows setup
• Installing an NVMe drive in an M.2 SATA-only slot
• Using an M.2 screw that is too long
• Updating BIOS without stable power
• Resetting BIOS before recording custom settings
• Assuming every M.2 slot supports every M.2 SSD
• Choosing the SSD by brand instead of checking its capacity
• Ignoring a clicking, overheating, or repeatedly disconnecting drive
• Treating BIOS detection and Windows setup as the same problem
A BIOS update can improve hardware compatibility, but it also carries risk. Use the exact firmware for your motherboard model and follow the manufacturer’s instructions. Do not turn off the computer during the update.
A practical lesson I have learned from storage repairs is to change only one setting at a time. Take a photo, make the change, restart, and test. This turns a confusing problem into a clear process.
When You Should Replace or Test the SSD
If the drive is not detected after checking cables, slots, settings, and compatibility, test it in another system. A USB-to-SATA adapter can test a 2.5-inch SATA SSD, while an NVMe USB enclosure can test an NVMe drive.
Do not rely on an inexpensive adapter for perfect diagnosis. Some adapters support SATA M.2 but not NVMe M.2, or the reverse. Confirm the adapter type before testing.
Replace the SSD when:
• It is missing from several computers
• It reports a serious health warning
• It disconnects repeatedly
• It becomes unusually hot
• It causes system freezes or crashes
• It has corrupted files and no reliable backup
Use the manufacturer’s diagnostic software when possible. SMART health data can reveal wear, errors, temperature problems, and unsafe shutdowns, but a “good” status does not guarantee that every file is safe.
If the data is valuable and the drive is failing, stop testing it and contact a professional data recovery service. Repeated power cycles can make some failures worse.
Frequently Asked Questions About How to Enable SSD in BIOS
How do I enable an SSD in BIOS?
Enter BIOS during startup, open the Storage or Advanced menu, and check that the SATA controller or M.2 slot is enabled. Confirm that the SSD appears in the storage list, then save your changes and restart.
Why is my SSD not showing in BIOS?
A loose cable, unsupported M.2 type, disabled port, outdated firmware, or failed SSD can prevent detection. Reseat the drive, test another port or cable, and check your motherboard manual for compatibility.
Do I need to enable NVMe in BIOS?
Most systems detect NVMe drives automatically, so a separate enable option may not exist. Check the NVMe information page and confirm that the M.2 slot supports PCIe NVMe drives.
Should SATA mode be AHCI or RAID for an SSD?
AHCI is common for a single SATA SSD, while RAID may be required by some factory Windows installations or multi-drive setups. Keep the mode that matches the existing Windows installation unless you prepare the operating system for a change.
Why does BIOS detect my SSD but Windows does not?
The SSD may be offline, uninitialized, unpartitioned, or missing a drive letter in Windows Disk Management. If it contains important data, do not format or initialize it until you confirm that the files are backed up.
How do I make my SSD the boot drive?
Open the BIOS Boot menu and set Windows Boot Manager on the SSD as the first boot option. If the SSD is new and empty, install an operating system before expecting it to boot.
Conclusion
Learning how to enable SSD in BIOS starts with checking the connection, confirming drive compatibility, opening the correct storage menu, and saving the right boot settings. SATA SSDs need proper cables and an active controller, while NVMe drives need a compatible M.2 slot and the correct PCIe support.
Remember that BIOS detection, Windows disk setup, and boot priority are separate steps. Work slowly, record your original settings, avoid unsafe AHCI or RAID changes, and back up important data before formatting any drive.
Try the steps in this guide, then consult your motherboard or laptop manual for model-specific options. If your SSD remains undetected after testing another cable, slot, or computer, consider professional diagnosis or replacement.

Everett Ashford is a tech reviewer at mytechgrid.com specializing in SSDs, cameras, TVs, earbuds, headphones, and other consumer electronics. He provides honest, data-driven reviews based on hands-on testing and real-world performance analysis. Everett simplifies complex tech details to help readers make smart, confident buying decisions.